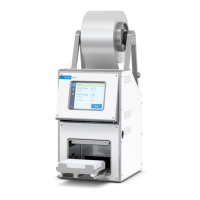
Chapter 2: Unpacking and installation
PlateLoc User Guide
22
Installation workflow
About this topic This topic presents the workflow for unpacking and installing the
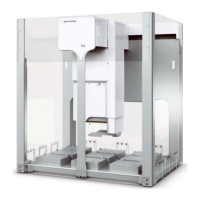
PlateLoc as a standalone device and in a Velocity11 lab automation
system.
Workflow The following table presents the workflow for unpacking and installing
the PlateLoc.
Note: If you are using the PlateLoc as a standalone device, skip steps 6
through 8.
Related topics
Step Procedure See...
1 Prepare your lab for the
installation.
“Meeting Lab requirements” on
page 23
2 Unpack the PlateLoc. “Unpacking the PlateLoc” on
page 27
3 Connect the PlateLoc to the
power source.
“Connecting the power source”
on page 30
4 Connect the PlateLoc to the air
source.
“Connecting and disconnecting
the air source” on page 31
5 Gas-Purging PlateLocs only.
Connect the PlateLoc to the
argon source.
“Connecting and disconnecting
the argon source (Gas-Purging
PlateLocs only)” on page 34
6 Lab automation systems only.
Connect the PlateLoc to the
controlling computer.
“Connecting to the controlling
computer (lab automation
systems only)” on page 37
7 Lab automation systems only.
Install the PlateLoc ActiveX
software.
“Installing the PlateLoc ActiveX
software (lab automation systems
only)” on page 38
8 Lab automation systems only. In
the lab automation software, add
the PlateLoc, and set the
properties for the device.
Velocity11 lab automation system
software user guide, such as the
VWorks User Guide
For more information about... See...
Workflow for installing and
operating the PlateLoc in a third-
party automation system
The third-party product documentation
Operating the PlateLoc “PlateLoc workflows” on page 16