41
Fig. 85
It is connected to the module through a 2-pin terminal . Attach the wires with the terminal screws
following the color code (Fig. 84).
For the connection to the Airzone main board follow the next steps:
1. Turn on the radio channel of the system.
2. Press to link it to the Airzone consumption meter.
3. The led will display searching status (blue) and then will update to linked status (green). Otherwise, check the self-
diagnosis section.
Reset
If you want to return to factory values, press and hold the button until LED change to searching status (blue). Wait for
the LEDS to go back to their normal state before starting with the initial configuration process.
ASSEMBLY AND CONNECTION EVALUATION
Check the following aspects:
- The state of the LEDs of the main control board and the rest of control elements. Check the self-diagnose section of
the data sheet of the elements.
- The opening dampers LEDs of the main control board light up sequentially.
- If all the thermostats are powered.
SYSTEM START-UP
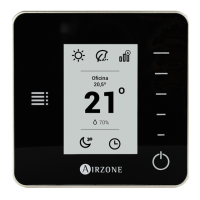
AIRZONE BLUEFACE AND AIRZONE THINK SETUP
Important: Once the setup has been started, it must conclude. You will be able to modify the desired parameters later.
Language/Country
Select your language and country. These are the available languages: Spanish, English, French, Italian, German and Portuguese.
To associate a wireless Think thermostat, start the radio channel search:
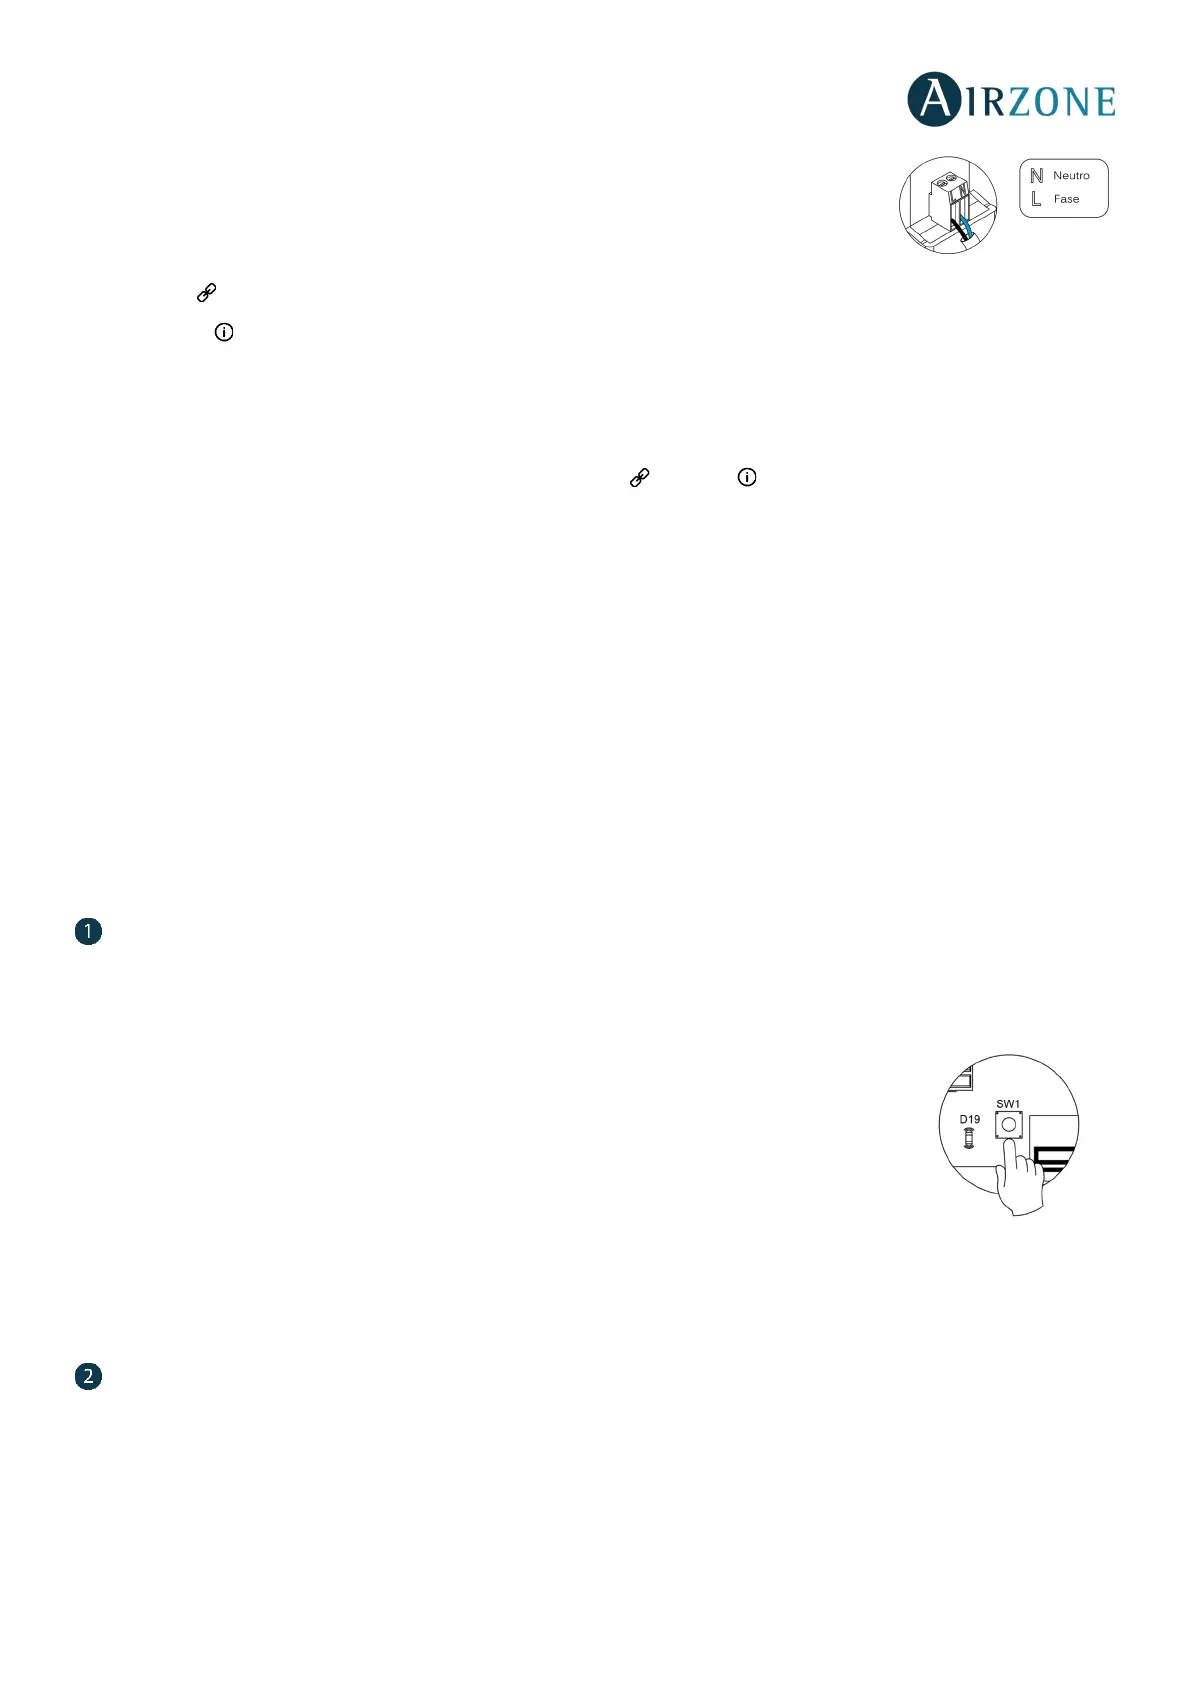
Setting wireless device
- Open the radio channel. To do that, press on SW1. The LED D19 will remain solid red. Once
open, you have 15 minutes to make the association. If that period of time expires, start the
process over again. Remember not to open more than one module at the same time, it may
alter the process. You can also open the channel association radio through the Blueface and
Think (see section System parameters).
IMPORTANT: Do not open more than one radio channel at the same time, it may alter the
process.
- Start the radio channel search, to do so, press Airzone to start the search.
- Verify the range is correct (30% minimum) and confirm.
Zone address
Select the zone associated to the thermostat. All the zones have a corresponding control output (output for motorized
elements or control relay for radiant elements). For example, the zone 1 will control the control relay output O1 of the Control
Module of Radiant Elements (AZCE6OUTPUT8).
 Loading...