22 Chapter 3: Sequence feature
MPC500 Operator's Manual rev 1.0
Setting the Loop for a Sequence
By default, the MPC500 has the sequence loop feature on. It is useful when you create a short sequence. With the sequence loop feature,
you can overdub a new performance while playing back a sequence repeatedly.
However, when you are working on a long song, created as a single sequence, it may be better to loop only the part of the song that needs to
be changed. Also, when you wish to play freely without worrying about the bars or times, it is better to turn the loop feature off. In this
section you will learn how to set the loop feature.
1. Press the [SEQUENCE] button to make sure you are in Sequence mode.
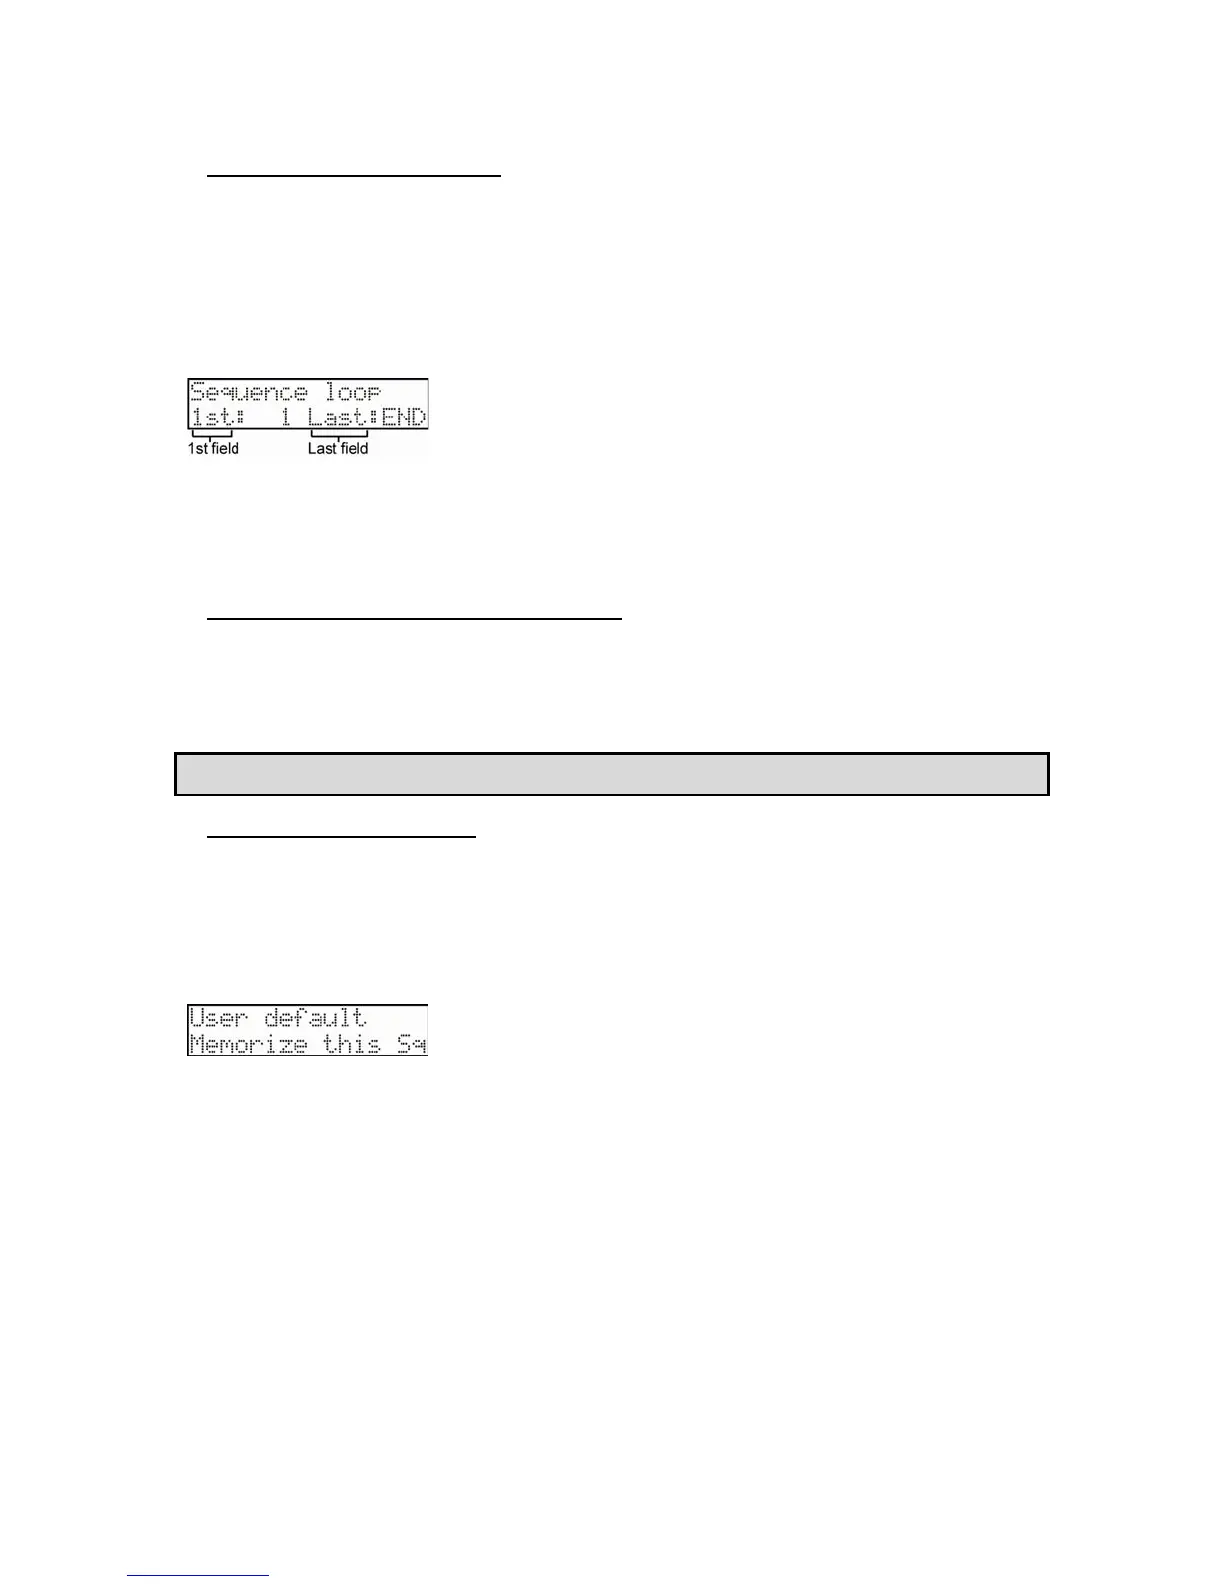
2. Press the [PARAMS] button, and scroll with the [DATA] wheel in the top 'Parameter' field to choose Sequence loop.
3. You can select where the loop will start, or even switch the sequence loop features ON/OFF by selecting the '1st'
field and turning the [DATA] wheel.
The MPC500 will repeat the part you set in the 'First bar' and 'Last bar' fields. If you set END in the Last bar field, the last bar of the
sequence is always the end of the loop. Even if you edit a sequence and change its length, the last bar of the sequence is still the end of the
loop.
Extending the Sequence Length Automatically
Usually, the length of a sequence is set based on the value of the 'Bars' field in the Sequence length page. However, when you are
recording/overdubbing with the 'Loop 1st' field set to OFF, the length of a sequence will be extended automatically. For example, when the
'Bars' field is set to 2, if you start recording with the '1st' field set to OFF, the recording will continue after the second bar until you press the
[STOP] button. The number of the bar when you actually pressed the [STOP] button will be set as the new length for the sequence. This is
useful when you do not know the length of the song.
Tip: If you press the [PLAY START] button when the value for the First bar is not 1, the MPC500 will start the playback from the bar set in
the 'First bar' field of the Sequence loop instead of from the beginning of the sequence.
Changing the Default Settings
Some settings for a sequence (such as number of the bars, time, tempo, and loop) are automatically set to the default setting when you create
a new sequence. If you always set up new sequences in a specific way before composing music, you can save time by having the MPC500
memorize the settings of a "master sequence" for you. Once a sequence is memorized, all new sequences you create will contain the same
length, Timesignature, tempo, loop points, and other settings of the master.
1. Press the [SEQUENCE] button to make sure you are in Sequence mode.
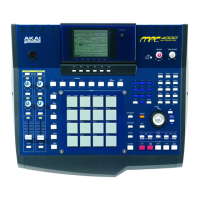
2. Press the [PARAMS] button, and scroll with the [DATA] wheel in the top 'Parameter' field to choose User default.
3. Choose Memorize this Sq and press the [DO IT] button.
4. The values currently set in the Loop, Timesignature, and the Bars field in Sequence length will be saved as the
default settings. The next time you create a new sequence, these values are applied.
If You Would Like To Return To The Factory Default:
1. Press the [SEQUENCE] button to make sure you are in Sequence mode.
2. Press the [PARAMS] button, and scroll with the [DATA] wheel in the top 'Parameter' field to choose User default.
3. Choose Use default and press the [DO IT] button.
Pressing [DO IT] will return setups of current default setting to factory default, and go back to Main sequence page.