91
MPC500 Operator's Manual rev 1.0
Chapter 14: Save / Load
The sample and sequence data you have made in the MPC500 will be deleted when you turn off the unit. If you wish to keep the data, you
need to save it to a memory card. You can use the saved files again by loading them back into the MPC500.
About memory cards
The MPC500 can use the memory card called "compact flash". The MPC500 comes with one 128MB (megabyte) compact flash card. You
can use any memory card that supports compact flash.
Note: : MB indicates the size of the memory card. The larger this number is, the more data you can store. The size of the compact flash
card that MPC500 can handle is from 32MB to 2GB.
Note: When you use a new compact flash card with the MPC500, you need to format the card before using it. For more information about
formatting the card, see the "
Formatting the Memory Card" section on page 100.
Saving Your Work
In this section, you will learn how to save your data. This is done in SAVE mode, which can be accessed by pressing the [MODE] button
and then the [PAD 3] (SAVE).
Selecting the Destination
You can set the location in the memory card to save the data. Here, you will learn how the data will be saved in the memory card and how
to select the destination.
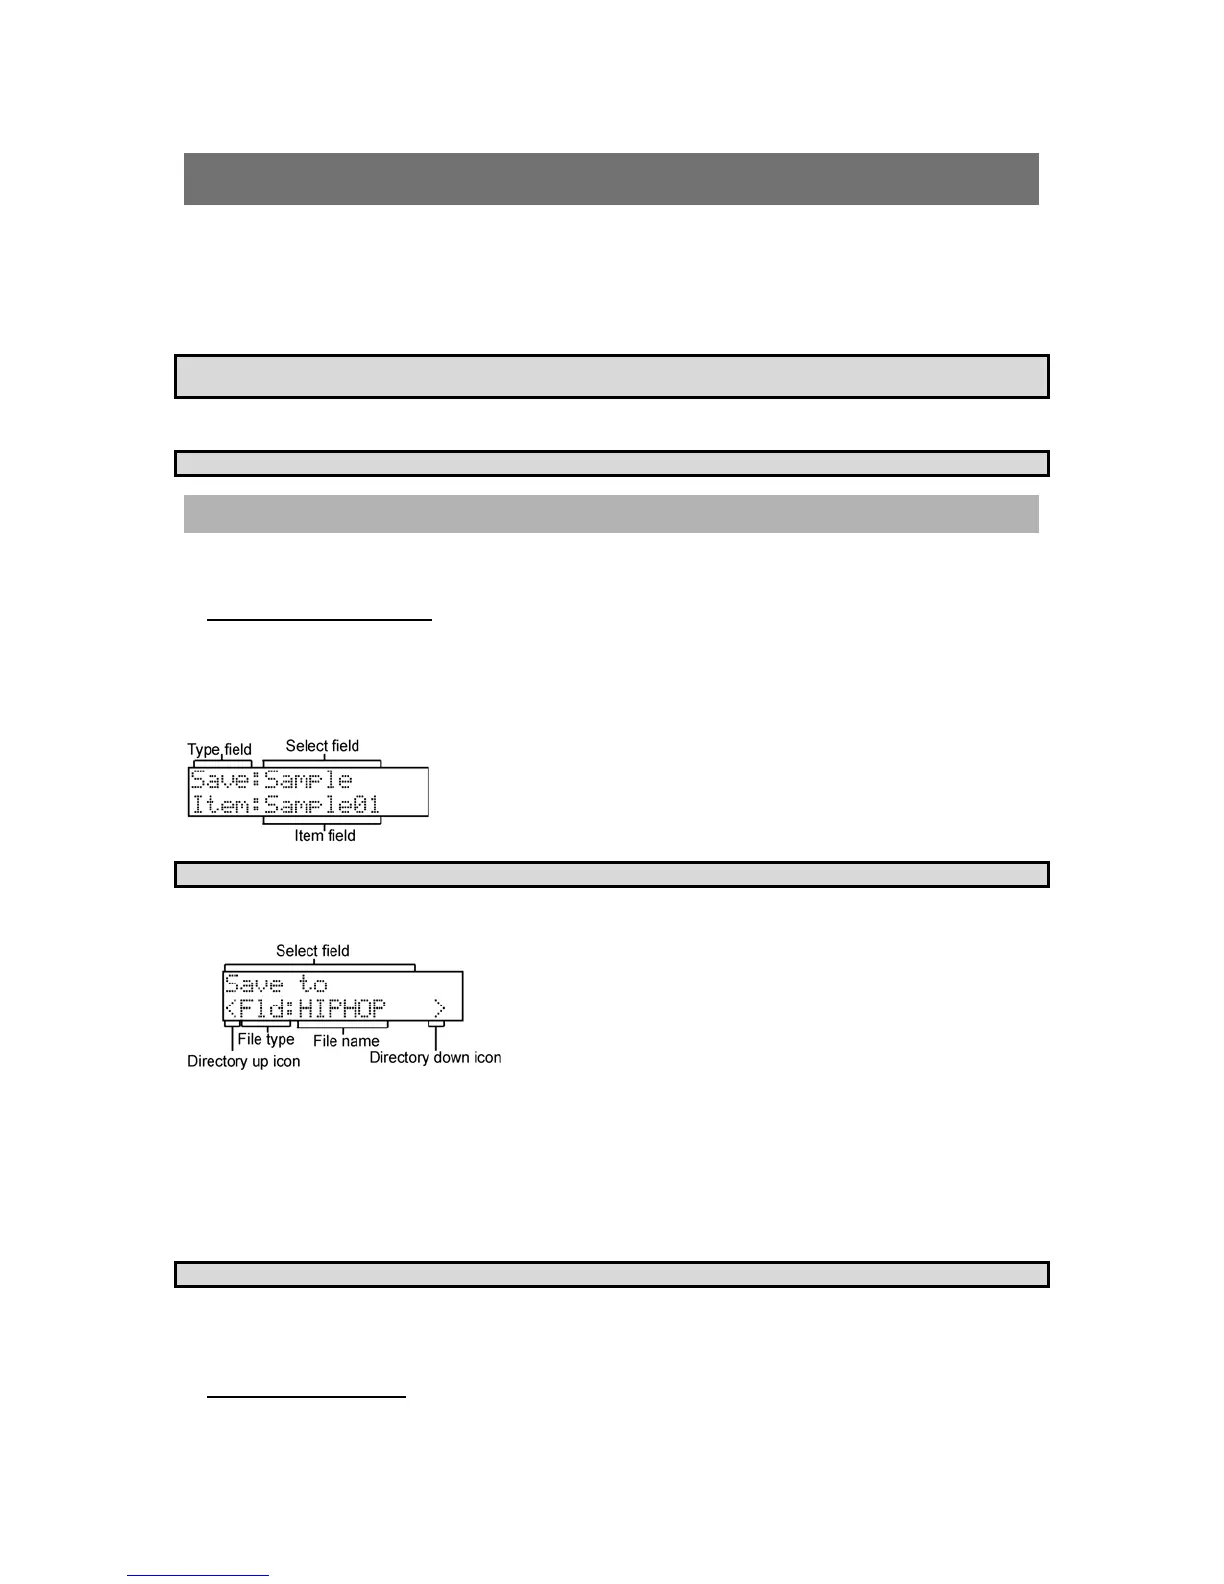
1. Insert a compact flash card in the memory card slot, and press the [MODE] button and then the [PAD 3] (SAVE). The
SAVE page will be displayed.
2.
Note: Make sure that you insert the compact flash card completely in the slot.
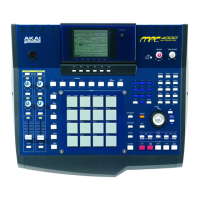
3. Press the [DO IT] button to show the following page.
In this window, you can browse the contents of the memory card. The files in the memory card are saved in the directories hierarchically,
like other computer files. In the screenshot above, the File name shows the currently selected file, and the type parameter shows whether
this is an entire folder of files (Fld), or a File (Fil). You can scroll with the [DATA] wheel to view the contents of the folder.
4. Move through the directory using the left/right cursor buttons.
You can use left/right cursor buttons to move through the directories. For example, in the picture above, if you press the right [CURSOR]
button to select the HIPHOP folder and then press the right [CURSOR] button again and the contents of the HIPHOP folder will be
displayed. You can view each file using the [DATA] wheel to scroll in the 'File name' field. If you press the left [CURSOR] button, this
will move you back up one level, and back to the screen above.
Tip: The ROOT folder indicates the top directory of the memory card. There is no other upper directory.
5. Select the folder you wish to save the data to.
The folder selected in the File name parameter will be selected as the destination.
Creating a New Folder
You can create a new folder and select it as the destination.