38 Chapter 4: Editing sequences
MPC500 Operator's Manual rev 1.0
Edit S, T Field
The edit selection consists of two fields, 'S' and 'T'. The 'S' field represents the Sequence, and the 'T' field is the track. The
default setting will be the current sequence and track. There is also a selection on the right to display whether the selected track
is a Drum or MIDI type track.
'Pads/Notes' Field
This selection will display its value as either Pad data or Note data, depending on the track type set in the Track params section.
See page 25 for more information.
In
This selects where area to be edited will begin. It shows the bar, beat and pulses from left to right. You can select each of these
fields independently with the cursor.
Out
This selects where area to be edited will end. It shows the bar, beat and pulses from left to right. You can select each of these
fields independently with the cursor.
'Tc' Field
This field selects the nearest note value that recorded data will be moved to. You can set the Note values as follows:
1/8 = 1/8 note, 1/8(3) = 1/8 note triplets, 1/16 =1/16 note, 1/16(3) = 1/16 note triplets, 1/32 = 1/32 note, and 1/32(3) =
1/32 note triplets.
Swing Feature
When 1/8th, 1/16th or 1/32 is selected, you can set the swing value in the 'Swing%' field. With the swing feature, the even
numbered events set in the 'Note value' field will be off the rhythm according to the value in the 'Swing%' field. With this feature
you can create the shuffle groove.
Pressing the [DO IT] button will execute the selected operation. After [DO IT] is pressed, MPC500 will go back to Main
sequence page.
Track Move
When you are creating a song by combining several short sequences, normally you would use the SONG feature to play back sequence in
the specified order. The MPC500 can convert the song data with short sequences to one long sequence. To do this, you need to arrange the
order of the tracks in each sequence for correct playback.
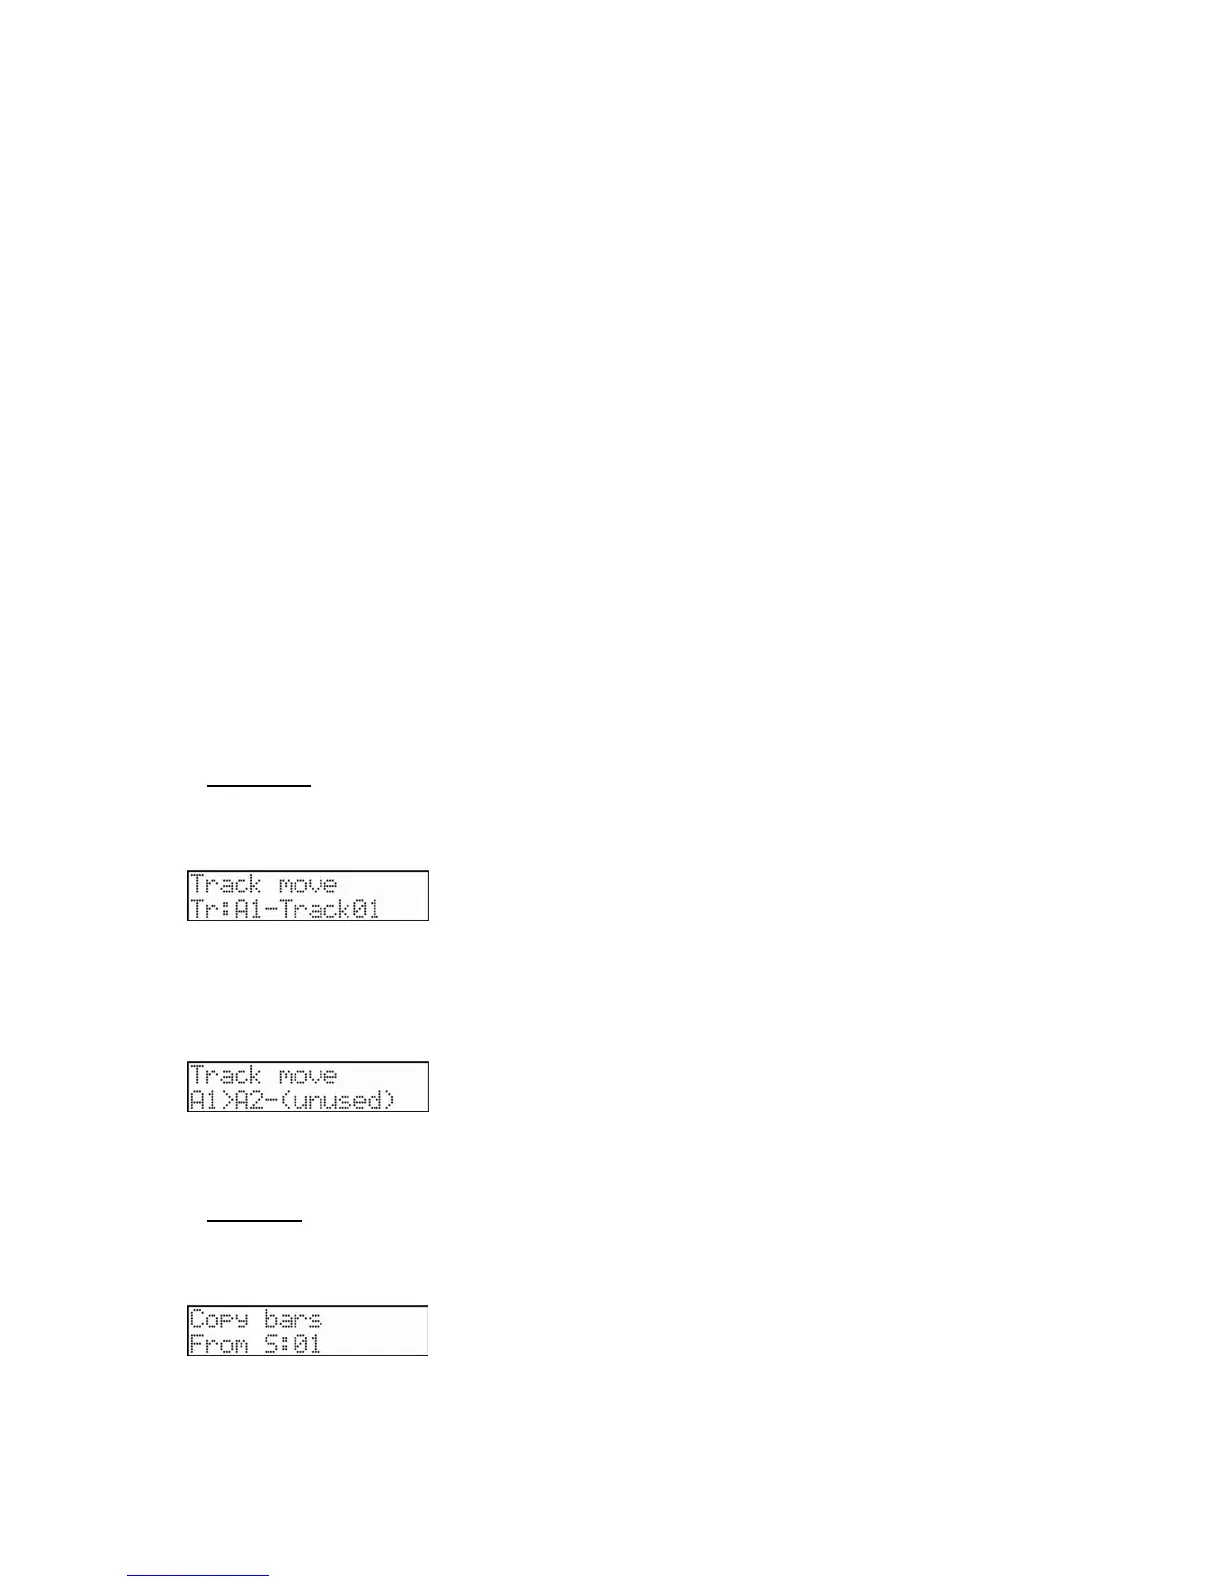
1. When you select Track move on upper line of LCD, [DO IT] button will blink. This is where the track to be moved is
selected.
2. Select the track to be moved with the [DATA] wheel, and press the [DO IT] button.
The screen changes as follows:
3. Select the new track that you want track moved to with the [DATA] wheel.
4. Press the [DO IT] button to move the track.
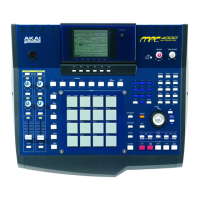
Copy Bars
You can copy bars within the selected region to another place. The length of the destination sequence will be extended to add the copied
bars.
'From S' Field
Sets the source sequence for copying.