Chapter 4 Web Access
60 OmniTouch Fax Server User Guide - 8AL_90216_USAA ed.01
Select an attachment in the list and click the Move Down button, to
move it down in the list.
12 Click on the Sender & Company Information tab.
13 Select the I want to use the default sender and
company info option to use the billing and company information
specified in the profile associated with your user account, and skip to
step 18. The personal information will remain empty, except for the
e-mail address.
14 Otherwise, select the I want to use my settings option to
customize the personal, billing and company information, for this
fax. The fields below this selection are then editable.
15 Enter a Salutation, First Name, Last Name and Job Title, as
needed.
16 Enter a Billing Code and Sub Billing Code, as needed.
17 In the Company Information section, fill in the fields as needed.
18 Click on the Options tab.
19 Select the Use default options to use the fax settings specified
in the profile associated with your user account.
20 Otherwise, select the Use custom options to customize the fax
settings. The fields below this selection are then editable.
21 Select or enter the Priority, Retries and Resolution, as
needed.
22 Check the Notify Successful and/or the Notify Failed boxes,
if you want to receive notifications when the fax transmission is
successful or not.
23 Click again on the Compose tab.
24 Click the Submit button.
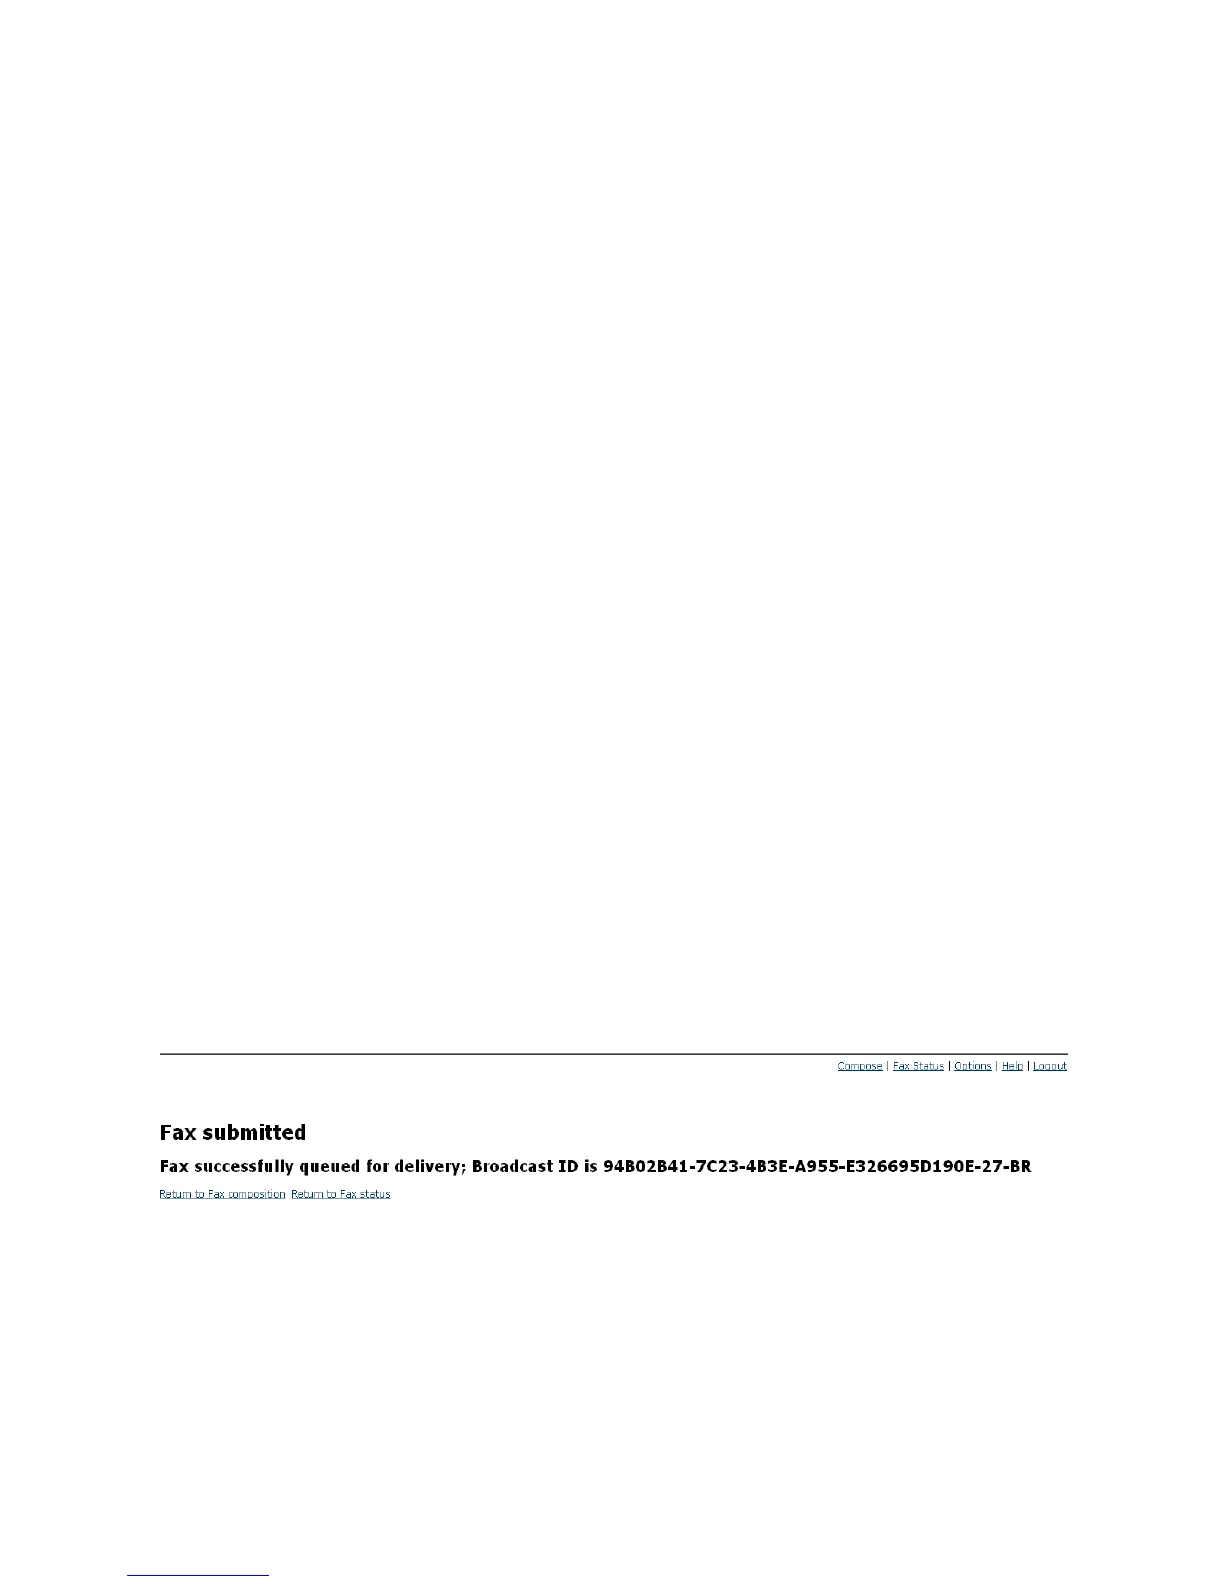
When submitting a fax the Web Client confirms the sending status
with the following Broadcast Id confirmation:
 Loading...