©2019 ALL-TEST Pro, LLC All Rights Reserved 41 Rev 06/20/2019
Rotor Test steps
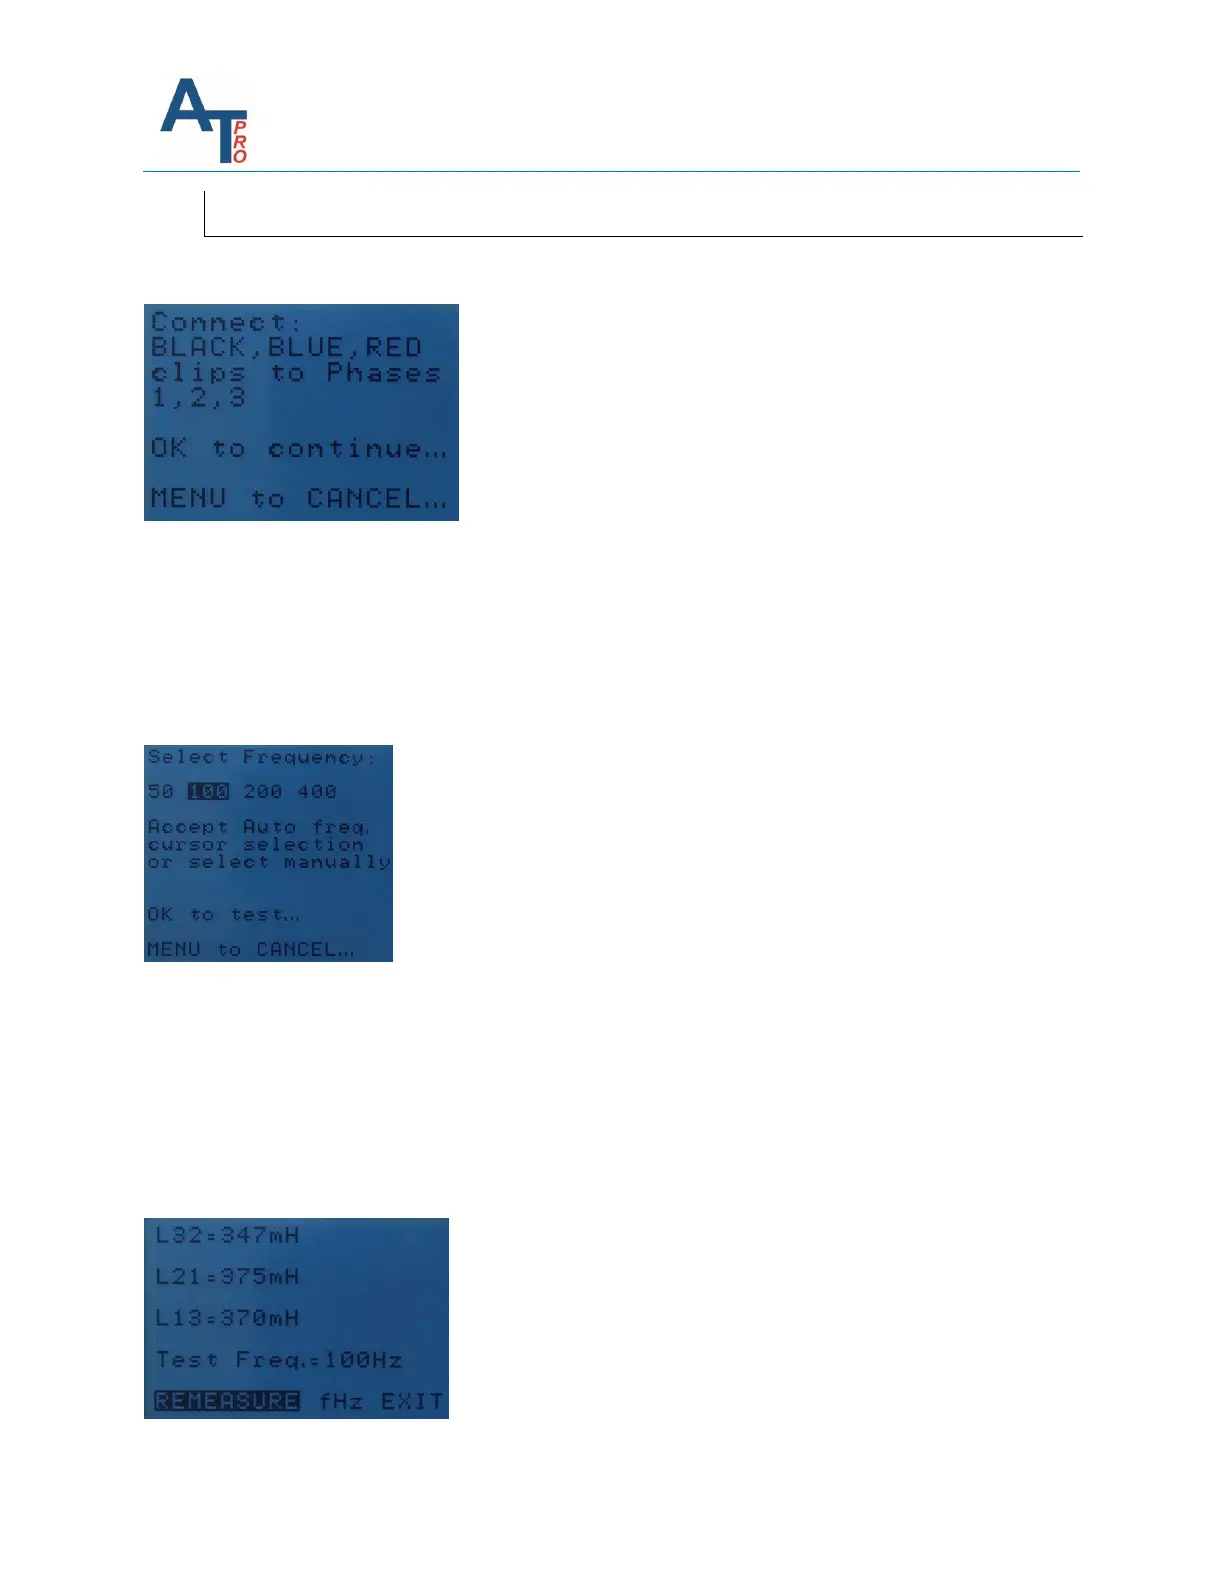
1. Select Rotor Test option, then connect the three test leads to the motor’s three phases
2. The instrument starts the measurement, then will show the frequency determined. The users
can either use this frequency or select another frequency at their discretion.
Note: the frequency can be changed any time. However, to make a round of rotor tests, one
frequency has to be used. So, whenever the users decide to change the frequency, it means the
rotor test has to restart.
3. Each time, the test is performed on three phases with results displayed as shown below.
a. When the rotor is turned to the next position, press the “REMEASURE”, it will do
another measurement. Each measurement has to be recorded on MCA software or
another way, e.g. manual writing it down on a paper or on spreadsheet.
b. To change frequency, choose “fHz”, highlight the desired frequency, then press “OK”
key.
c. When all rotor tests are completed, choose “EXIT”.