GS9790M Series Switch Installation Guide
59
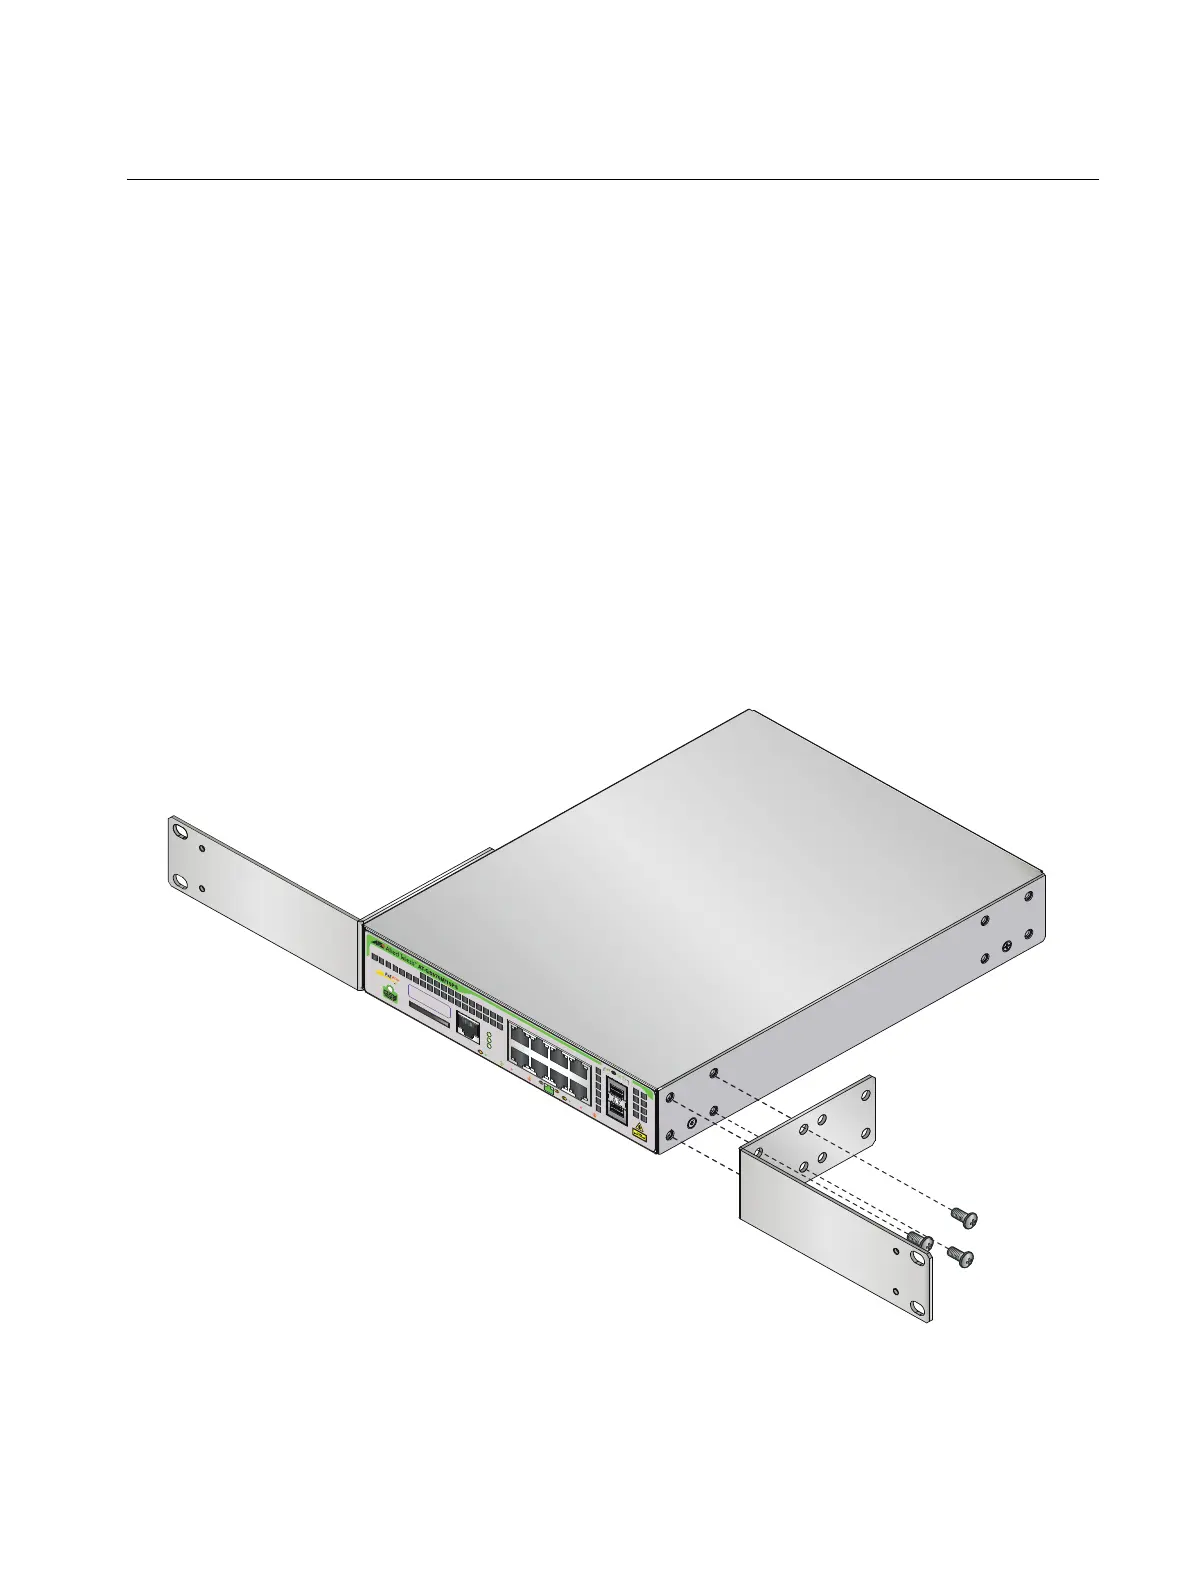
Installing a GS970M/10PS switch in an equipment rack
These instructions show you how to install a GS970M/10PS switch in an
equipment rack. The rack mount kit is AT-RKMT-J14 and can be
purchased separately from your Allied Telesis dealer.
To install a GS970M/10PS switch in a 19-inch equipment rack, follow
these steps:
1. If rubber feet are attached to the base of the switch, remove them
(
Figure 25 on page 55).
2. Attach two rack mount brackets to the sides of the switch using the
eight bracket screws that come with the rack mount kit AT-RKMT-J14
(Figure 32).
F
IGURE 32. ATTACHING RACK MOUNT BRACKETS TO A GS970M/10PS
CONS
OL
E
RS
-
2
3
2
S
D
F
A
U
L
T
POW
E
R
S
D
1
0
0
0
L
INK
A
C
T
1
0
/
1
0
0
LIN
K
A
CT
P
D
O
N
P
D
E
R
R
M
A
X
C
U
RR
E
NT
S
FP
9
10
2
4
6
8
1
35
7
M
AC
Address
Label

 Loading...