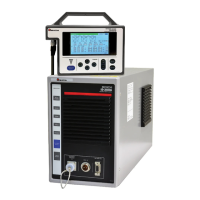
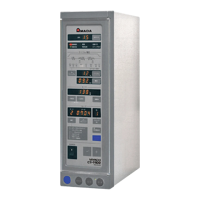
IS-300A
5. Installation and Connection
5-8
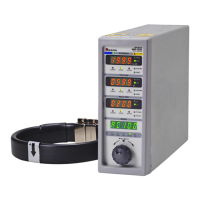
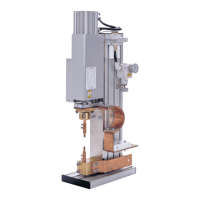
When using our conventional transformer (IT-512□)
1) Connection to the transformer’s input terminal block and [SENS] cable
Use the output cable to connect the welding power output terminal block on the
Power Supply’s rear panel with the welding transformer’s input terminal block.
For the output cable specification, see 10. (2) Options (Sold Separately).
For connection to the transformer’s input terminal block, refer to .
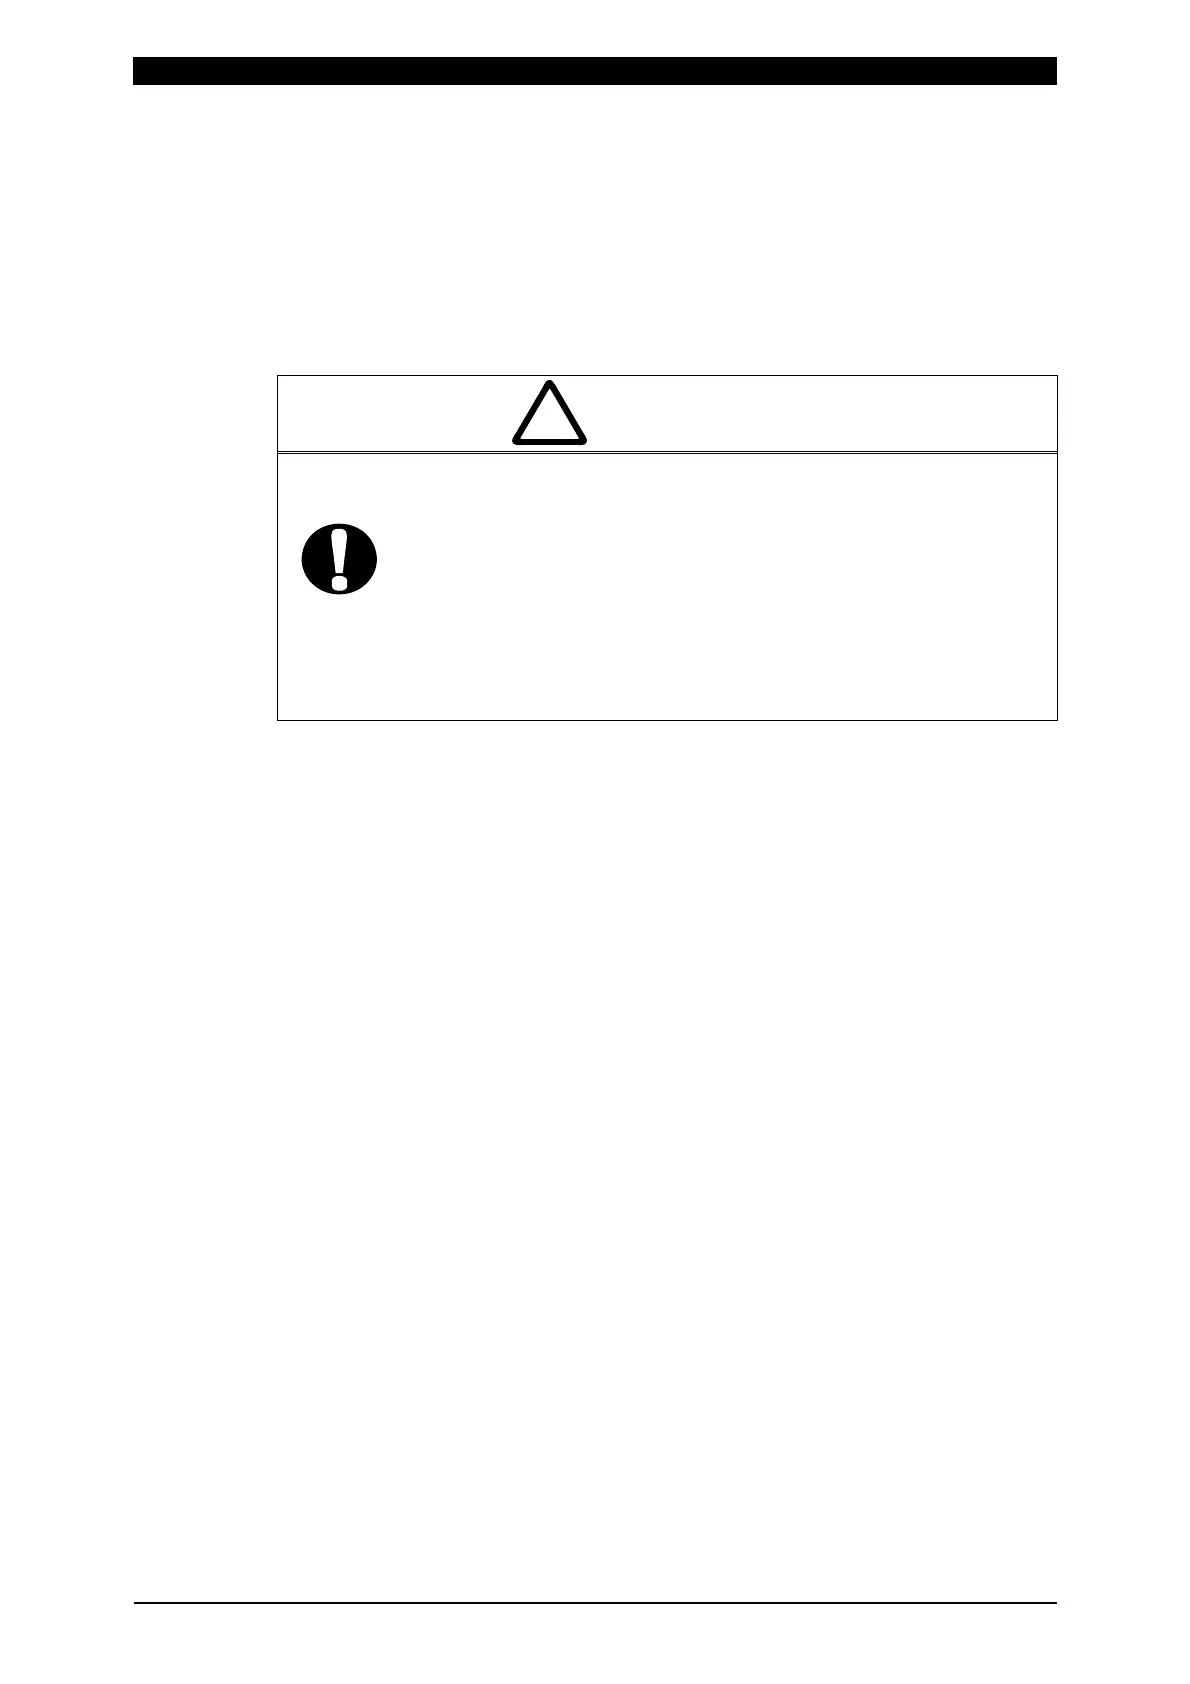
CAUTION
!
Use a sensing cable to connect the Welding Transformer [I/O]
connector to the welding transformer. Bear the following in mind.
Connect the attached voltage detecting cable to the electrodes
of welding head and insert the dedicated connector into the
transformer’s front panel in constant-voltage/constant-power
control or when monitoring the secondary voltage.
Connect the transformer power cable for fan motor to 200V
AC.
2) Connecting a toroidal coil for secondary current detection
Connect a toroidal coil to the COIL IN connector on the front panel.
3) Connecting the power cable
Connect the power supply to the Welding Power Supply Breaker on the rear
panel and ground the [PE] terminal. (See 10. (2) Options (Sold Separately).)
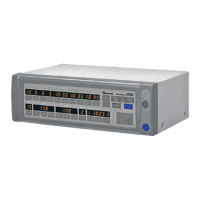
4) Connect the necessary cables to the Connecting terminal strip for External
Input/Output Signal
(See 6. Interface.)
5) Connecting the Program Unit
Connect the circuit cable to the PROGRAM MONITOR I/O connector on the
front panel.