Print Tube #1 (yellow) will be on the right hand side use a marker to mark the tube to avoid confusion.
Purge Tube #5 (white 1) will be on the right hand side use a marker to mark the tube to avoid confusion. See
Photo 3.2.4
Photo 3.2.4
4. We can now assemble our top carriage cover and connect all the cables to the Ricoh carriage controller.
5. Bring in the tubes from the back, making sure that tube #1 (yellow) and Purge tube #5 are on the left hand
side.
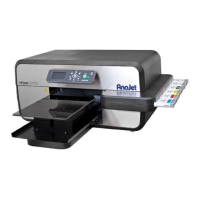
We can now start assembling our carriage tubbing.
Carriage Tubbing Assembly.
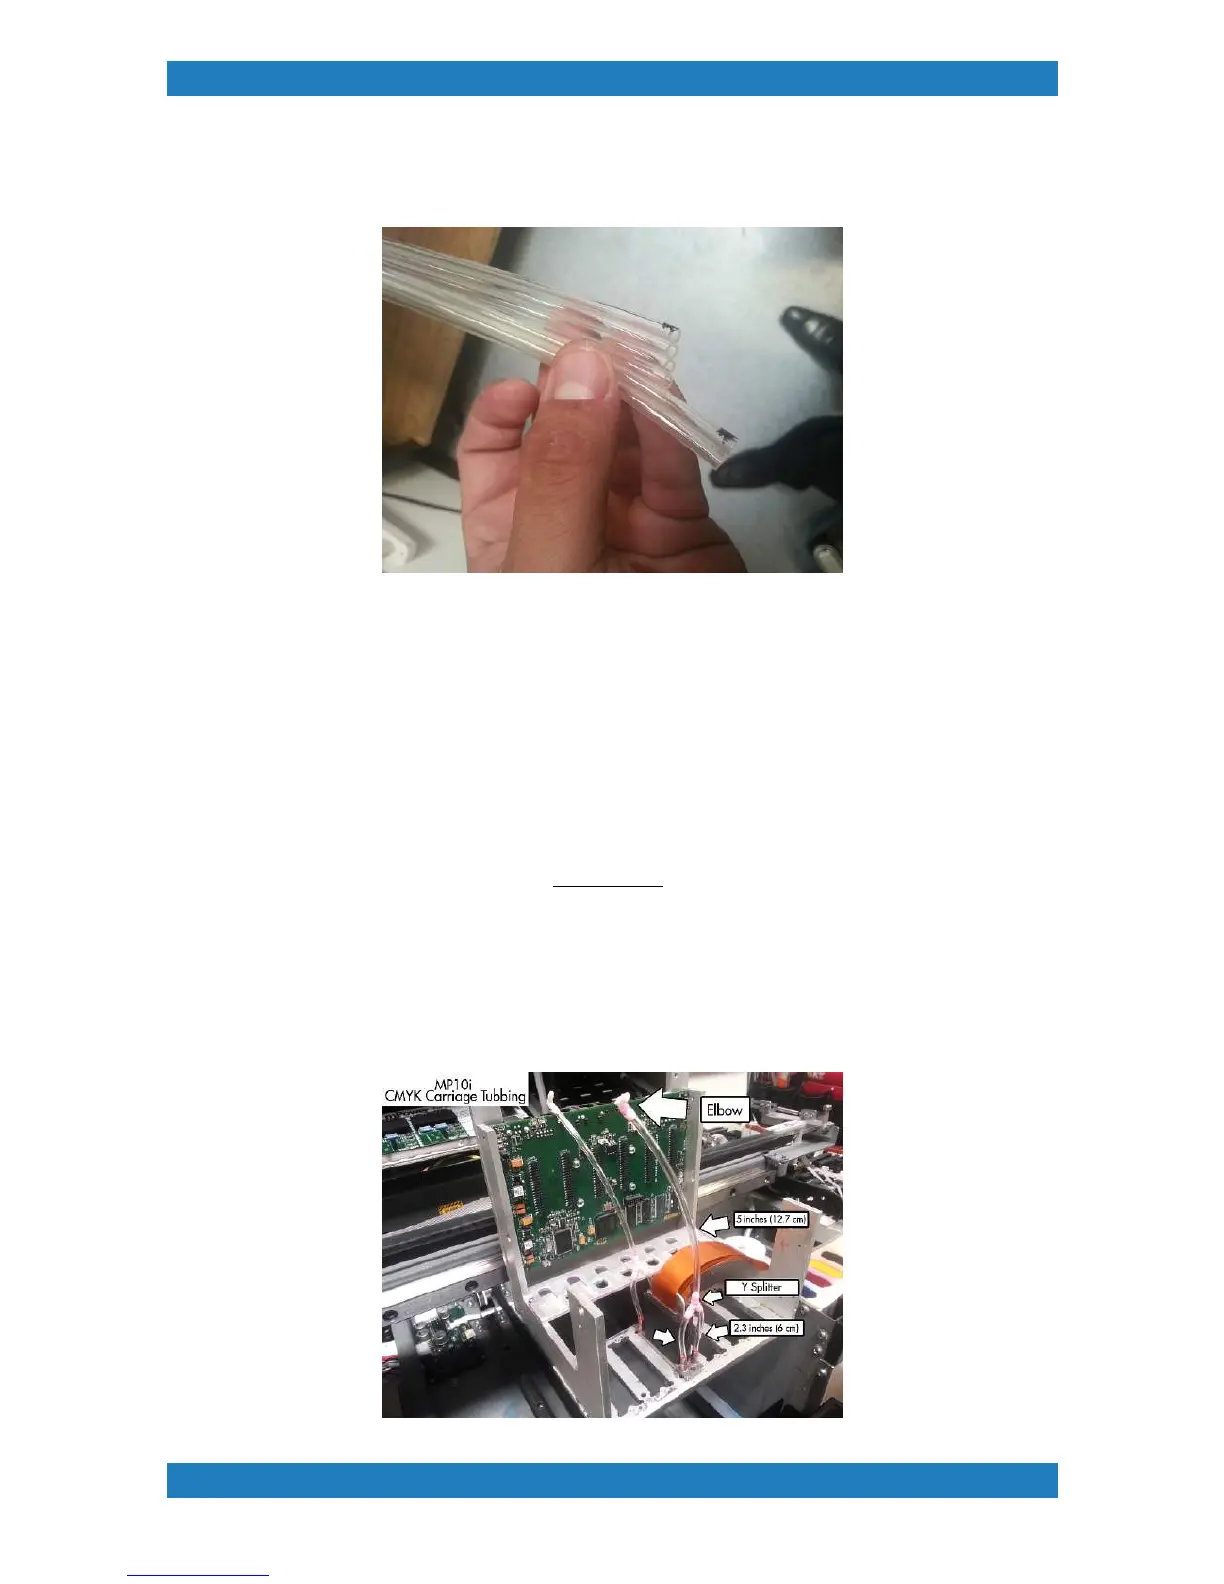
The following Instructions only apply to mPower MP10i.
CMYK Print heads
Each CMYK Print Head will have a Y splitter on both the back and the front. The tubing will measure 2.3
inches (6 cm). Following with a 5 inch (12.7 cm) piece of tubing with an elbow at the end. Each elbow will
bend back and connect to the corresponding damper. See Photo 3.2.5