45
Quality Control Testing
The QC check can be set for
1) two level urine control solutions (L2: negative/normal and positive/abnormal),
2) three level urine control solutions (L3: negative/normal, low and high positive/
abnormal).
If strong user security is applied (
11.14.2 Modifying security settings) the nor-
mal users are not able to modify the QC settings, so the QC policy determined
by the system administrator will be forced. However if the analyzer is locked out
and you need to make a measurement immediately without performing the QC
check first, the lockout mode can be switched off only by an Administrator.
9.1.1 Editing QC LOT information
The QC evaluation relies on the manually inputted data. Verify the val-
ues prior usage.
Press the Edit QC LOT button on the QC options
screen to set the QC Urine Control solution LOT
numbers and their acceptance limits.
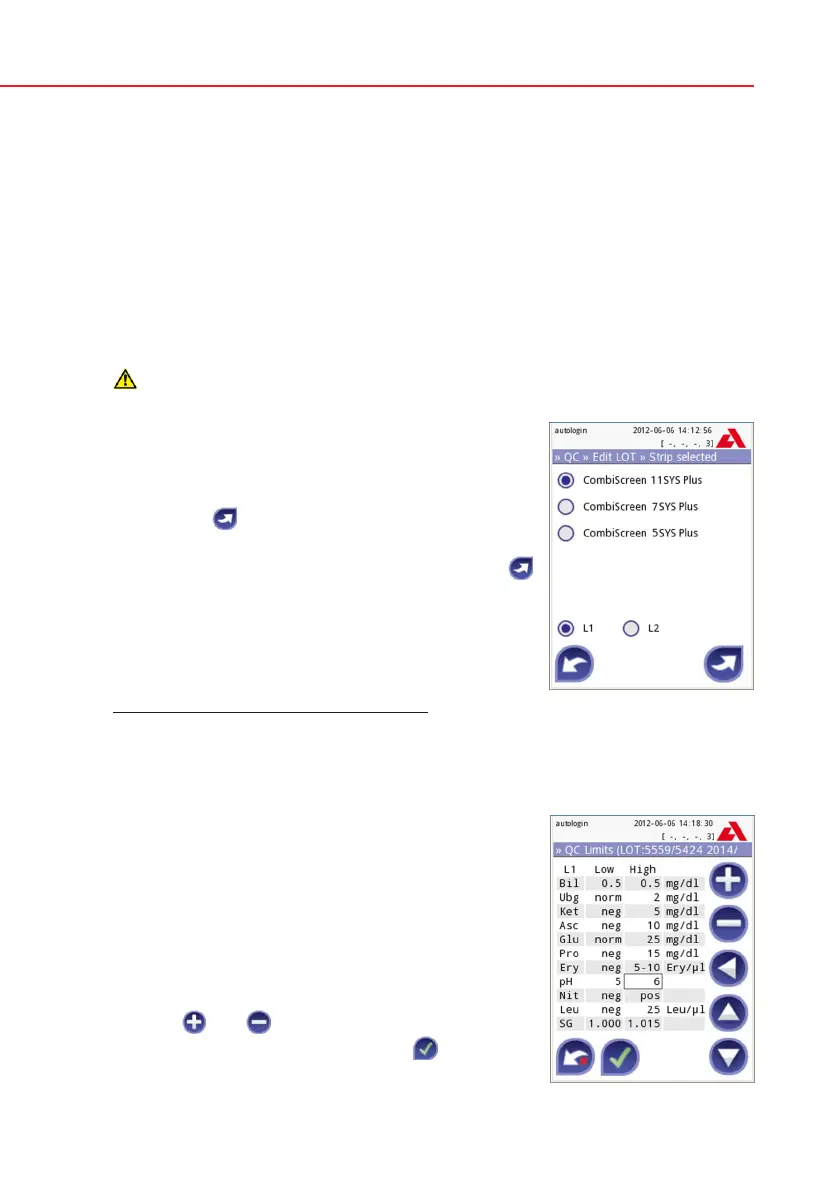
1) On the next screen select the first control level and
press the
Next button.
2) On the next screen set the LOT code (you may
also include the expiry date) and press the
Next button. If a LOT code is already stored for
the actual level, its value will appear in the input
field.
3) On the last screen set the acceptance limits for
the selected level of the LOT.
Repeat the previous steps for all levels.
Please note that the software does not validate against the expiry date of the
QC LOT
Modifying the limits
The selected level appears in the top left corner of
the table. The LOT code is shown in the navigation
bar. The columns of the table are: parameter, lower
limit, higher limit, unit.
The selected cell is marked with black borders (see
pH higher limit on Screen 18: QC Limits).
Use the arrows to navigate and change the actual
selection. The value of the lower and higher limit of
the selected item can be increased or decreased
with the
and buttons.
When you have finished, press the
OK button
to store the values. The analyzer returns to the QC
options screen.
Select QC Level
QC Limits
 Loading...