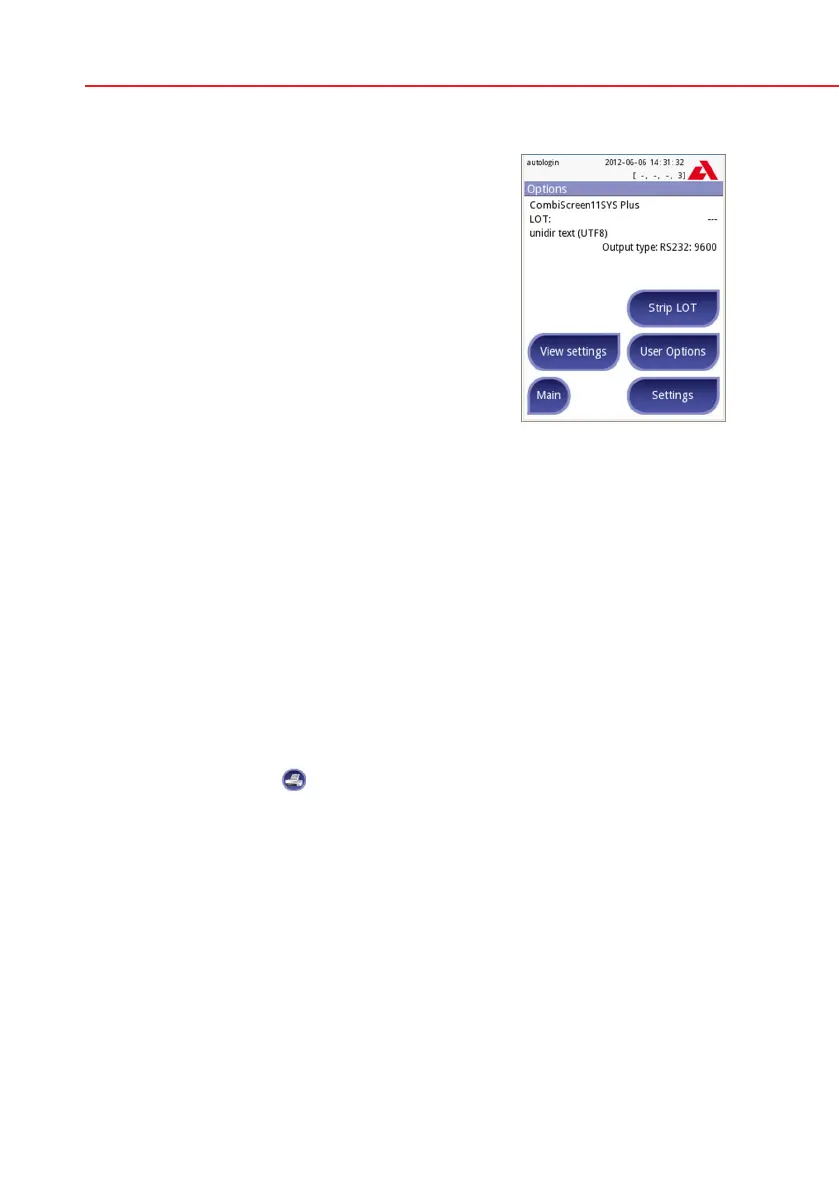
10. Options menu
The Options screen displays the following informa-
tion:
• striptypeandLOTcodeinformation,
• outputsettings.
The following functions can also be reached from
this screen:
• StripLOT,
• ViewSettings,
• User Options (auto features; fast mode; sound;
LCD brightness),
• InstrumentSettings.
10.1 Strip LOT
Push the Strip LOT button on the Options screen to set the LOT information of
the strip. It is also possible to set the expiry date after the LOT code.
The following special characters are allowed for input together with numbers:
hyphen‘-’,dot‘.’,forwardslash‘/’,space‘_’androundbrackets‘(‘‘)’.
This information is stored with every measurement, until it is changed manually.
Please note that the LOT code and expiry date values are semantically not
checked by the software. Please double check the LOT code in order to avoid
typos.
10.2 View Settings
The View settings screen shows all settings including user options as well. Use
the down and up buttons to scroll through the settings. The analyzer settings can
be printed out using the
button.
10.3 User Options
Most of the settings on the User options screen are related to the testing proce-
dure except Sound and LCD brightness.
Autostart: if enabled, measurement is automatically started (without further user
interaction) if a strip is placed on the test strip tray. By using this feature the
instrument can operate “touchless” (if all the additional data fields are disabled).
Default value: enabled.
Auto print: if enabled the analyzer automatically prints the report of each meas-
urement. Default value: enabled.
Auto transfer: if enabled the analyzer automatically transfers the result to the
defined output (i.e. through the serial port to an LIS). Default value: disabled.
Options