44
Quality Control Testing
2. The QC measurement screen can be reached by the QC button from the
Measurement screen or by the QC Meas button from the Main screen.
9.2
QC Testing
3. All QC measurements are stored in a separate database, to reach them press
the QC results button on the QC measurement screen.
9.3 Recall QC
Results
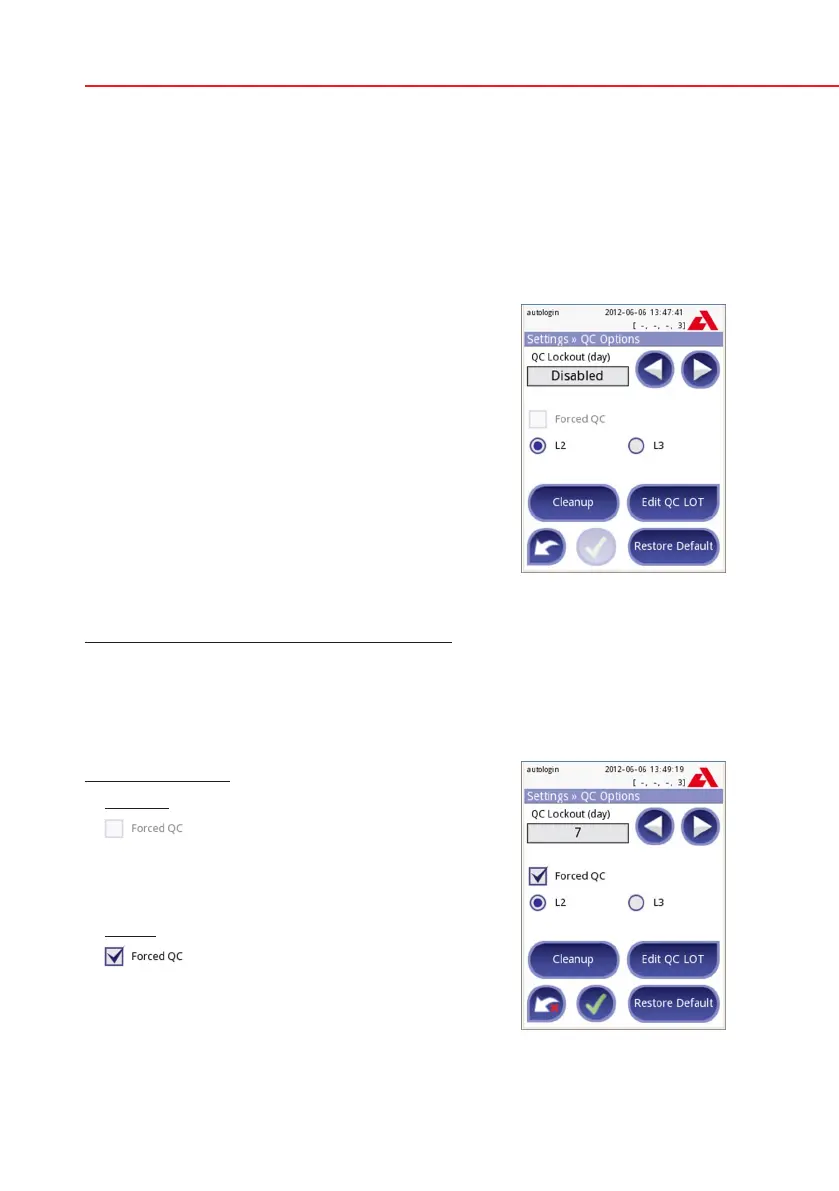
9.1 QC Options
At the Options»Settings»QC Options screen the
analyzer Quality Control settings can be configured:
• enable/disableQClockout,
• settheQClockoutintervalindays,
• typeofQClockout(warningorforced),
• denethetypeofcontrolsolution(2or3levels),
• edittheQCsolutionsLOTdata.
The lockout mode offers the opportunity to ensure
a QC-check latest every determined interval using
control solutions.
If the lockout mode is activated, the instrument will
be released for measurements for the determined
timeframe once a successful QC check has been
performed.
To enable the QC lockout and set the interval:
• usetherightandleftarrows,or
• pressthegreyinputarea,usethenumericinputandapply.
If you apply changes to the QC lockout period, a popup window appears with
the modified lockout time.
The lockout mode can be
• warning
If the limit is passed, the status bar background
is changed to orange and a warning message is
displayed.
• forced
If the time limit is passed, the status bar back-
ground is changed to red and an error message
is displayed. In this case the measurement feature
will be blocked until a new successful QC check
has been performed.
QC Options
Forced L2 QC
 Loading...