PAGE 46
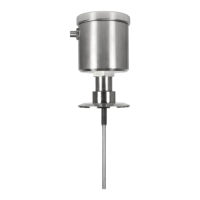
B. Thoroughly rinse the clean sensor in de-ionized water. Then immerse the sensor in
the prepared reference solution. Important: Allow the sensor and solution
temperatures to equalize. Depending on their temperature differences, this may
take up to 30 minutes.
NOTE: Suspend the sensor to prevent it from touching the container. Simply laying it into
the container will produce calibration error. If the sensor is tee-mounted, use a
smaller container. Ideally, convert a tee of the same size and material as the
mounting tee into a calibration container by sealing two of its ends.
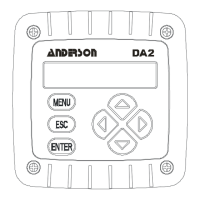
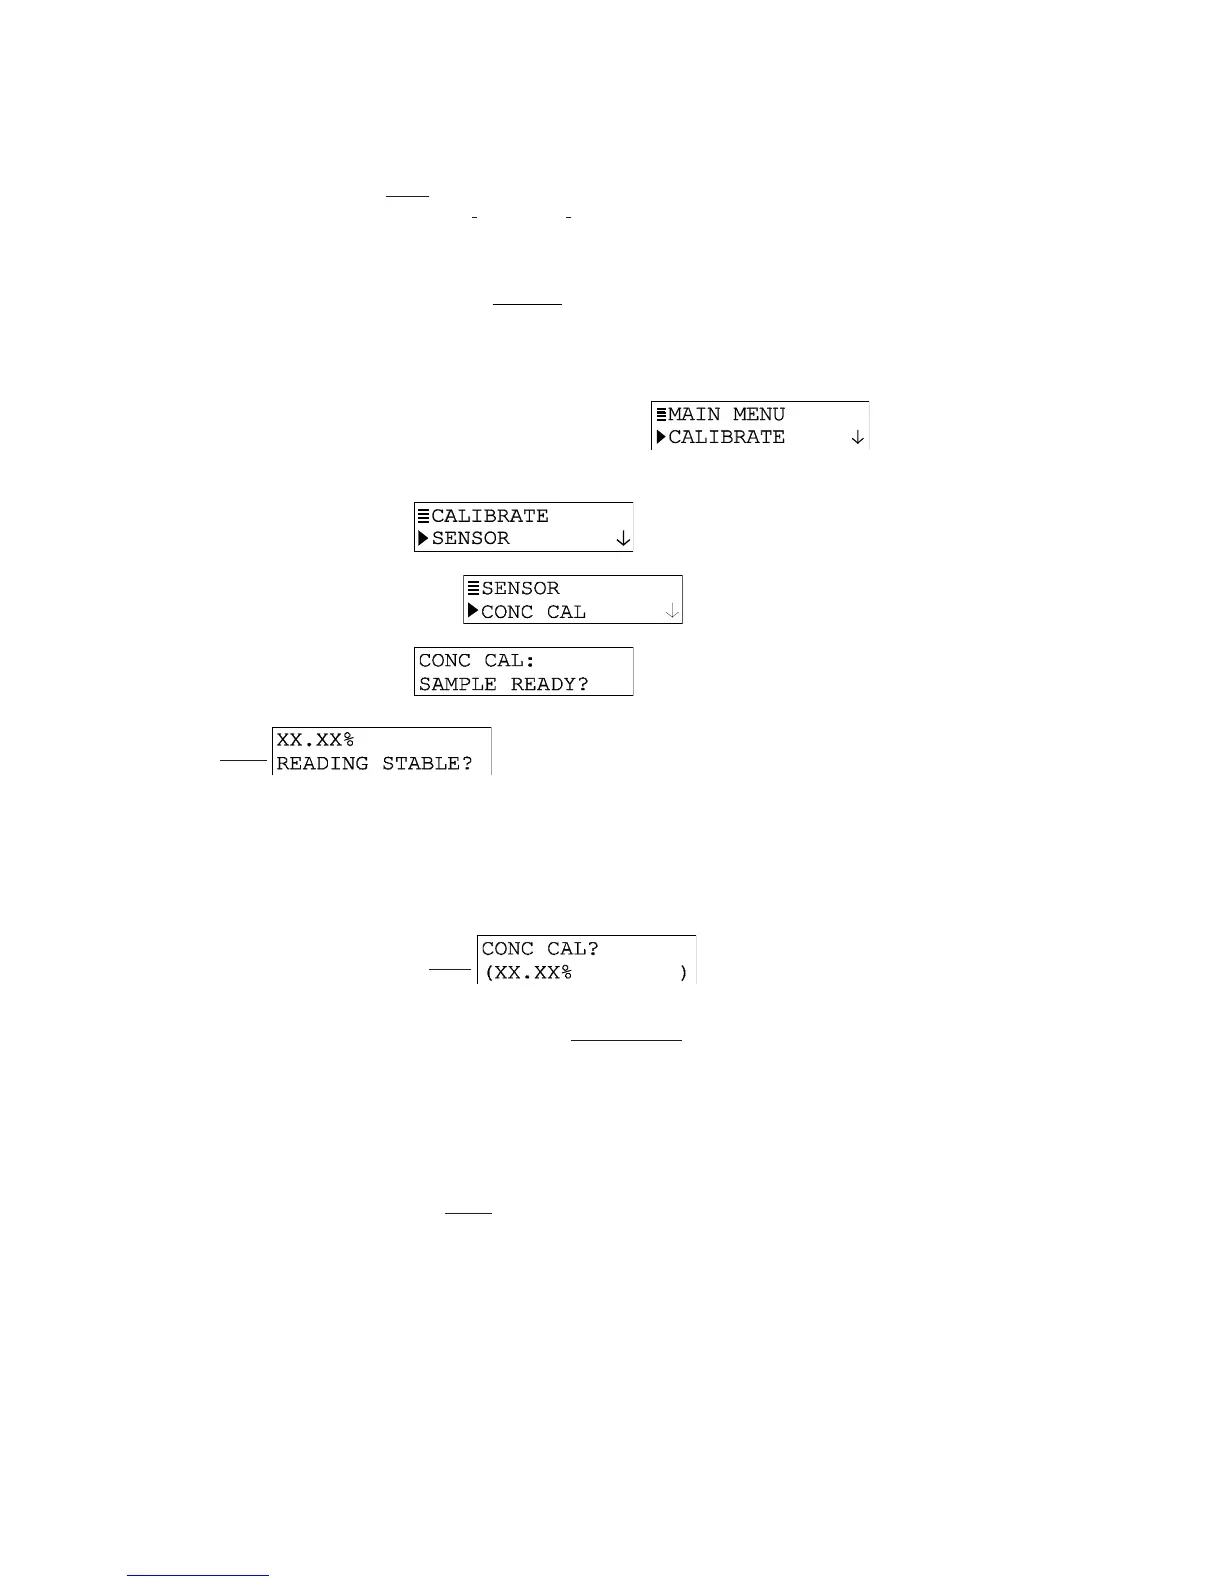
2. Press MENU key to display a “MAIN MENU” screen. If the
screen is not showing, use
ØØ
ØØ
Ø
or
××
××
×
key to display it.
3. Press ENTER key to display
.
4. Press ENTER key again to display
.
5. Press ENTER key to display
. With the sensor in the
process (or % concentration reference solution), press ENTER key again to confirm.
This
active screen appears showing the measurement
reading.
NOTE: During calibration, the analog output is automatically “held” at the last measured
value.
6. Wait for the reading to stabilize which may take up to 30 minutes. Then press ENTER
key. The “PLEASE WAIT” screen may appear if the reading is still too unstable. After
the reading has stabilized, this static screen appears
showing the “last measured” value.
7. Use arrow keys to adjust the displayed value to exactly match the known value of the
process sample (or % concentration reference solution).
8. Press ENTER key to enter the value and complete calibration (“CONFIRM CAL OK?”
screen appears).
9. If the sensor was immersed in a reference solution, re-install the sensor into the
process.
10. Press ENTER key to display the active measurement reading on the “CONFIRM
ACTIVE?” output status screen. When the reading corresponds to the actual typical
process value, press ENTER key again to return the analog output to its active state
(MEASURE screen appears).
This completes CONC CAL calibration.