Model 101/2100 Doors Service & Installation
TITLE:
99-13312-S001 Model 101/2100 Doors Service &
Installation
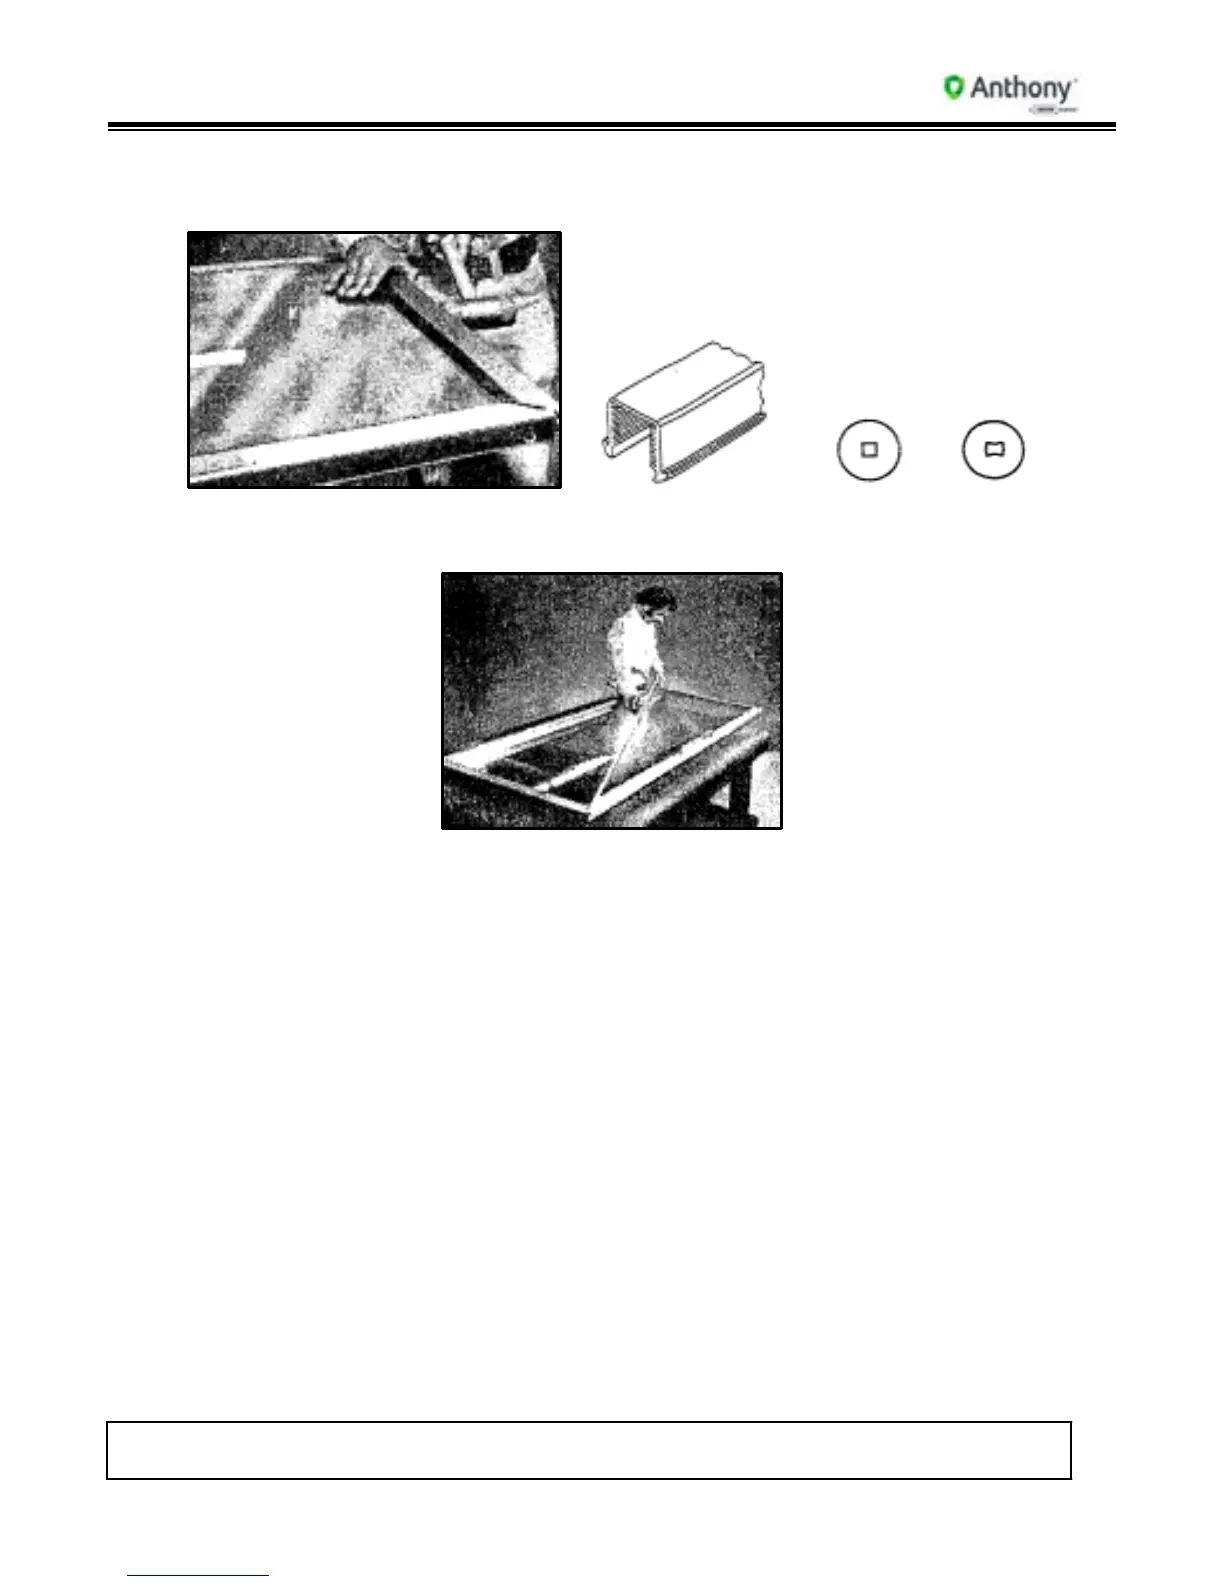
7. After both long rails have been affixed to glass, re-insert friction-fit glazing channel on
top and bottom and tighten miters with square-head or clutch-head driver.
Glazing
Channel
Square
Head
Screw
Clutch
Head
Screw
8. Once all four (4) door rails have been affixed to glass, measure diagonally to make sure
door is in square.
9. After replacing the glass unit, and when door rails are in square, re-insert heating
element wires in door rail channels and repeat process. Replace gasket and retainer
strips.
To re-install torque rod, align torque shaft with key way in door and drive tapered shaft
flush with bottom of door rail.
Note: If heated glass is used, when disassembling door, cut Black and White lead wires
to glass. When rebuilding door, pull glass heater leads out through heater access
hole before assembling top or side door rails. Re-connect Black and White lead
wires to heater wire Black and White lead wires. On newer models, re-connect
hinge pin to heater receptacle or heater lead wires.
10. When replacing heated glass, bus bars on glass (colored bars on top and bottom of
glass or up and down the sides) must go to the front of door, or customer side. This is
the heated side.
11. For questions about glass replacement, call Anthony’s Customer Service or local
Sales Representative.