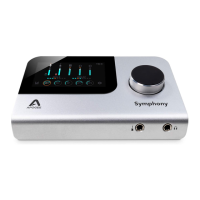
Configure Ensemble as Clock Slave
1. Set the external device as the clock master.
2. Connect a digital audio cable (optical or coaxial) out of the external device and into Ensemble. Or connect a
BNC Word Clock* cable out of the external gear to Ensemble’s BNC IN port.
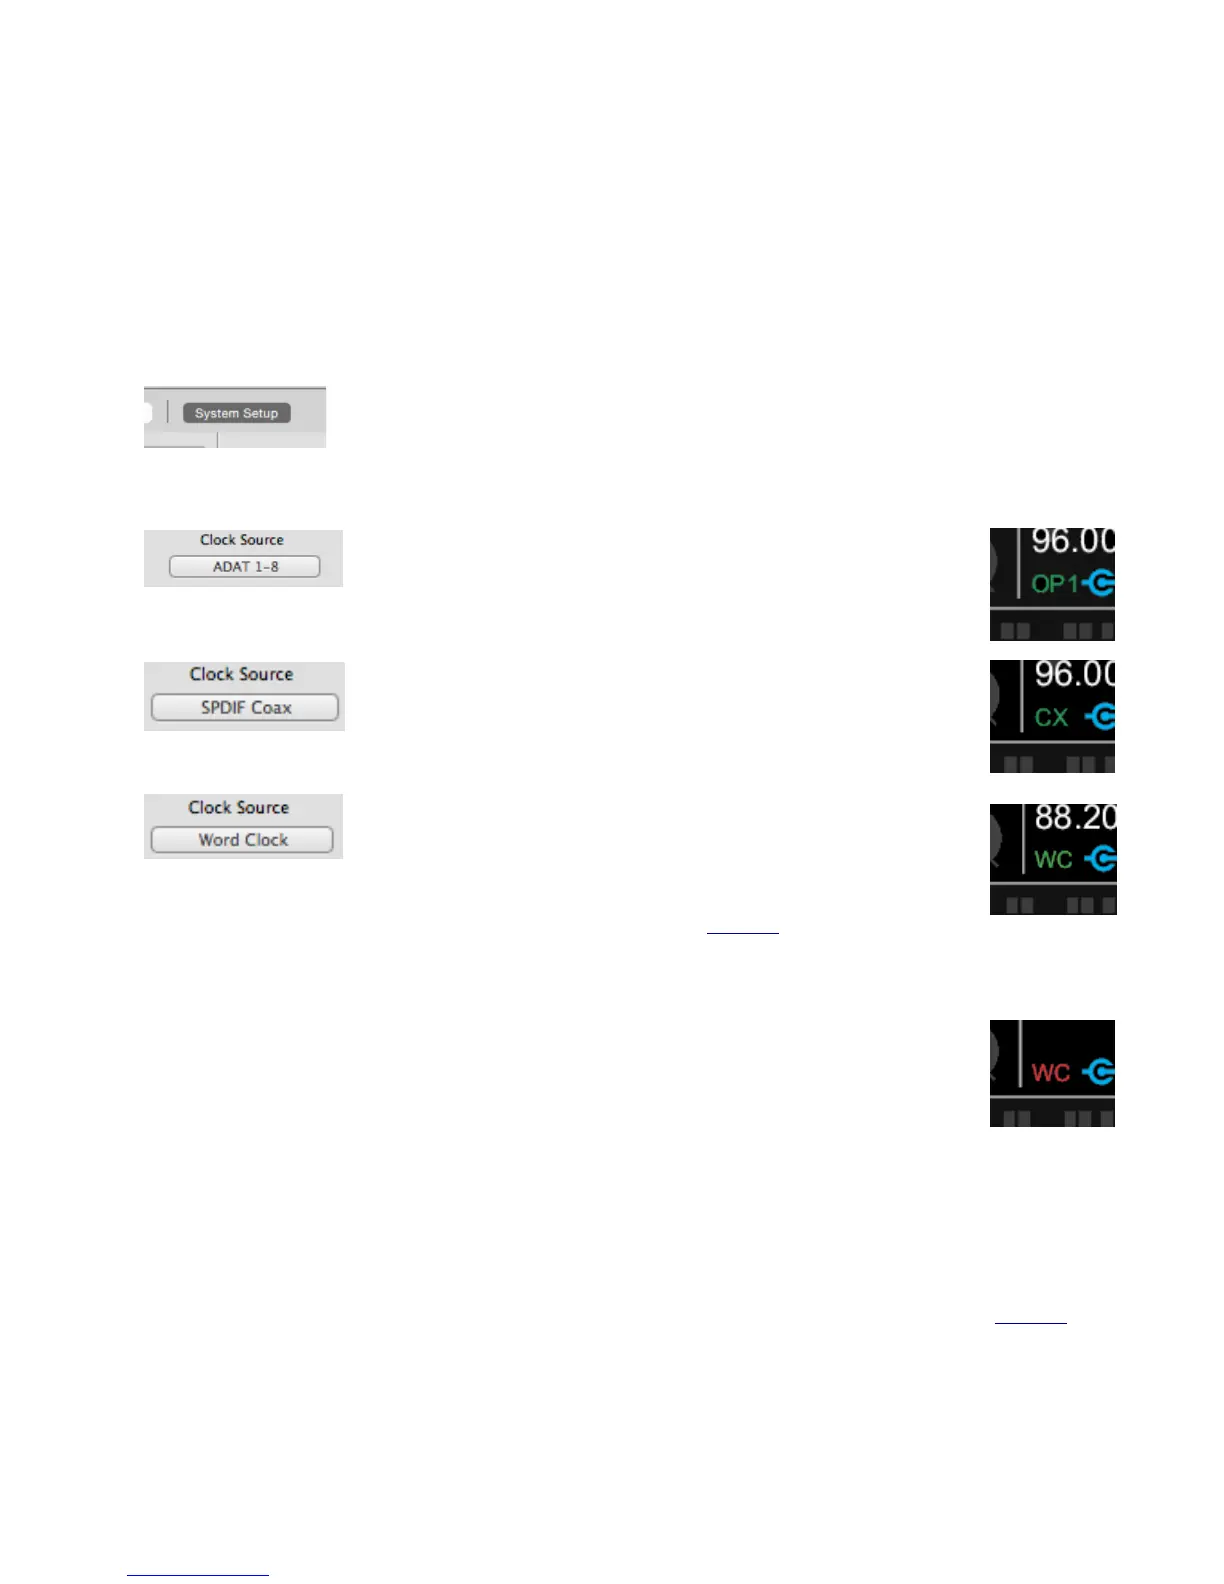
3. Open Maestro and select the “System Setup” tab (or use the keyboard combination ⌘+7]).
4. In the Clocking Section, set Clock Source to the appropriate external connection.
•
Set the Clock Source to “ADAT”, “SMUX”, or “SPDIF Optical”
when using an optical cable. Ensemble’s front panel will also reflect
the source.
•
Set the Clock Source to “SPDIF Coax” when using a coaxial audio
cable. Ensemble’s front panel will also reflect the source.
•
Set the Clock Source to “Word Clock” when using a BNC word
clock cable. Ensemble’s front panel will also reflect the source.
* BNC is the preferred method of transferring digital clock. Use this connection whenever
possible and make sure to follow appropriate termination practices (page 49).
If Ensemble doesn’t receive or is unable to lock to a external clock source, the display’s clock
source indication will turn red, and the sample rate will blink.
When this happens, check your connections for a bad or misconfigured cable, and make sure
the sample rate of the master and slave devices are set to the same value.
Termination
Termination only needs to be considered when using Ensemble’s BNC word clock connections. See page 49 to
determine if termination should be disabled for your particular setup.
38