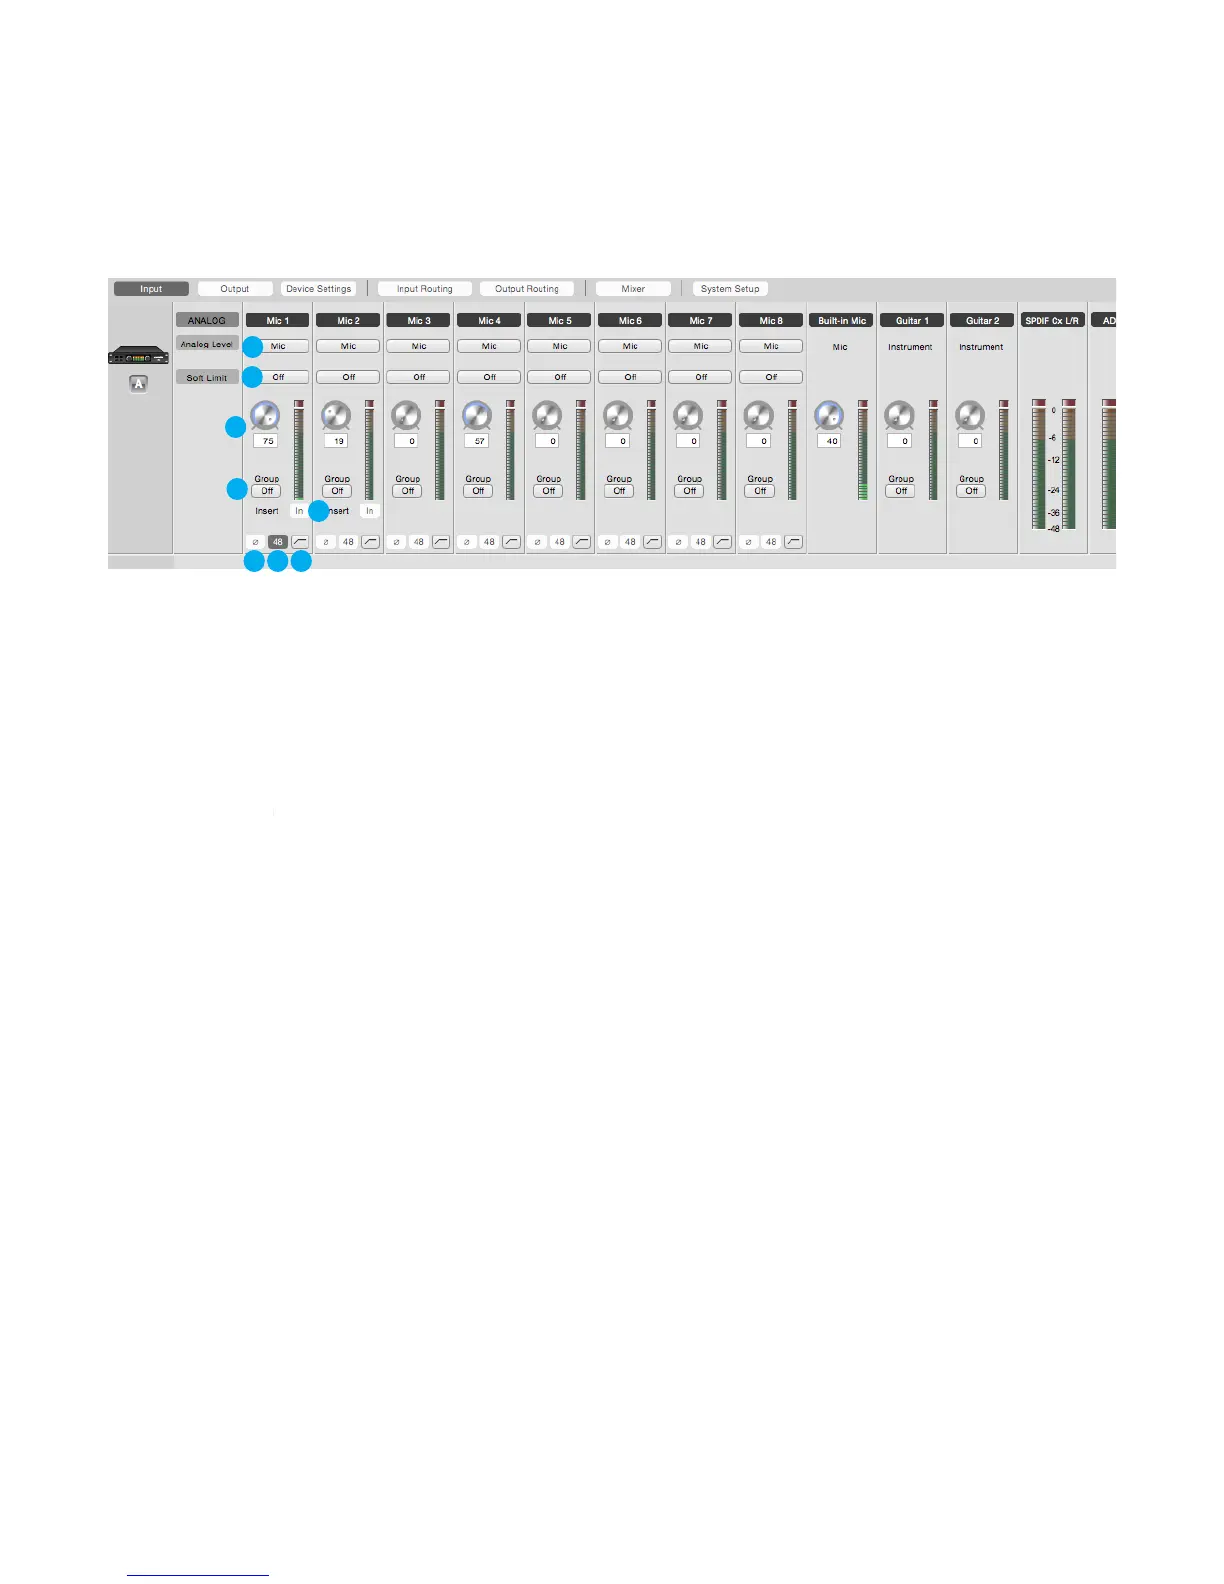
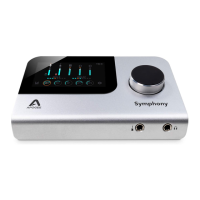
Input Tab Window
Settings for Ensemble’s analog and digital inputs are found in the input tab.
-
Use this drop down menu to choose the analog level for each A/D conversion channel.
Option+click any channel to set the reference for all channels
•
Choose Mic when connecting microphones or direct boxes, or any devices that needs to run through a
microphone preamplifier. -XLR Input only
•
Choose Mic when connecting microphones or direct boxes, or any devices that needs to run through a
microphone preamplifier. -XLR Input only
•
Choose Inst when connecting a guitar or keyboard, or any high impedance (Hi-Z) instrument to the 1/4”
input (balanced TRS or unbalance TS). The signal is sent through a Hi-Z to Low-Z conversion circuit
before sent through the microphone preamplifier circuit.
•
Choose Inst when connecting a guitar or keyboard, or any high impedance (Hi-Z) instrument to the 1/4”
input (balanced TRS or unbalance TS). The signal is sent through a Hi-Z to Low-Z conversion circuit
before sent through the microphone preamplifier circuit.
•
Choose +4dBu when connecting to “pro” gear, such as en external mic pre, compressor, or EQ, with
outputs at a +4dBu nominal level.
•
Choose +4dBu when connecting to “pro” gear, such as en external mic pre, compressor, or EQ, with
outputs at a +4dBu nominal level.
•
Choose -10dBV when connecting to “semi-pro”, hi-fi, or musical instrument gear with outputs at a -10
dBV nominal level.
•
Choose -10dBV when connecting to “semi-pro”, hi-fi, or musical instrument gear with outputs at a -10
dBV nominal level.
-
Select “On” to engage. This option begins to attenuate transient peaks at a threshold of
-4dBfs.
-
Use to adjust the gain of the microphone preamp. Not available when the input is set to
+4dBu or -10dBV.
-
The gain of input channels set to the same group number are adjusted simultaneously. Any
level offsets that exists before inputs are grouped will be preserved after a group is chosen.
5. Insert In
(ch 1/2 only)
-
When this button is engaged, the signal to the Insert Return jack is routed to the A/D converter.
Note that the Insert Send is always active and thus may be used as an analog direct out.
-
Use this button to invert the polarity of the input signal.
-
Use this button to enable 48 volt phantom power on the corresponding Analog In channel.
Condenser mics require 48 volt phantom power to operate.
-
Use this button to engage an 80Hz, 12db/octave high-pass filter on the input.
40
1 2 3 4 5 6 7 8 9 10 11 12 13 14 15 16 17 18 19 20
1 2 3 4 5 6 7 8 9 10 11 12 13 14 15 16 17 18 19 20
1 2 3 4 5 6 7 8 9 10 11 12 13 14 15 16 17 18 19 20
1 2 3 4 5 6 7 8 9 10 11 12 13 14 15 16 17 18 19 20
1 2 3 4 5 6 7 8 9 10 11 12 13 14 15 16 17 18 19 20
1 2 3 4 5 6 7 8 9 10 11 12 13 14 15 16 17 18 19 20
1 2 3 4 5 6 7 8 9 10 11 12 13 14 15 16 17 18 19 20
1 2 3 4 5 6 7 8 9 10 11 12 13 14 15 16 17 18 19 20