IMPORTANT! Wear powder-free gloves while creating the background plate.
1.
Remov
e a MicroAmp
™
96/384-Well Optical Reaction Plate from its box and place
it on a clean, dry surface.
2.
Aliquot 20 µL deionized water to each well of the reaction plate.
3.
Seal the plate using an optical adhesive cover or optical at caps.
4.
Use the plate for background calibration as you would a background plate from
the spectral calibration kit.
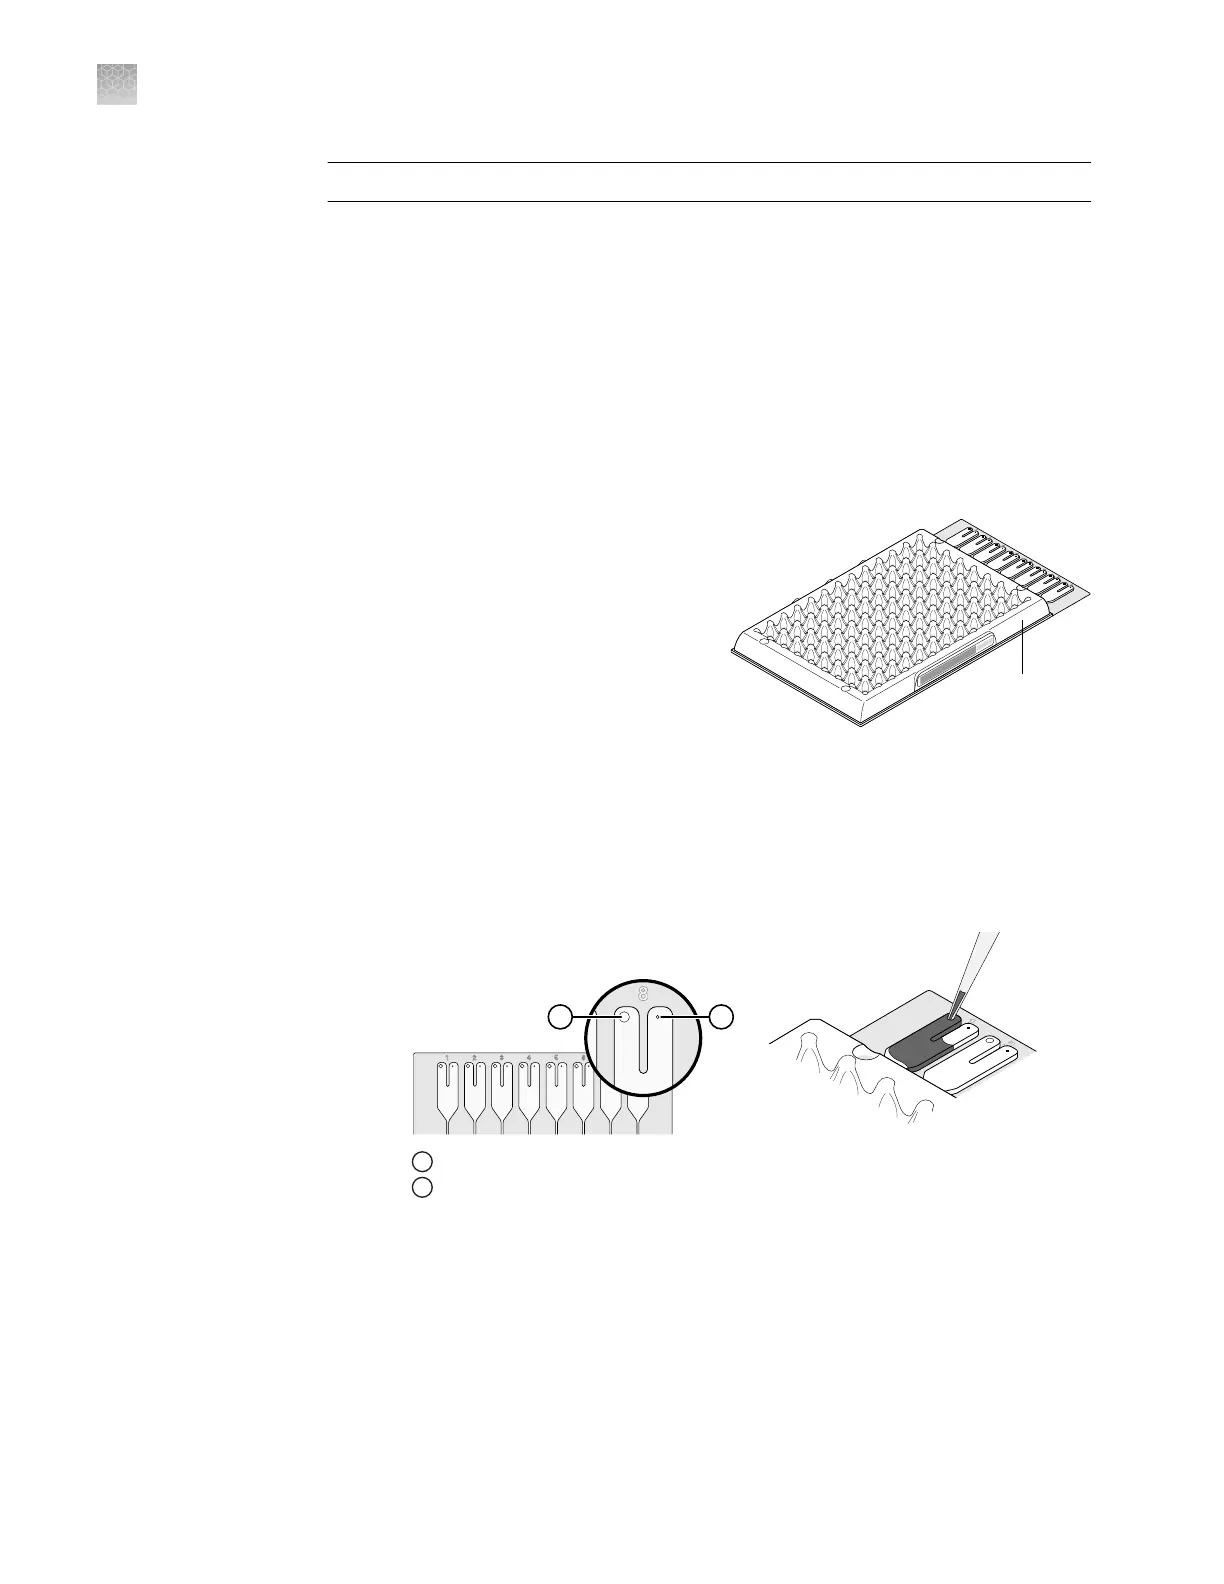
1.
Remove an array card from its box and place it on a clean, dry surface.
2.
Using a permanent marker, write
“Background” on the side of the
empty card.
3.
Pipet 100 µL of deionized water into
each of the eight reservoirs in the
card:
a.
Place the array card on a lab
bench, with the foil side down.
b.
Load 100 µL of the solution into a pipee.
c.
Hold the pipee in an angled position (∼45°) and place the tip into the ll
port.
There is a ll port on the left arm of each ll reservoir – the larger of the two
holes.
GR2158
Microfluidic Card
Card Ports detail
21
1
Fill port
2
Vent port
Create a
background plate
Create a
back
ground array
card
(QuantStudio
™
7
Flex System only)
Appendix F Calibration consumable preparation
Create a background plate or array card
F
152
QuantStudio
™
6 and 7 Flex Real-Time PCR Systems v1.6 Maintenance and Administration Guide