5.
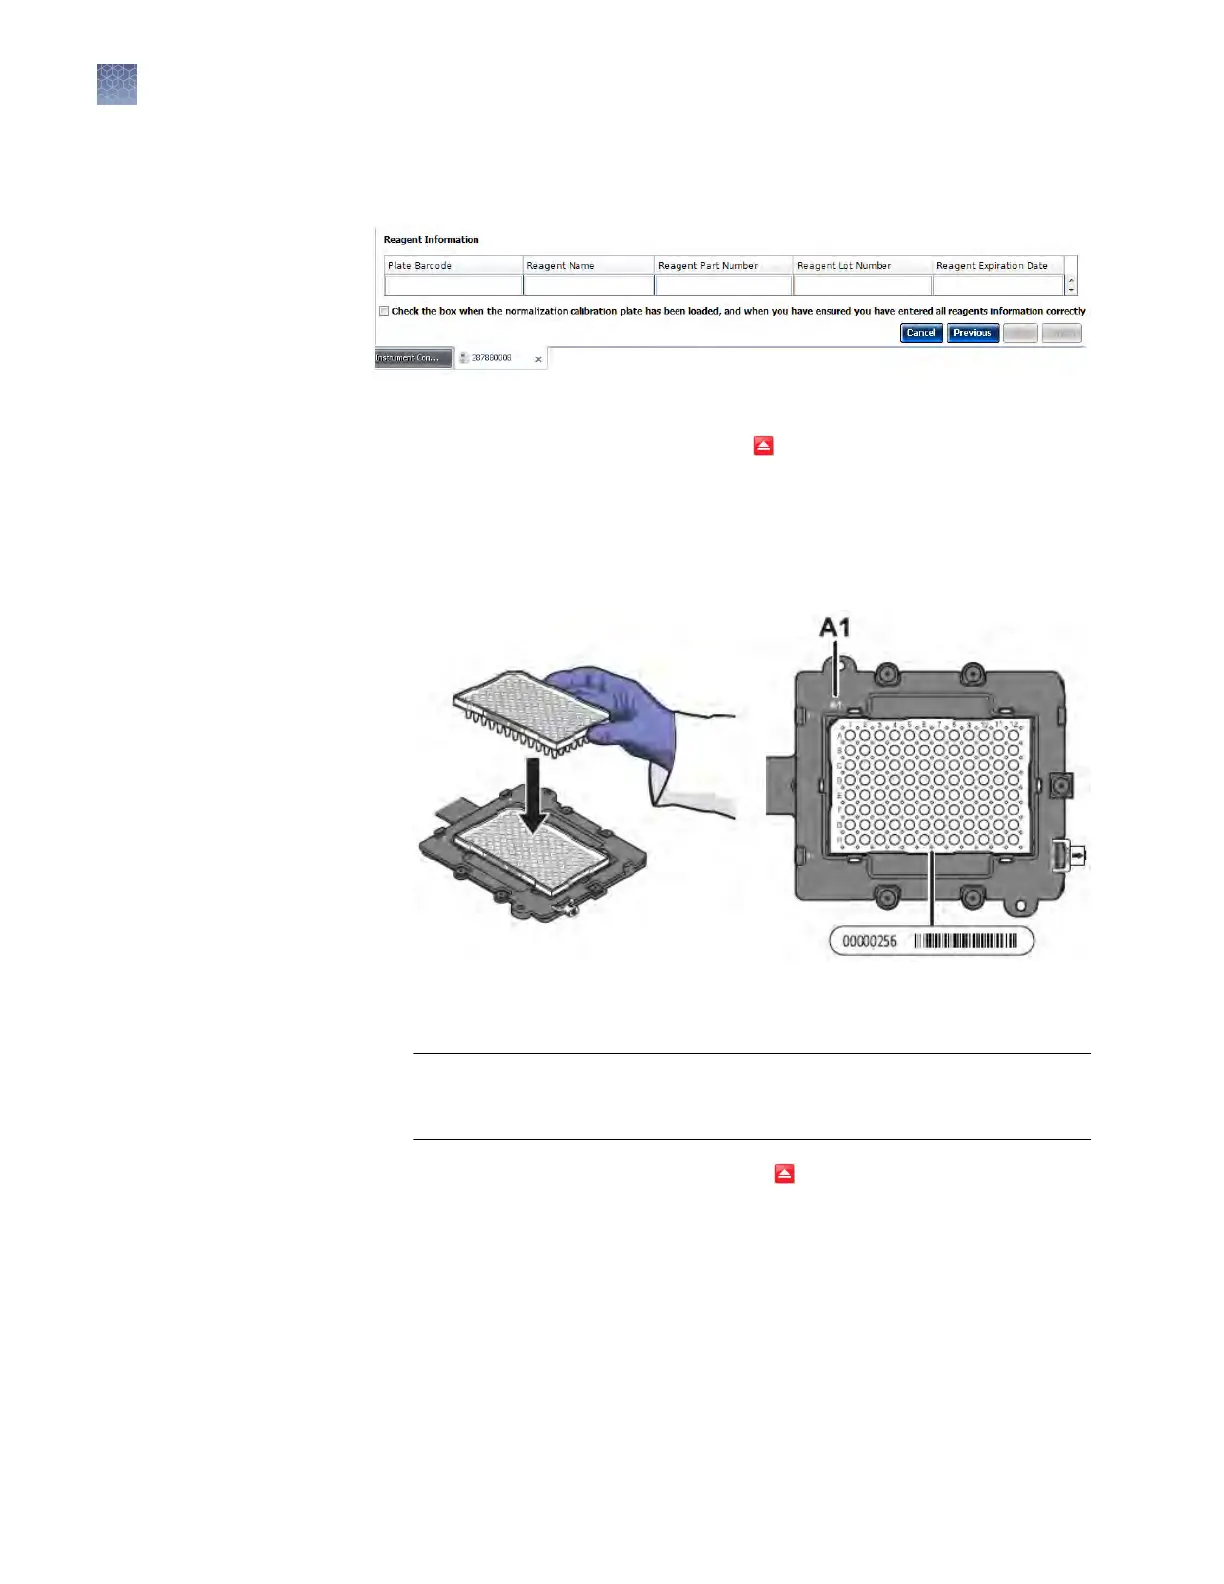
At the boom of the Setup tab, enter the reagent information for the array card
that you are using.
6.
Load the array card into the instrument:
a.
From the instrument touchscreen, tap
to eject the instrument tray.
b.
Conrm that the array card matches the selection in the softw
are, then load
it into the card holder so that:
• Well A1 of the array card is in the top-left corner of the adapter.
• The barcode faces the front of the instrument.
Note: The dy
es contained in each array card appear next to the barcode on
the front of it.
IMPORTANT! Array cards should be loaded and unloaded by operators
who hav
e been warned of the moving parts hazard and have been
adequately trained.
c.
From the instrument touchscreen, touch to close the instrument tray.
7.
After loading the array card, start the calibration:
a.
In the Normalization Calibration screen tab, select Check the box when the
normalization calibration plate has been loaded, then click Next.
Chapter 2 Calibr
ate the instrument
Normalization calibration (TaqMan
®
Array Card only)
2
60
QuantStudio
™
6 and 7 Flex Real-Time PCR Systems v1.6 Maintenance and Administration Guide