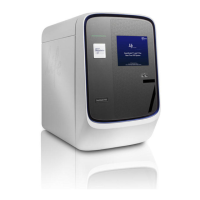
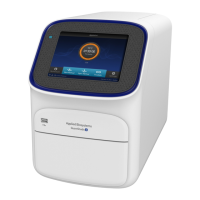
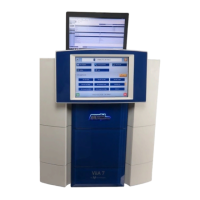
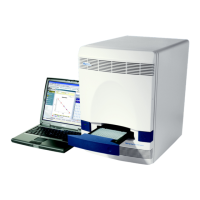
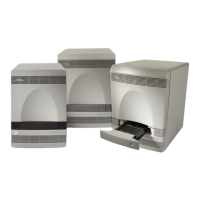
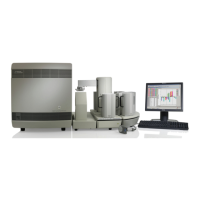
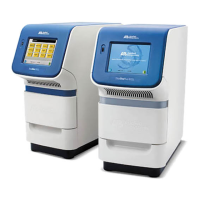
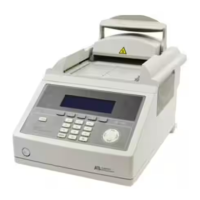
The QuantStudio
™
6 and 7 Flex Systems
back up to and restores instrument
seings from a USB ash driv
e. Before
backing up or restoring seings, you
must plug the drive into one of the USB
ports below the touchscreen.
IMPORTANT! Do not use the USB ports
on the rear panel of the QuantStudio
™
6
and 7 Flex Systems. The rear USB ports
are for use by
Thermo Fisher Scientic
personnel to service the instrument.
Back up the instrument settings
1.
Plug a USB driv
e into the USB port below the touchscreen.
2.
From the Main Menu of the instrument touchscreen, touch Tools, then touch
Backup Seings.
3.
From the Backup Seings screen, touch
Backup.
4.
W
ait for the backup to complete, then touch
to return to the Main Menu.
5.
Unplug the USB driv
e.
Note: For administrative purposes, you can reuse the instrument seings saved to the
USB drive to congure more than one QuantStudio
™
6 or 7 Flex System. Note that you
must congure the network seings for each instrument individually.
Restore the instrument settings
1.
Plug the USB drive that contains the instrument seings into the USB port below
the touchscreen.
2.
From the Main Menu of the instrument touchscreen, touch Tools, then touch
Restore Seings.
3.
From the Restore Seings screen, select the seings to restore:
a.
Touch the seings that you want to restore from the list.
b.
Touch
Restore to upload the instrument seings from the USB driv
e.
IMPORTANT! Do not remov
e the USB drive from the QuantStudio
™
6 or 7 Flex
System until instructed.
Note: Alternatively, touch Restore Default Seings to restore the QuantStudio
™
6 or 7 Flex System to the factory seings.
4.
After the QuantStudio
™
6 or 7 Flex System restarts, unplug the USB drive.
Appendix A Manual instrument operation
Maintain the instrument from the touchscreen
A
88
QuantStudio
™
6 and 7 Flex Real-Time PCR Systems v1.6 Maintenance and Administration Guide
 Loading...
