3.
Upload the instrument icon:
The instrument icon is the graphic used to represent the instrument in the
QuantStudio
™
Real-Time PCR Software Instrument Console:
a.
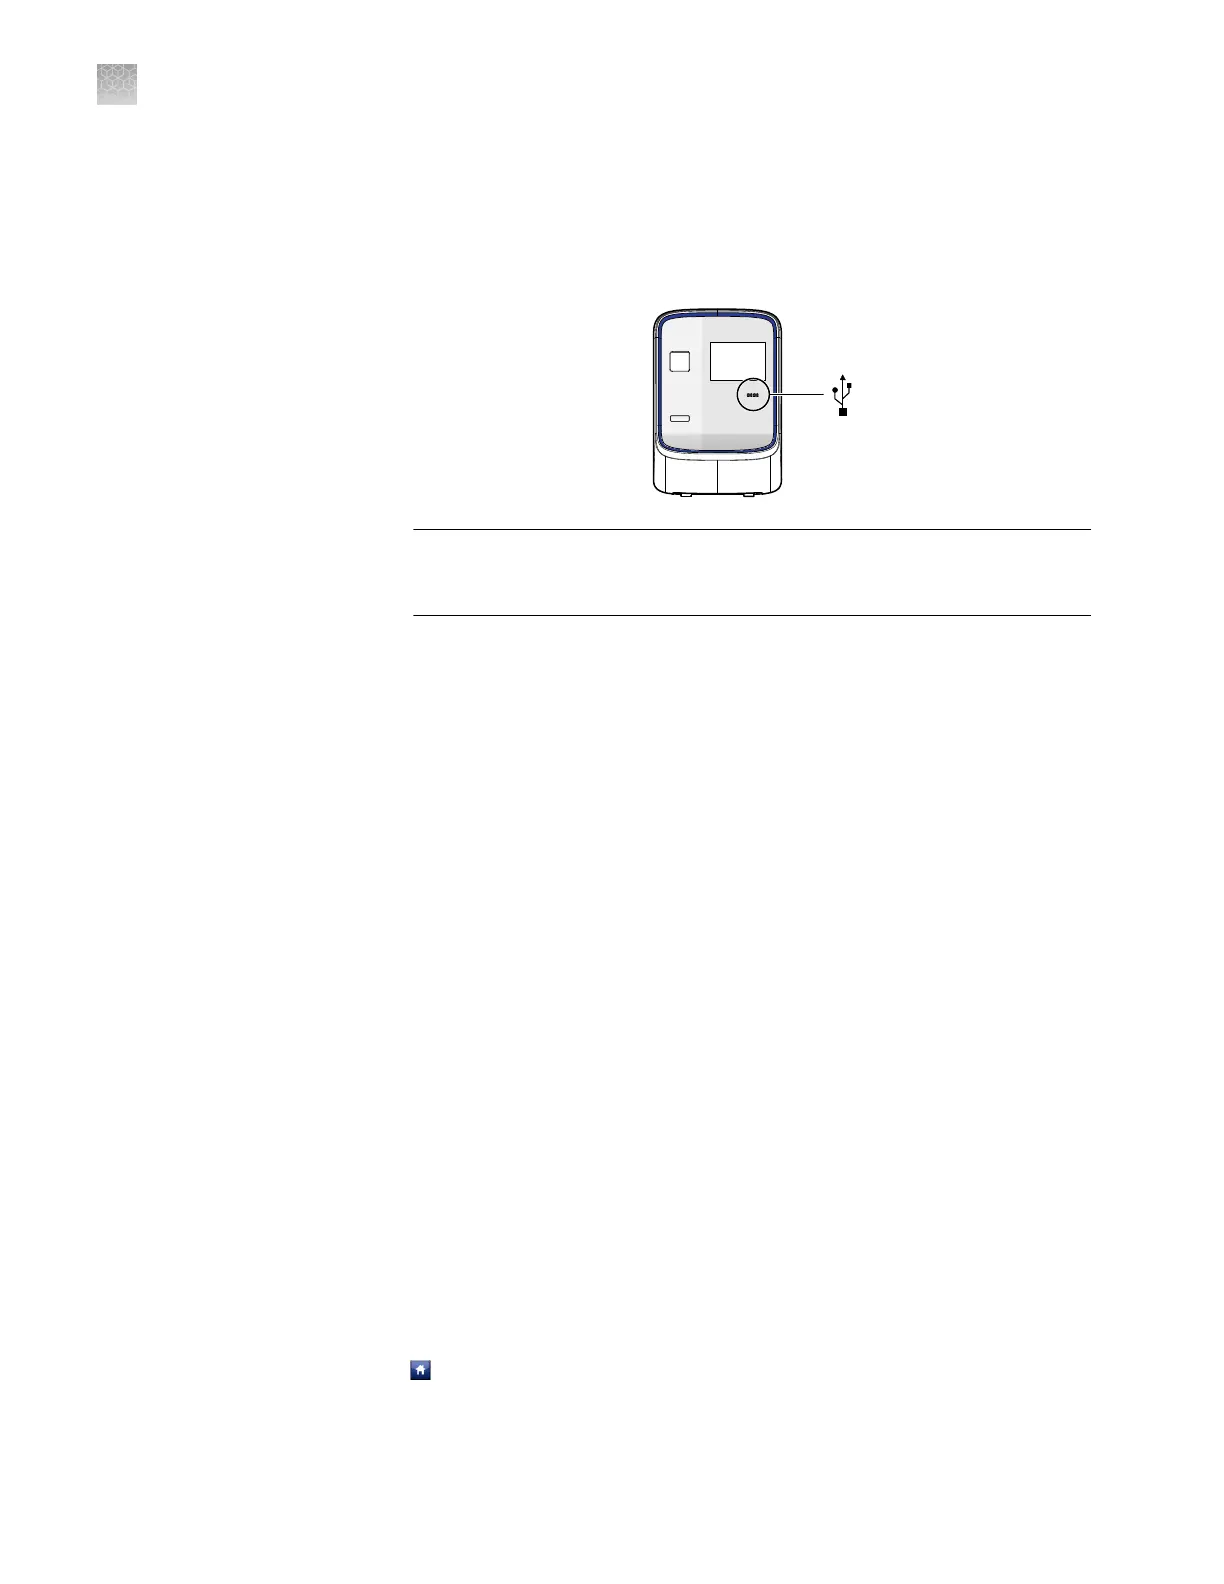
Save the replacement graphic to a USB drive, then plug the drive into the
USB port below the touchscreen.
IMPORTANT! Do not use the USB ports on the rear panel of the instrument.
The rear USB ports are for use by Thermo Fisher Scientic personnel to
service the instrument.
b.
T
ap Upload Icon, select the desired graphic le, then tap Done.
Note: The replacement graphic must be a maximum of 48 × 48 pixels and be
stored in the portable net graphic (PNG) format.
4.
Dene the standby time-out seing:
a.
Select Standby Time-out to activate the feature.
b.
Tap the Standby Time-out eld.
c.
Enter the number of minutes (1–300) that the instrument should remain idle
until it enters standby mode, then tap Done.
Note: When in standby mode, the instrument powers o the LCD screen
backlight and enters low-power mode.
5.
Dene the heated cover temperature seing:
a.
Select Cover Idle Temperature to activate the feature.
b.
Tap the Cover Idle Temperature eld.
c.
Enter the temperature (50.0–110.0°C) that the heated cover should maintain
when the instrument is idle, then tap Done.
Note: The recommended cover idle temperature is 60.0°C for reaction plate
formats and 85.0°C for the array card format.
6.
Tap Save to save the seings, tap touch OK when prompted.
7.
Unplug the USB drive.
8.
Tap
to return to the main menu.
Appendix A Manual instrument operation
Administrate the instrument from the touchscreen
A
92
QuantStudio
™
6 and 7 Flex Real-Time PCR Systems v1.6 Maintenance and Administration Guide