Wheels, Axles & Chains Argo Service Manual
WA-6
6. Remove the cotter pins from the connecting link. Remove the outside plate and tap
out the connecting link.
7. Remove the idler chain from the vehicle.
Installing The Idler Chain - Manual Adjust(Frontier)
1. Install the chain over the brake disc sprocket and the idler shaft sprocket.
2. Pull the ends of the chains together and insert the connecting link.
NOTE
Make sure the idler chain adjustment bolts are at their lowest level. Use a pair of modi-
ed 7R Vice Grips to hold the ends of the chain together while inserting the connecting
link. There may be no slack in the idler chain, making installation of the connecting link
dicult without this tool. Modied Vice Grips can be ordered from your ARGO dealer
(ARGO Part No. 658-08).
3. Install the outside plate and secure with the cotter pins. Always use new cotter pins.
4. Perform the servicing procedure, Idler Chain Adjustment.
5. Reinstall the rewall.
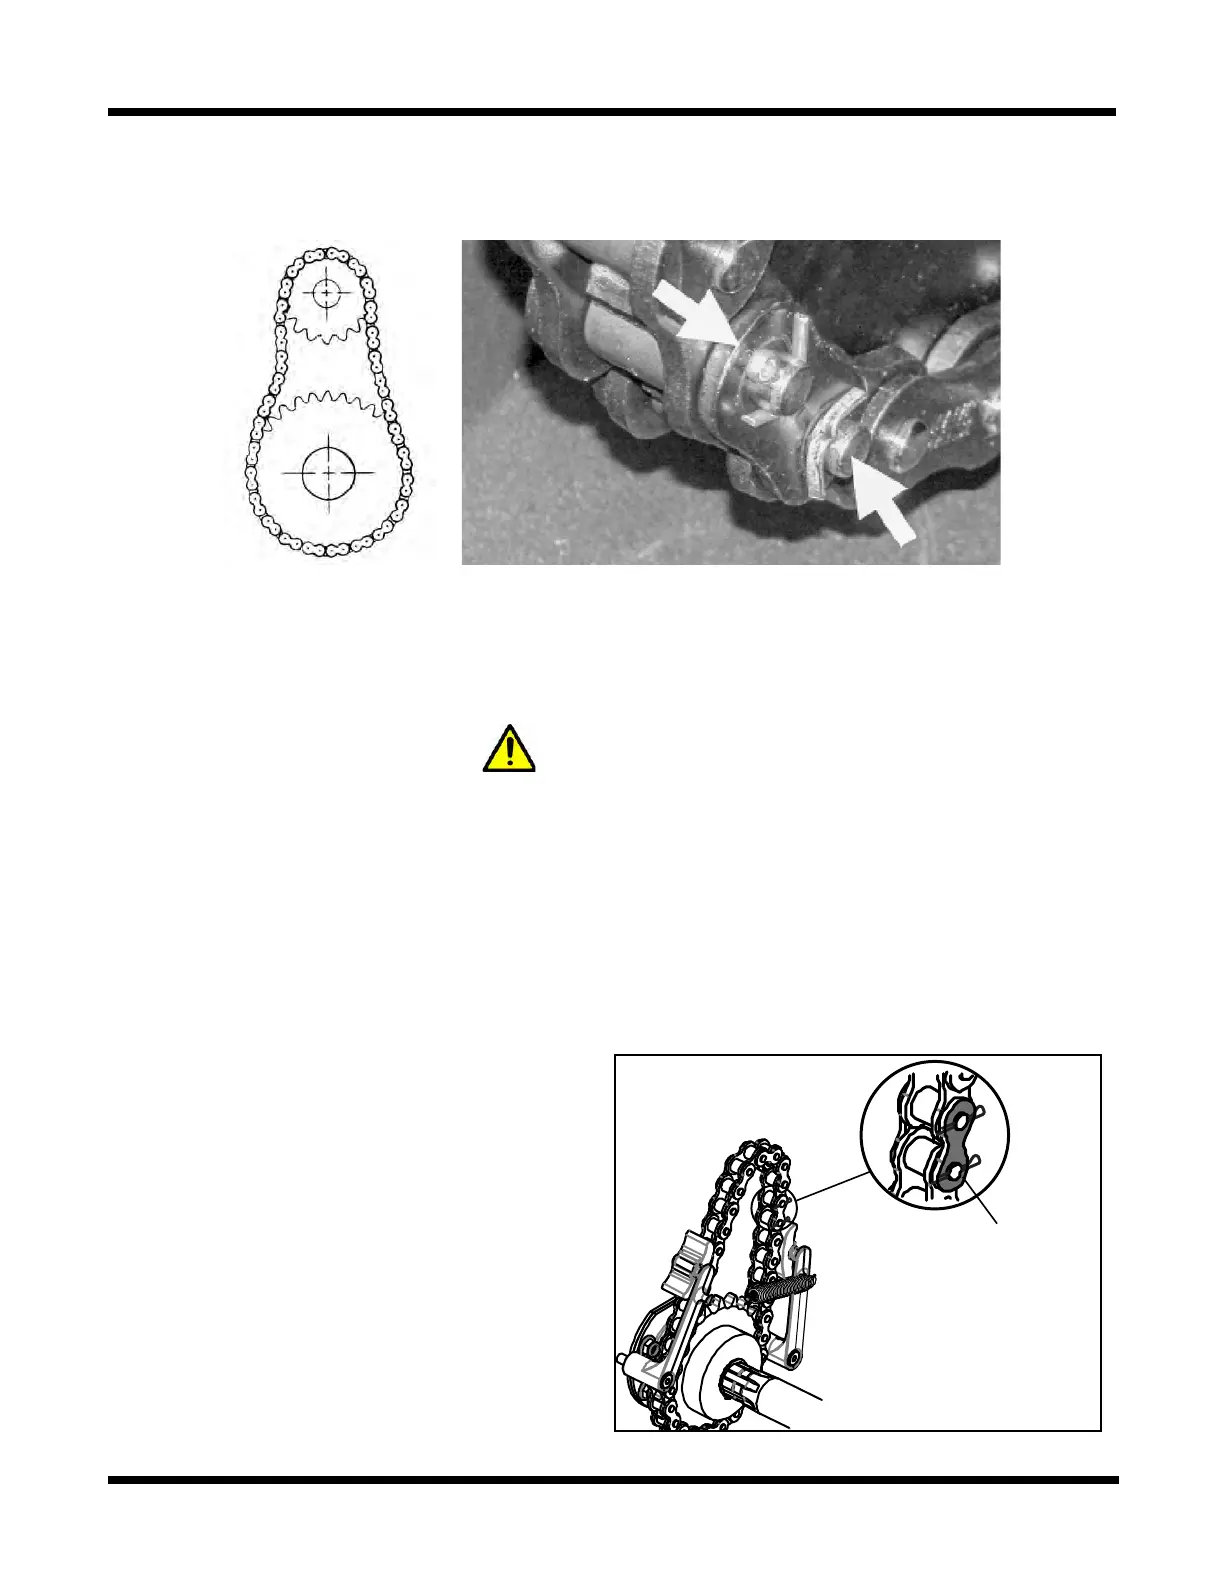
Removing The Idler Chain-Self Adjust
(Frontier)
1. The idler chain is tted with a chain
tensioner system. Remove the spring
between the tensioner arms and the lay
the blocks back away from the chain.
2. With the vehicle raised o the oor,
place the gearshift in neutral and roll
the vehicle until the connecting link is
positioned in an accessible spot.
Connecting
Link
 Loading...