Wheels, Axles & Chains Argo Service Manual
WA-23
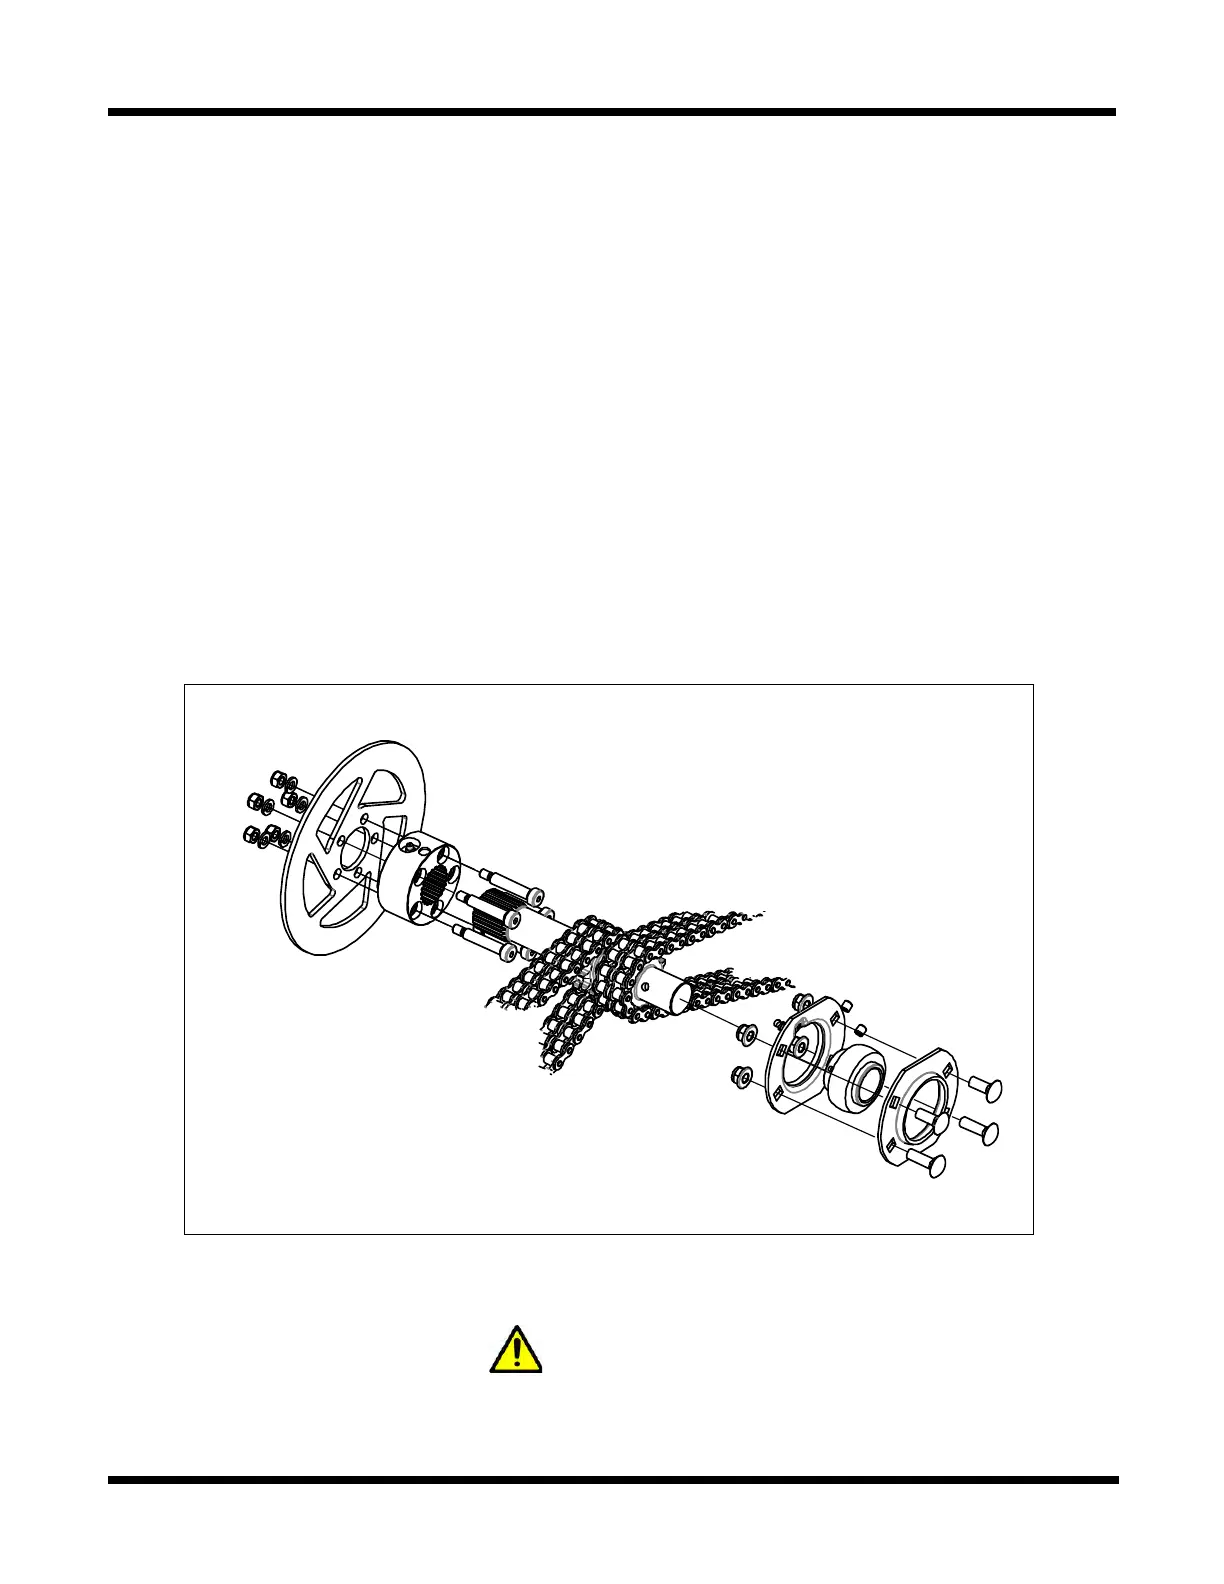
10. Align set screws with Idler Shaft countersink and install. Apply LOCTITE blue to set
screws and secure tightly.
11. Tighten down all ange hardware and torque to 35FT. LBS (47.4Nm)
12. Perform the servicing procedure, Drive Chain Installation.
13. Perform the servicing procedure, Installing the Steering Brake Disc (Frontier) .
14. Perform the servicing procedure, Installing The Idler Chain - Manual Adjust
(Frontier) or Installing The Idler Chain-Self Adjust (Frontier).
15. Perform the servicing procedure, Installing The Hydraulic Steering Brake Caliper
- Frontier Models.
16. Perform the servicing procedure, Installing the Driven Clutch, (Left side idler shaft
only).
17. Perform the servicing procedure, Installing the Front Floor Pan.
18. Perform the servicing procedure, Installing the Firewall
Removing The Idler Shaft (Aurora Models)
If you are removing the LEFT side Output Shaft, you will need to remove both Drive Belt
and Driven Clutch to successfully work on and remove the Output Shaft.
NOTE
The Brake line does NOT need to be disconnected from the caliper.
1. Perform the servicing procedure, Removing The Firewall.

 Loading...