EN-13
Engine System Argo Service Manual
Ontario Drive & Gear Limited www.argoutv.com
PH.(519)- 662-2840 FAX (519)- 662-2421
13. Attach the overhead hoist to the engine. There are lift hooks provided on each engine.
14. Slowly and gently raise the engine through the hood area with the overhead hoist.
Watch for any wiring they may have been overlooked in disconnecting which may in-
clude some optional accessory kit wiring. Some manoeuvring is required as the engine
does not necessarily come straight up and out. Avoid damage to any other components
as well as the upper body.
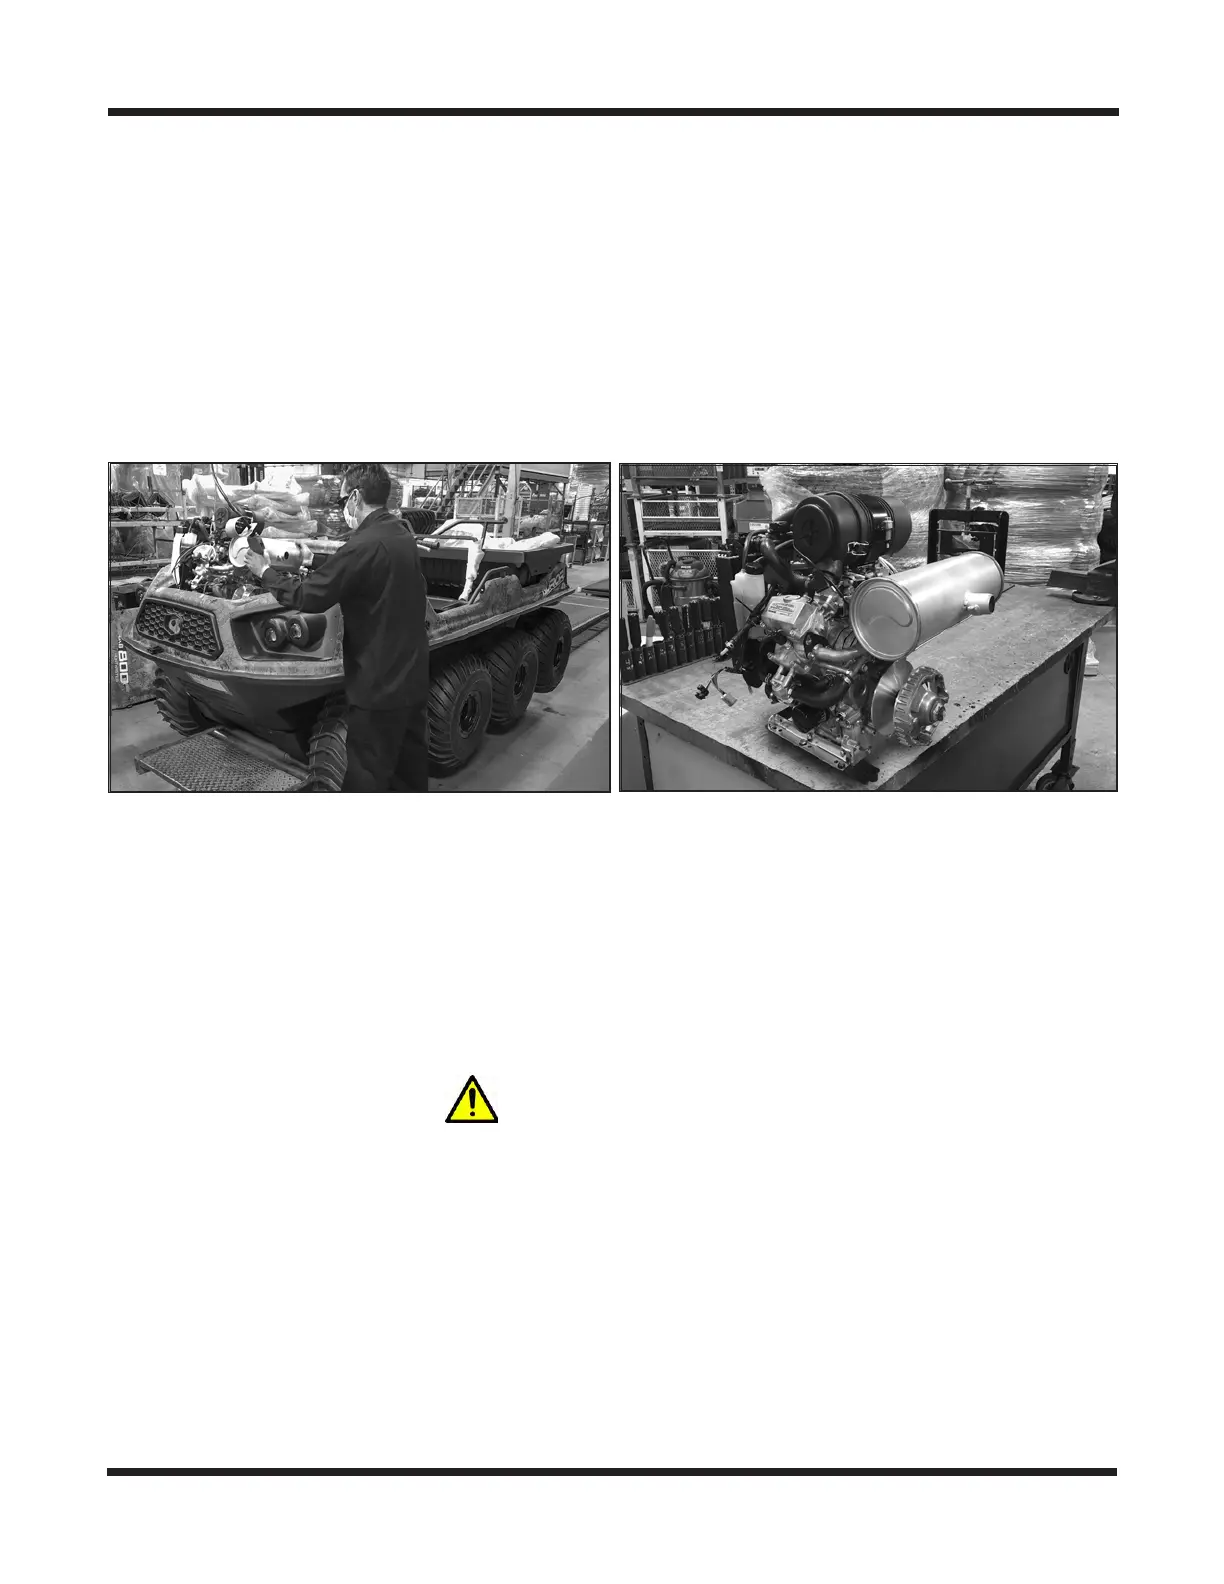
15. Place the engine on a clean work bench for service required.
16. Remove the front and rear engine mount brackets from the engine block.
Installing The Kawasaki 800 Engine
1. Install the front and rear engine mount brackets to the engine block using four (4)
HHCS M8x1,25x20 (8.8) ZN and four (4) Lock Washer 5/16 Split-Ring BNZ and
torque to 225.4 IN-LBS (Dry, Non-Lubricated Condition).
2. Slowly and gently lower the engine through the hood area. Some maneuvering is re-
quired as the engine does not necessarily drop straight in. A
void damage to any vehicle
components as well as the upper body.
IMPORTANT
Once the engine is seated into place on the lower frame, ensure that the rubber rad
seal is properly sealing at the face of the radiator.
3. Align the engine mounted frame holes with the holes in the lower main frame and rein-
stall each of the four (4) HHCS 3/8-16x2.0 GR5 BNZ & 108-06 Lock washers. Secure
and torque each fastener to 31 FT-LBS (Dry, Non-Lubricated Condition)
4. Reconnect all engine sensor wiring between engine and main vehicle wire harness.
5. Reconnect engine connector plugs in the main wire harness located at the front of the
engine.
 Loading...