 Loading...
Do you have a question about the ARRI ALEXA Series and is the answer not in the manual?
| Dynamic Range | 14+ stops |
|---|---|
| Resolution | 4.5K (ALEXA LF), 6.5K (ALEXA 65) |
| Recording Formats | ARRIRAW, Apple ProRes |
| Lens Mount | PL mount |
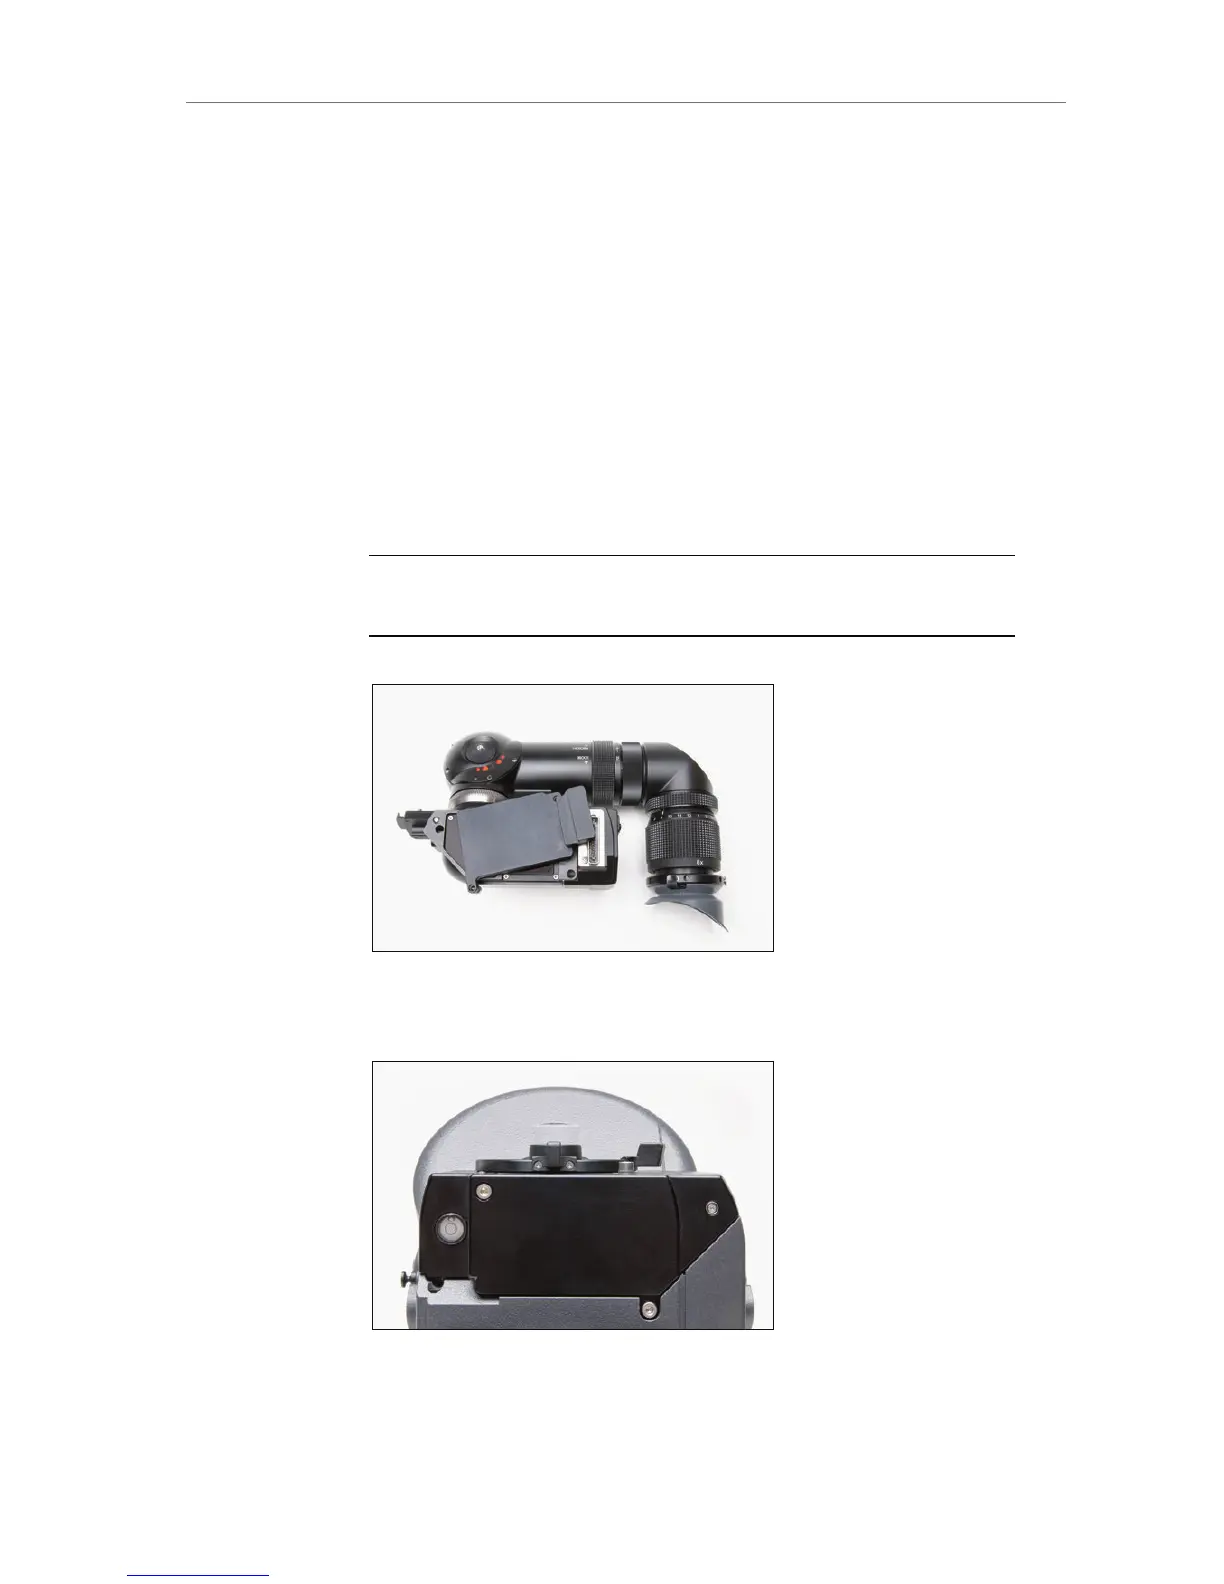
| Viewfinder | Optional EVF (Electronic Viewfinder) |
| Sensor Size | Super 35 (most models), Large Format (ALEXA LF, ALEXA 65) |
| ISO Range | EI 160 - EI 3200 (Base ISO 800) |