15
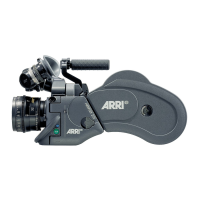
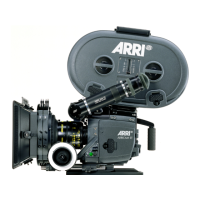
Attaching the Bridge Plate to the Camera
• Fasten the sliding upper plate ➪ photo with the two slit
screws to the camera base. Both cylindrical pins ➪ photo
(twist prevention) must glide into the holes.
• Then screw the base plate onto the wedge plate of the
tripod and lock onto the tripod head.
• Slide the camera with the upper plate into the dovetail-
guide of the base plate until the spring-loaded stop pin
➪ photo snaps back audibly. The camera’s position can
then be fixed with the clamp lever.
• Slide the support rods into the guides and clamp.
• Equip the camera with the required accessories to
determine the center of gravity. Loosen the clamping
lever ➪ photo, and by sliding the camera on the base
plate find the optimal position. Then retighten the
clamping lever.
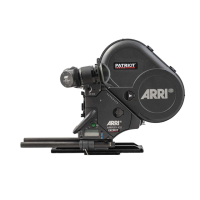
Removing the Camera from the Tripod
• Before removing the camera make sure that all cables are
disconnected and that the eyepiece leveling rod is de-
tached.
• For fast removal of the camera from the tripod, loosen the
clamping lever ➪ photo, push in the stop pin ➪ photo
and then pull the camera with the upper plate ➪ photo
from the base plate.
Installation
screws
clamping lever
sliding upper plate
cylindrical pins
sliding upper plate
base plate
stop pin
 Loading...