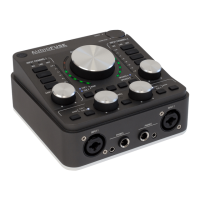
To the left of the Line Outputs and backed in white, the Speaker Outputs are TRS jacks that
should be connected to your primary set of monitors. Your DAW will see them as Outputs 1
and 2.
Note that if you've switched on the A/B Monitoring function, and switch to your alternate or "B"
speakers, these outputs are muted.
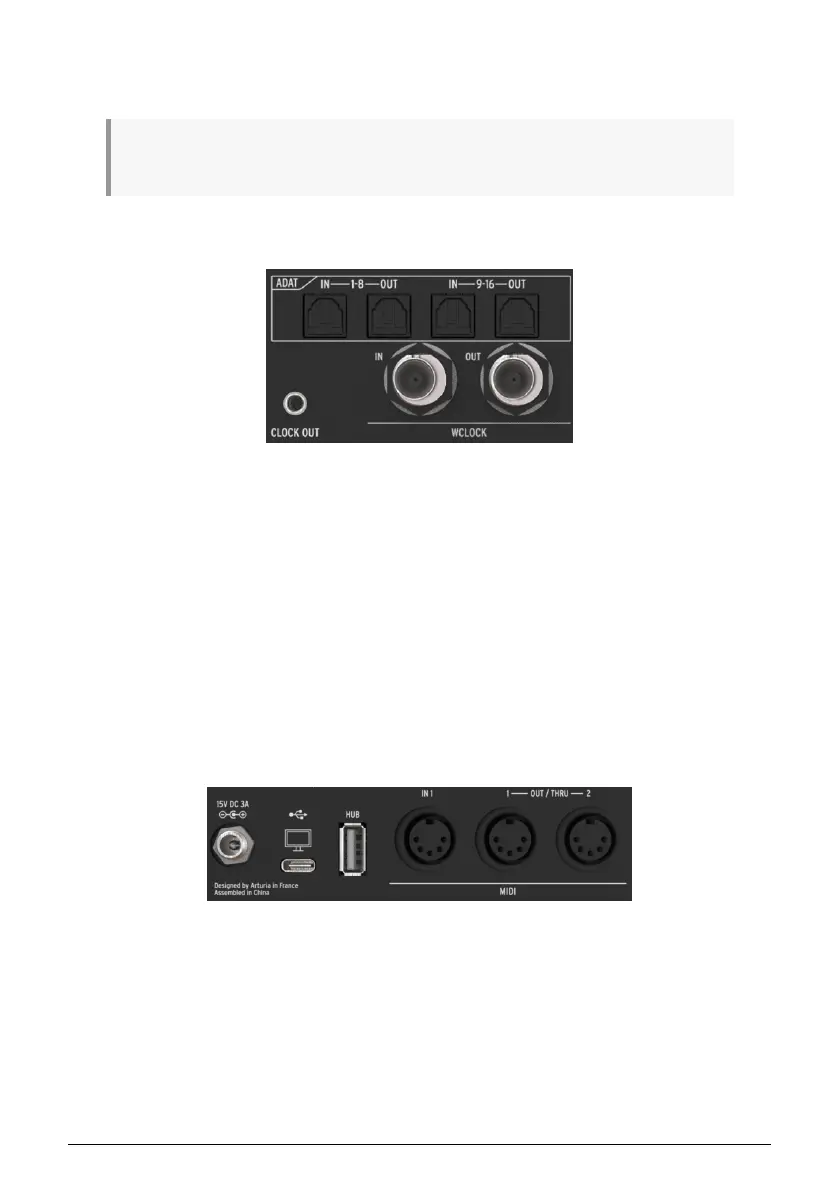
4.2.3. Digital Audio I/O
The AudioFuse 16Rig will grow with your setup, offering the ability to send and receive multi-
channel digital audio at high resolution. You can use these facilities to connect external
preamps (like the AudioFuse 8Pre), or route audio to and from any gear with ADAT optical
connections such as standalone A/D and D/A converters.
The four ADAT ports use optical Toslink connectors. They can provide either 16 channels of I/
O at 44.1 or 48 kHz, or 8 channels of I/O at 88.2 or 96 kHz.
Underneath are BNC connectors for Word Clock In and Out. They're internally terminated
so you don't have to add an external terminator when using them. These jacks assure that
all of your digital gear is following the same clock signal, to maintain the highest possible
fidelity.
4.2.4. MIDI, USB, and Power
The AudioFuse 16Rig has one MIDI In and a pair of assignable MIDI Out/Thru jacks, all on
5-pin DIN connectors. A 3.5mm jack next to MIDI Out/Thru 2 provides an analog MIDI clock
signal for use with certain analog synths, drum machines and modular synthesizers.
To the left of the MIDI jacks are a rear-panel USB-A port that acts as part of the interface's
built-in hub, a USB-C port that connects to the host computer for interface control and DAW
communication, and a locking connector for the AudioFuse 16Rig's power supply.
Rear panel ADAT and Word Clock ports
Rear panel MIDI, USB, and power connections
16 Arturia - User Manual AudioFuse 16Rig - Getting to Know the AudioFuse 16RIG