3. If you would like to connect multiple USB devices to your computer but you're short
on USB-A ports, use the front and rear panel HUB connectors to add single USB devices or
powered USB hubs. This is especially handy for modern laptops that might have only a few
USB-C ports to spare, and might have no USB-A ports at all.
4. The front panel also has a MIDI USB-A port. If you connect a USB MIDI device like
a keyboard or control surface to this port, it will operate the AudioFuse 16Rig and any
connected MIDI gear even when the interface isn't connected to a computer. This can
be useful for users that are interested in DAWless jamming or performing live on stage
without a laptop. Audio and MIDI always flow through the interface, even if a computer isn't
connected. In fact, you can control AudioFuse 16Rig's Main mixer using MIDI messages from
any connected controller.
5. Click on the MIDI menu to select how the AudioFuse 16Rig will route and respond to
MIDI.
If you're going to be recording and playing back MIDI via recording software, consult that
software's documentation to learn how.
5.10. Using the AudioFuse 16Rig as a Control Voltage
source
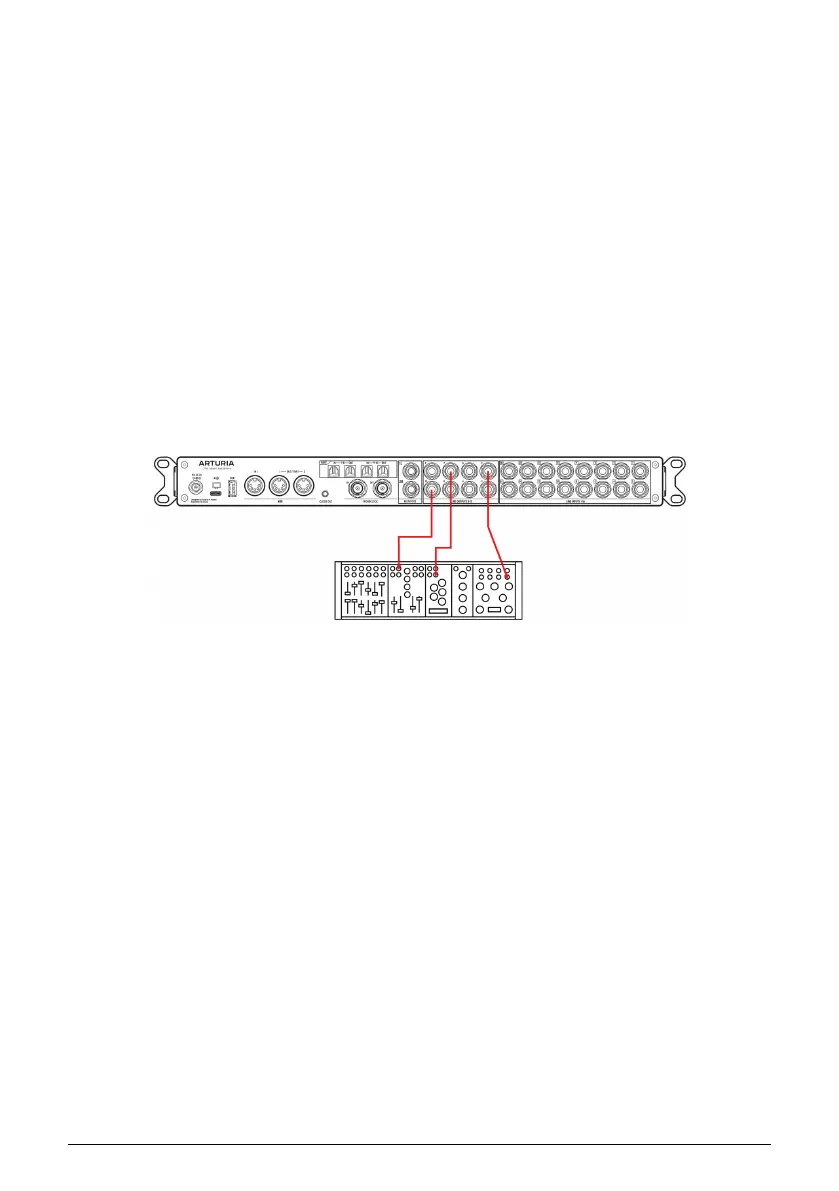
AudioFuse 16Rig's outputs 3–10 are DC Coupled. This means these outputs are designed to
output not only audio signals but also inaudible "control voltage" signals that are understood
by analog synthesizers.
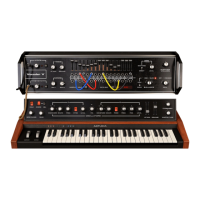
Using the DC coupled outputs and specific DAW plug-ins such as Ableton Live's CV Tools,
you can easily output CV signals from your DAW to control your modular and semi-modular
synthesizers, such as Arturia's MiniBrute.
No configuration is needed in the AFCC software to do this, but you may need to adjust the
output level and use specific mono cables to connect the AudioFuse 16Rig's outputs to your
synths' CV inputs.
26 Arturia - User Manual AudioFuse 16Rig - Putting Your AudioFuse 16Rig To Work