Chapter 1
1-24
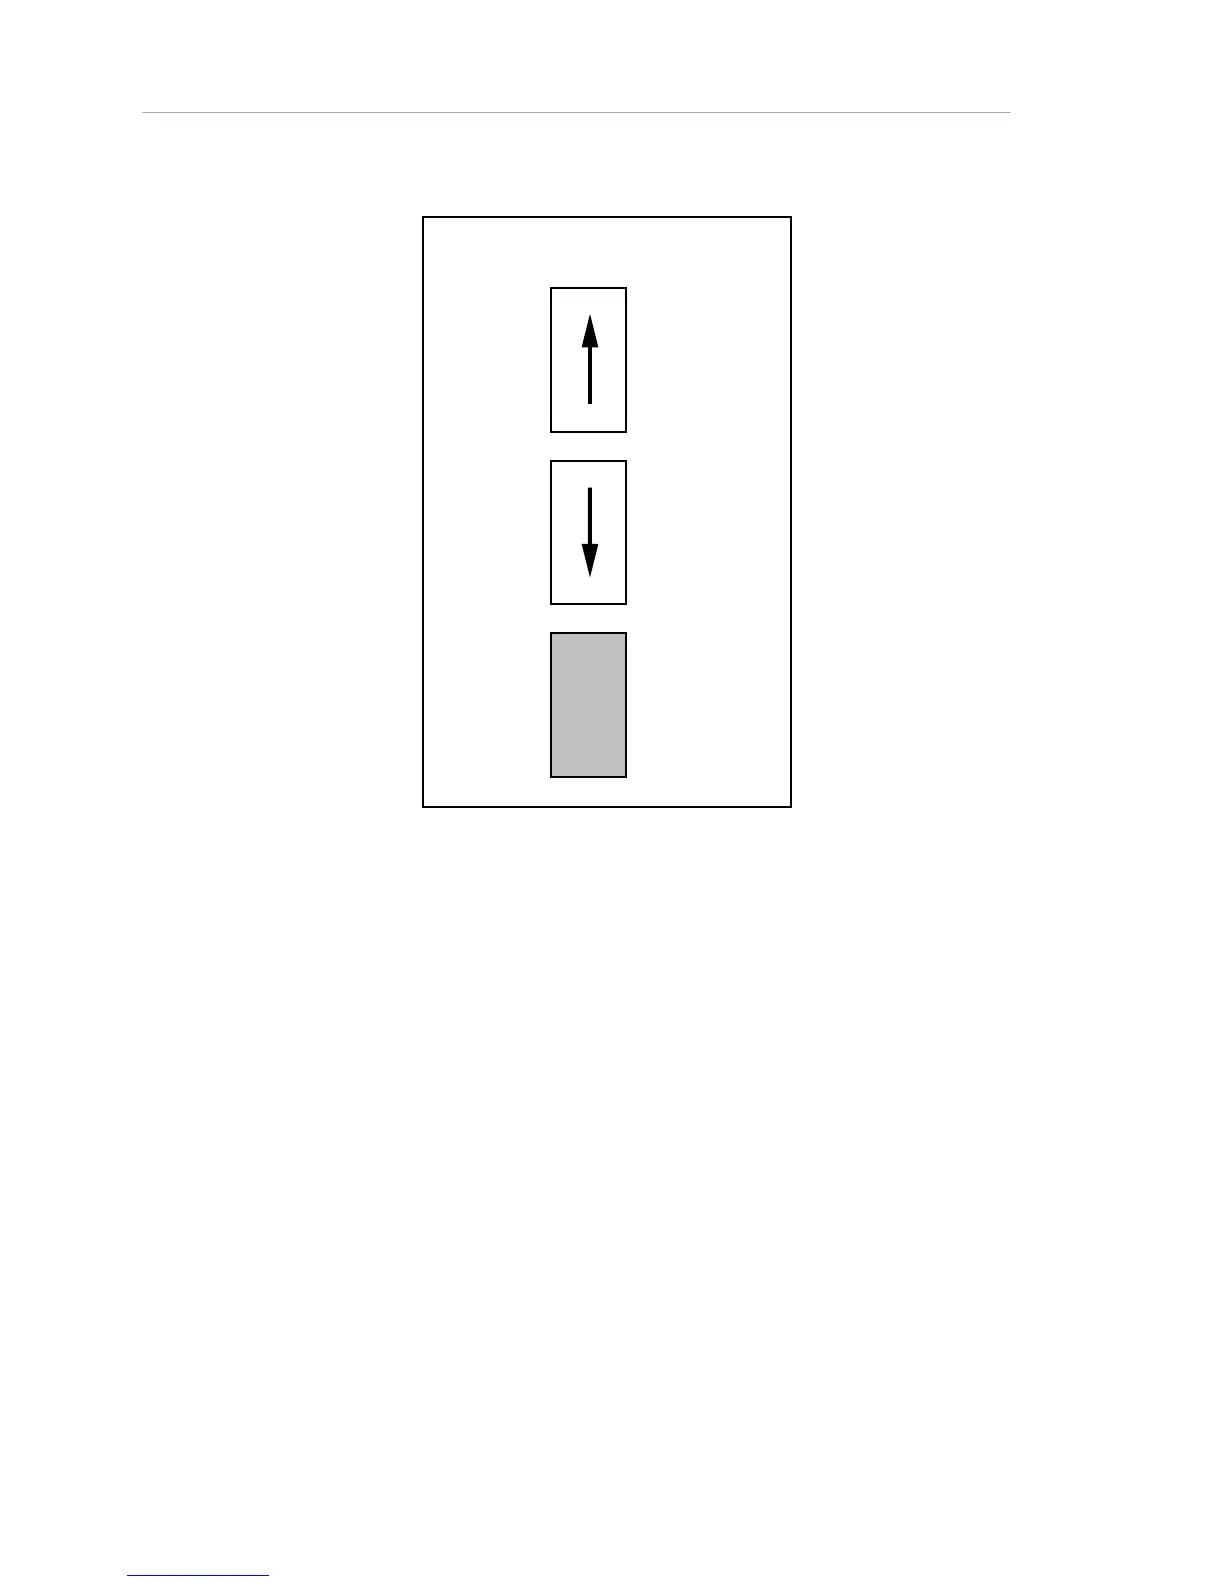
Switch Settings Key
DOWN
UP
Not relevant
to this
connection
Figure 1-16. DIP Switch Legend
Note: Because the AsantéHub's rear panel switches are very small and close
together, whenever switch settings are shown, the position of both switches is
identified (or a greyed out box is shown to represent the fact that a given switch
setting is not important for what is being discussed in this section).
How to Do It
The following figures show connections for PC or Macintosh network
management stations, with the appropriate switch settings.
To connect the network management station:
1. Set the switches on the rear panel of the hub, as shown in the
figure that applies to your network management station.
2. Make the cable connections, in any order.