USER’S MANUAL / bit Tune /
29
The software recognizes features and settings that have
been designed into the connected processor. The bit
Tune is preset for optimum configuration of the frequency
response for the type of processor connected.
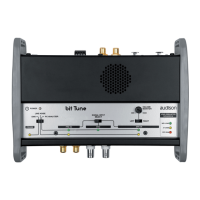
If the Processor is not found by the scanning:
- Make sure the Processor is turned on;
- Check the correct connection of the USB cable;
- Press OK to start the program in “bit Tune” mode
(see sect. 6.3) and connect the processor manually
(see sect. 6.2.2.2).
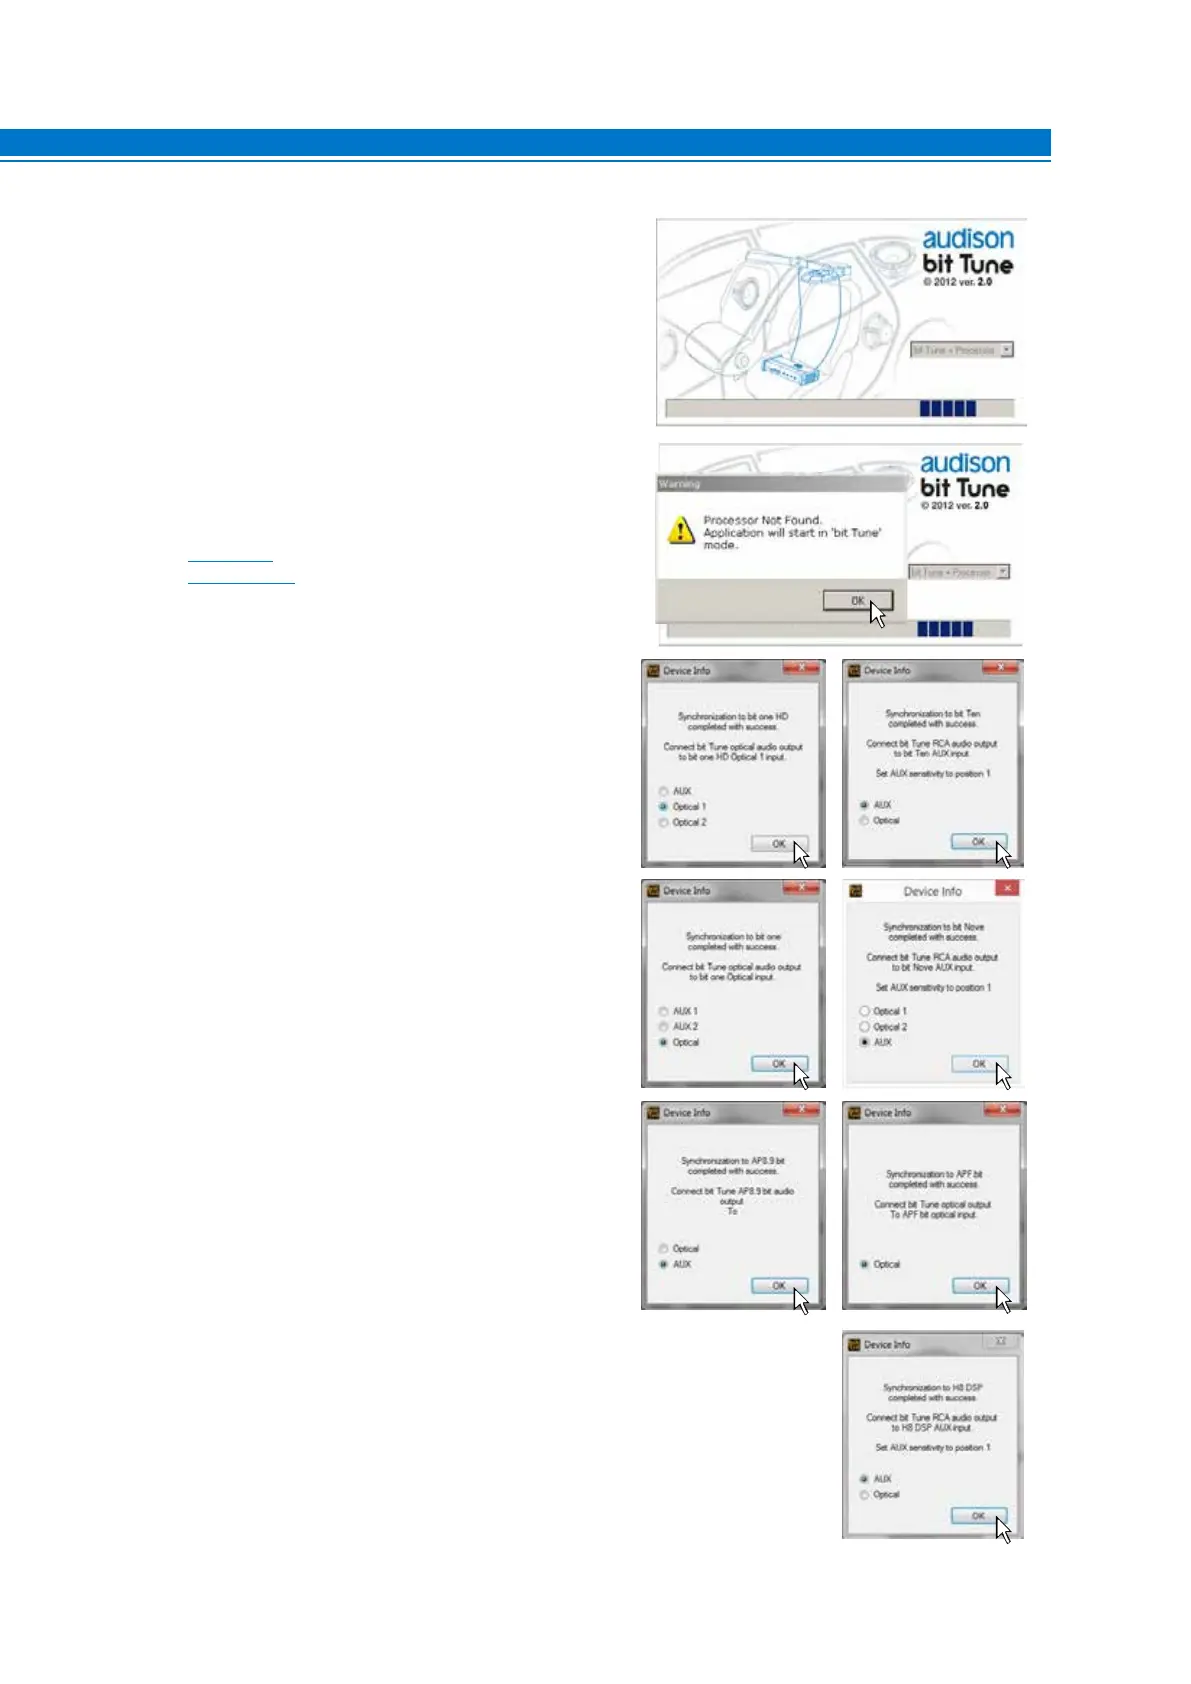
Connect the bit Tune Pre Out L-R outputs to the Aux inputs (shown
in the window) of the processor interfaced with the bit Tune.
- bit One: connect the Aux1/Optical input to the bit Tune
L-R/Optical outputs, ensuring that the processor’s inputs
are enabled.
- bit One HD: connect the AUX/Optical 1/Optical 2 input to
the bit Tune L-R/Optical outputs, ensuring that the
processor’s inputs are enabled.
- bit Ten / bit Ten D: connect the Aux/Optical input to the
bit Tune L-R/Optical outputs, ensuring that the
processor’s inputs are enabled.
- bit Nove: connect the Aux/Optical 1 input to the bit Tune
L-R/Optical outputs, ensuring that the processor’s inputs
are enabled.
- Ap bit: connect the Aux/Optical input to the bit Tune
L-R/Optical outputs, ensuring that the processor’s inputs
are enabled.
- APF8.9 bit: connect the Optical input to the bit Tune
Optical output, ensuring that the processor’s inputs are
enabled.
- H8 DSP: connect the Aux/Optical input to the bit Tune
L-R/Optical outputs, ensuring that the processor’s inputs
are enabled.
6