- 6P10 PILOT MANUAL -
18
5.3.2 - Step 2 : Circuits choice
Select the type of circuit which is
connected (DHW, radiators).
RADIAtoRs
C-1
5.3.1 - Step 1 : Number of heat pump
Indicate the number of heat
pump(s)
HP NUMBER
1
5 - SET-UP
Set-up must be done by a quali ed
professional.
Inspect the entirety of the hydraulic connections (nuts with washers,
toric joints or anything assembled with glue) which may loosen
during transport or during the installation process, and tighten if
necessary.
After pressurising the appliance, it is important to check the
watertightness (both visually and by any lowering of pressure) of
all internal and external connections.
Any deterioration of the appliance due
to a lack of watertightness renders the
warranty null and void.
5.2 - Check watertightness
The pilot is factory con gured to work with :
- Heat pump without back-up boiler
- 1 heating circuit
This con guration can be modi ed, if necessary, in the Installer
menu.
5.3 - Starting set-up
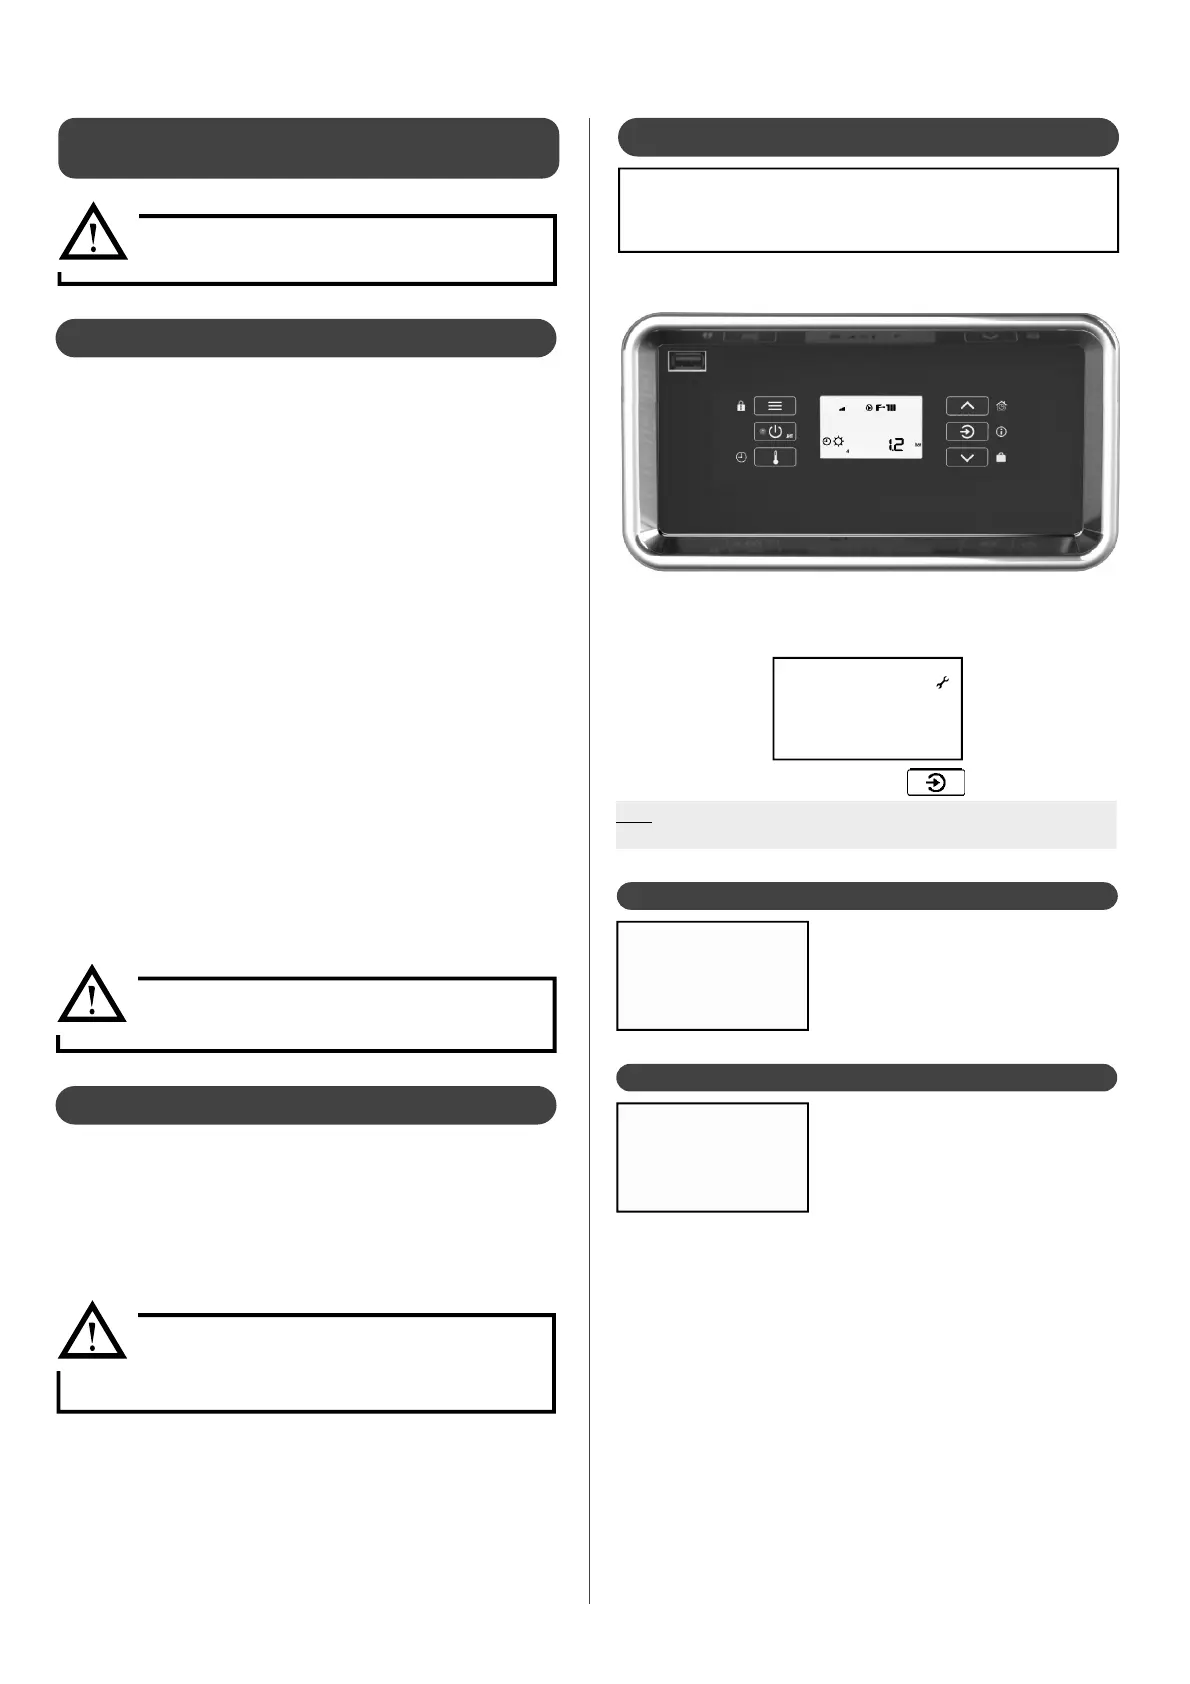
When the Pilot is turned on for the rst time, it will ask you to con rm
the language of use (French, English, German, Italian, Spanish, or
Polish), and will request to start set-up:
Choose yes and con rm by pressing .
COMMISSIO.
NOTE: If you choose not to start set-up (NO) this option remains
accessible in the expert menu, by the
COMMISSIO. sub-menu.
Ensure that:
- All work carried out on the hydraulic circuits and the electrical
circuits are in compliance with the regulations in effect
(inspection by a quali ed professional)
- The pressure relief valve on the cold water inlet of the domestic
hot water tank is working properly and is properly connected
to a drain in complaince with the regulations in e ect.
- All piping is watertight.
- All hydraulic connections are properly tightened.
- The correct voltage at the mains switch.
- All of the valves are open and nothing is obstructing the
circulation of water in the exchanger and in the hydraulic
circuit.
- The installation is equipped with a lter valve or a lter on its
inlet and that the lter is not clogged.
- The automatic air purger’s cap is open.
- The exterior sensor and the ambient temperature control (if
present on the installation) are connected properly.
-If using an ambient thermostat, ensure that it is actually being
used and set to be on demand (turn it to its maximum set point).
Once all of these checks have been done, turn on the heat pump
and Pilot.
5.1 - Before set-up
Installation should not be started
WITHOUT WATER inside