- 6P10 PILOT MANUAL -
27
7 - MAINTENANCE AND
TROUBLESHOOTING
• All work on the pilot must be carried out
by a quali ed professional.
• Follow all safety instructions!
• Disconnect the pilot from the electrical
supply before opening it.
• Except for certain operations, it is not
necessary to drain the system to work on
the components.
• If the system must be drained, close the
over ow valves and open the drainage
valve.
• Do not get water on the control
components.
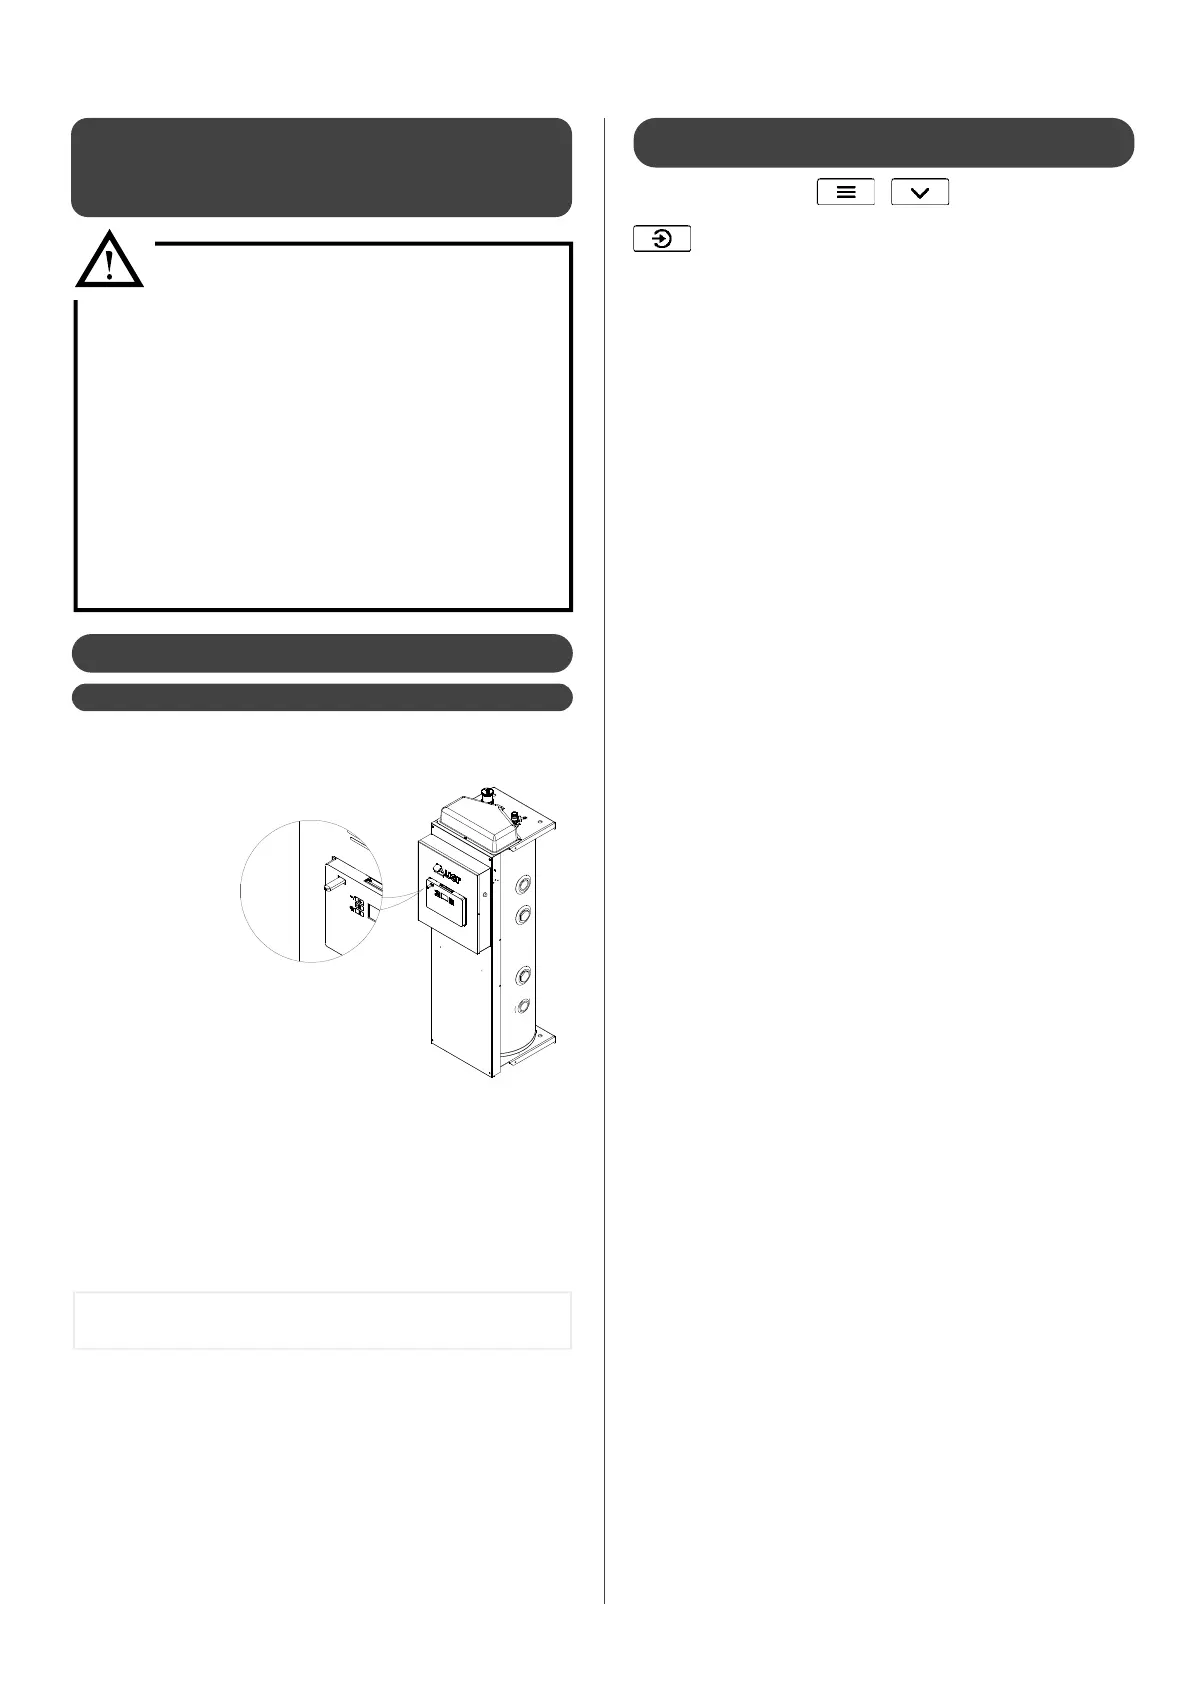
1) Get the USB stick
that comes with
the 6P10 pilot.
2) Insert the key into
the USB port (on
the front)
3) As soon as
the USB stick
is recognized* the file transfer will
begin. This can take several minutes
(depending on the amount of operating
history to transfer).
4) When the transfer is complete there
will be a sound signal and the message: «Remove usb stick» will
appear.
Remove the USB stick, but ensure not to remove it before this
message is displayed.
7.1- Diagnostics
7.1.1 - Loading the operating history
The operating history is saved in the memory of the electronic board.
This data can be loaded onto the USB stick provided. The USB port
is located on the left of the electronic card.
* If the USB stick is not recognized, disconnect and reconnect the electrical supply
to the appliance and try again.
If the USB stick is still not being recognized, try a di erent USB stick.
In the user menu, the USB sub-menu allows you to set the frequency of
monitoring of operating history (every minute, every 30 seconds....).
These changes are not retroactive, they will only be visible in the USB history
in the period following the changes being applied.
Enter the Expert menu (
+ ) and then in the display
sub-menu, or enter the display sub-menu directly by long pressing
.
The display sub-menu gives you access to the following values:
thermosta State of contact (if using a thermostat):
0 = open (no request)
1 = closed (request)
t_water Temperature of domestic hot water
outside Exterior temperature
0/1 eco State of peak hours contact :
0 = open (peak hours)
1 = close (standard operation)
heat curve Current temperature set point
(determined by the heat curve)
t_pilote Temperature at pilot outlet
version Pilot version number
The data speci c to each heat pump is accessible in the
hp1 ;
HP2
and hp3 sub-menus (according to the number of heat
pumps connected to the pilot) :
t_flow Temperature at heat pump outlet
T_RETURn Temperature at heat pump inlet
T_air Temperature of heat pump air
t_evapor Temperature of evaporator
t_comp 1 Temperature of compressor
(compressor n°1 if using heat pumps with 2
compressors)
t_comp 2 Temperature compressor n°2
(heat pumps with 2 compressors)
comp 1 Compressor 1 working state
comp 2 Compressor 2 working state
version Heat pump version number
T_COND Temperature of condenser (sensor)
7.1.2 - Consulting the current operating state
of the system
5) A le named «C14_historique» will be generated onto the USB
stick. It contains the recent operating history of the pilot and the
heat pump.