- INSTALLER HIGHTEMPERATURE ENERGY EFFICIENT HEAT PUMP MANUAL -
54
- For an installation with radiators
The expansion vessel on the boiler may be su cient.
Check that the capacity of the existing expansion vessel
corresponds to the total volume of the installation (when
calculating the total volume of the installation you should take
into account 60L for the HRC
70
Pilot water tank and the volume of
the surge tank, if applicable).
- Sizing the expansion vessel
The volume of the expansion vessel which is required for the
HRC
70
Heat Pump depends on the height of the installation. You
will need to adjust the pre-charged pressure of the expansion
vessel and check that the capacity is equal to the total volume of
the installation:
2.5 5 7.5 10 12.5 15
0.25 0.5 0.75 1 1.25 1.5
25% glycol 15.9 14.5 13.0 11.6 10.1 8.7
30% glycol 15.6 14.2 12.7 11.3 9.9 8.5
35% glycol 14.7 13.4 12.1 10.7 9.4 8.0
40% glycol 14.0 12.7 11.4 10.2 8.9 7.6
Height of installation (m)
Pre-charged pressure (bars)
(1)
Volume of water in
installation covered by 1 litre
of the expansion vessel
(litres)
(2)
(1)
: De ate and check pressure in expansion vessel if necessary
(2)
: As a guideline, take into account:
•11 litres per kW heating capacity for steel radiators
+ 60 litres for HRC
70
Pilot
+ surge tank (if applicable)
• 13 litres per kW heating capacity for cast iron radiators
+ 60 litres for HRC
70
Pilot
+ surge tank (if applicable)
• 17 litres per kW heating capacity for under oor heating
+ 60 litres for HRC
70
Pilot
+ surge tank (if applicable)
Or, if known, use exact volume.
Example • Installation with12kW cast iron radiators
• Height of installation = 10m
• Frost / ice protection with 25% glycol
Total volume of installation = 12 x 13 + 60 = 216 litres
1 litre of expansion vessel covers11.6 litres of installation volume, so here you would need
an expansion vessel with a minium volume of 18 litres (216 / 11.6).
A4 - Sizing the expansion vessel
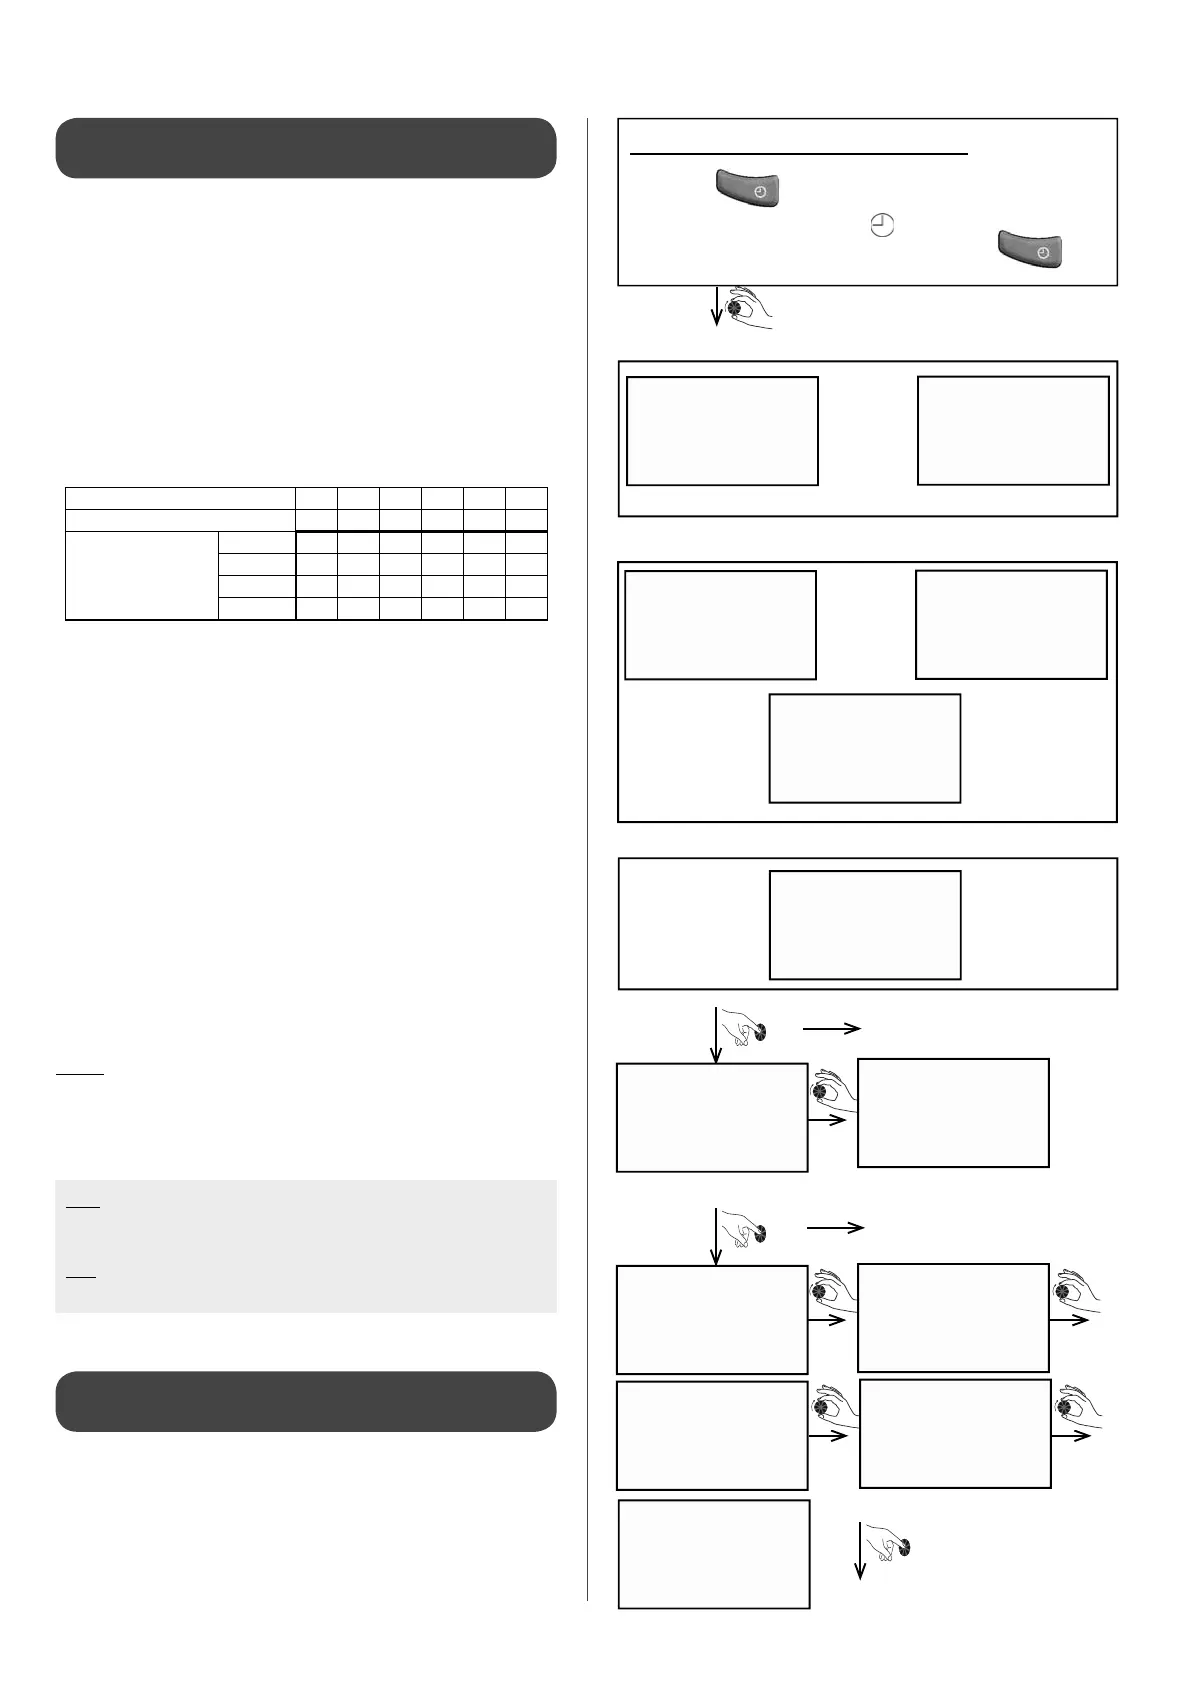
A5 - Programming heating modes
N.B.1 : The values given here are for a radiator installation
(water at 80°C). For an under oor heating installation,
multiply these values by 2.
N.B 2 : The concentration of monopropylene glycol should not
be less than 25%.
Time periods with di erent heating modes can be programmed
for each day and each circuit. The installation will automatically
follow programmed heating modes. This is not recommended
and should be avoided with a Heat Pump as it is preferable not to
lower the temperature.
Accessing the heating mode setting
• Press the key and hold down for 3 sec.
- The screen will display
- When the symbol disappears, release the
key.
where there are several circuits: if not, access directly
on day to be programmed
monday
tuesday
MODIF PRG.
new PRG.
copy PRog.
copy sun.
see PRoG.
Enter the circuit you wish to
programme and access the day
of the week to programme
Select day to be programmed
Con rm day to be
programmed
Con rm required
operation
Display depends on con guration programmed
RADIAToR
1
heat. floor
1
or
Circuit 1
RADIAToR
2
heat. floor
2
sanitary
2
or
or
Circuit 2
CIRC.
1-2
Both circuits at the same time
 Loading...