2. Administer LAN and applicable servers to accept the deskphones.
3. Download the deskphone software from the Avaya support site.
4. Update the 46xxsettings file with site-specific information, as applicable.
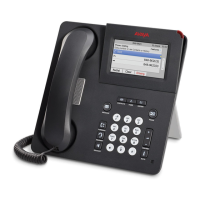
5. Install 9600 Series IP Deskphones. For more information, see Installing and Maintaining
Avaya 9608/9608G/9611G/9621G/9641G/9641GS IP Deskphones H.323,16-603603
covering the 9608, 9611G, 9621G, 9641G, and 9641GS deskphones, and Avaya IP
Deskphone Edition for 9600 Series IP Telephones, Installation and Maintenance Guide,
16-300694 for all other 9600 Series IP Deskphones models.
6. Update each 9600 Series IP Deskphones using Craft procedures, as applicable. For more
information about local administrative procedures, see Installing and Maintaining Avaya
9608/9608G/9611G/9621G/9641G/9641GS IP Deskphones H.323.
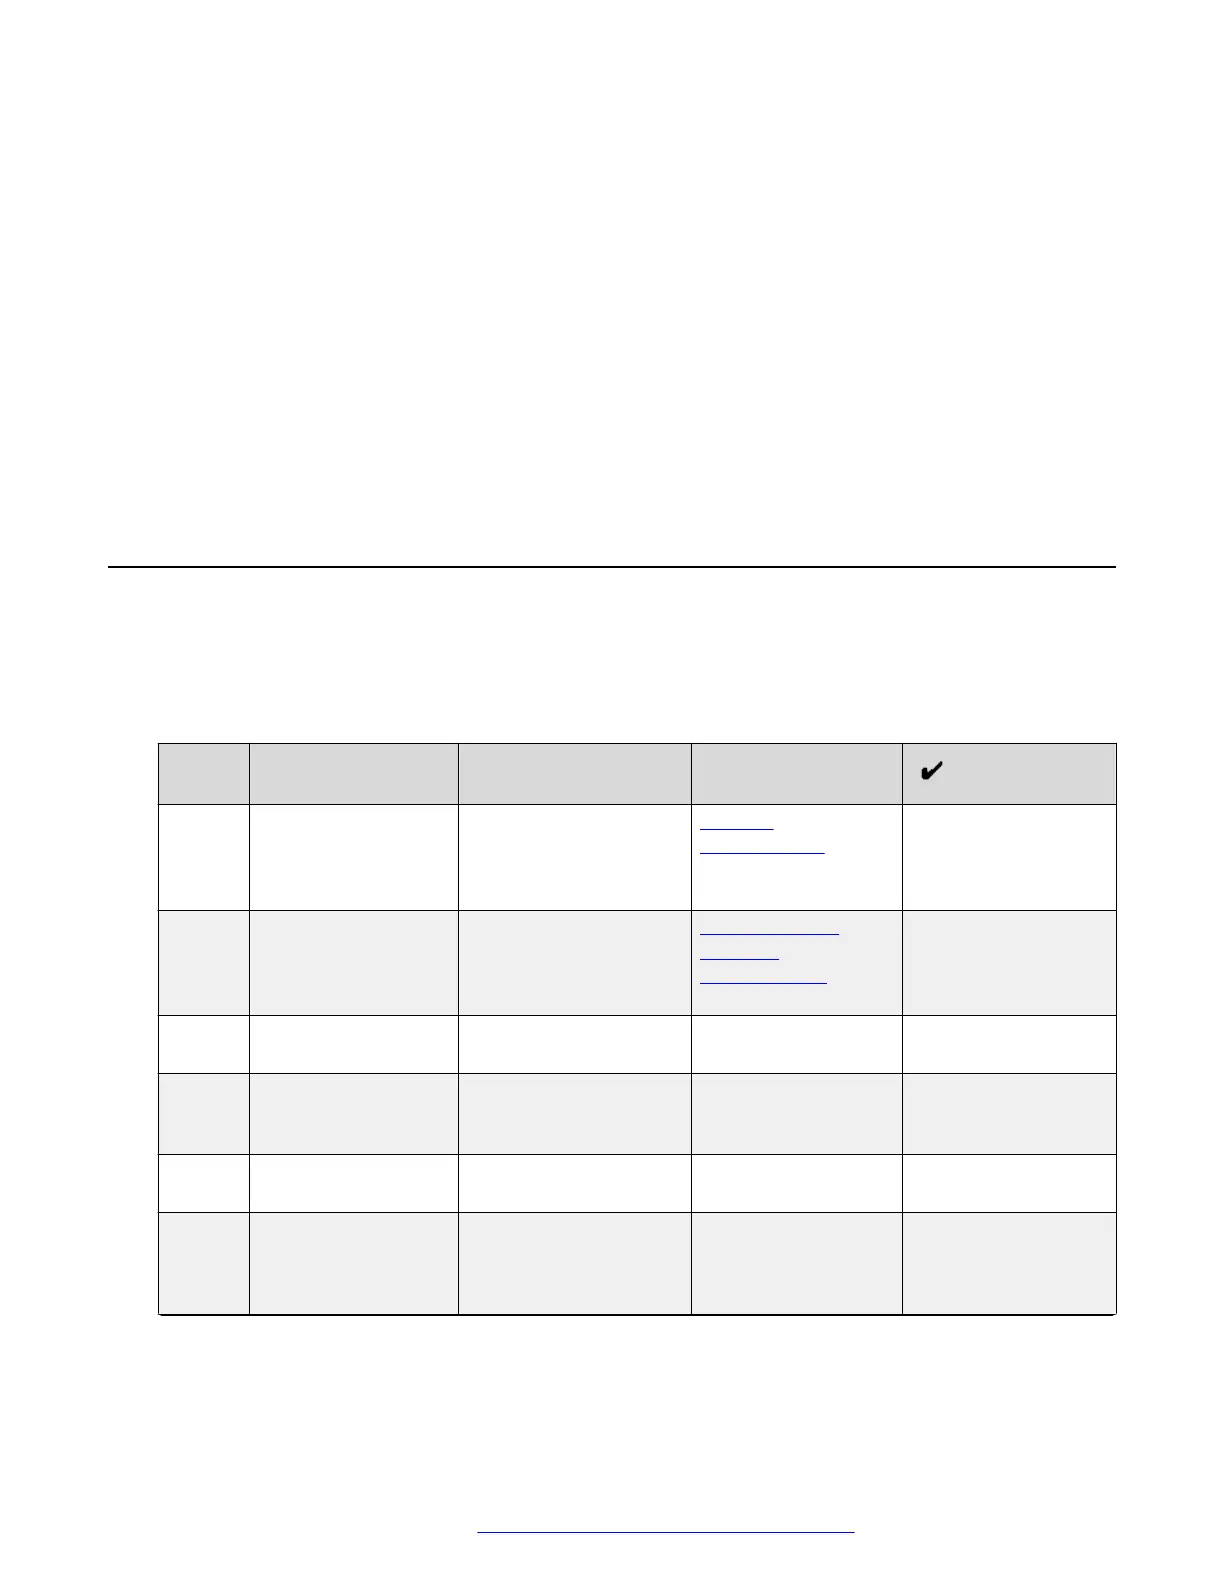
Initial administration checklist
System and LAN administrators must use the following checklist to ensure that all phone system
prerequisites and phone requirements are met prior to phone installation:
Table 1: Initial Administration Checklist
#
Task Description Related information
1 Install the hardware. Check whether the
network hardware can
handle the phone
system requirements.
Network
Requirements on
page 26.
2 Install the license for
call server.
- Communication
Manager
Administration on
page 39.
3 Configure the VoIP
settings.
- -
4 Configure the
settings on each
phone.
- -
5 Install the DHCP
server
Set up DHCP-specific
parameters.
Vendor-provided
instructions.
6 Install the HTTP/
HTTPS server.
When installing HTTP/
HTTPS, ensure that it is
installed on at least one
new or existing
Vendor-provided
instructions.
Table continues…
Initial administration checklist
March 2018 Administering Avaya 9608/9608G/9611G/9621G/9641G/9641GS IP Deskphones H.
323 11
Comments on this document? infodev@avaya.com

 Loading...