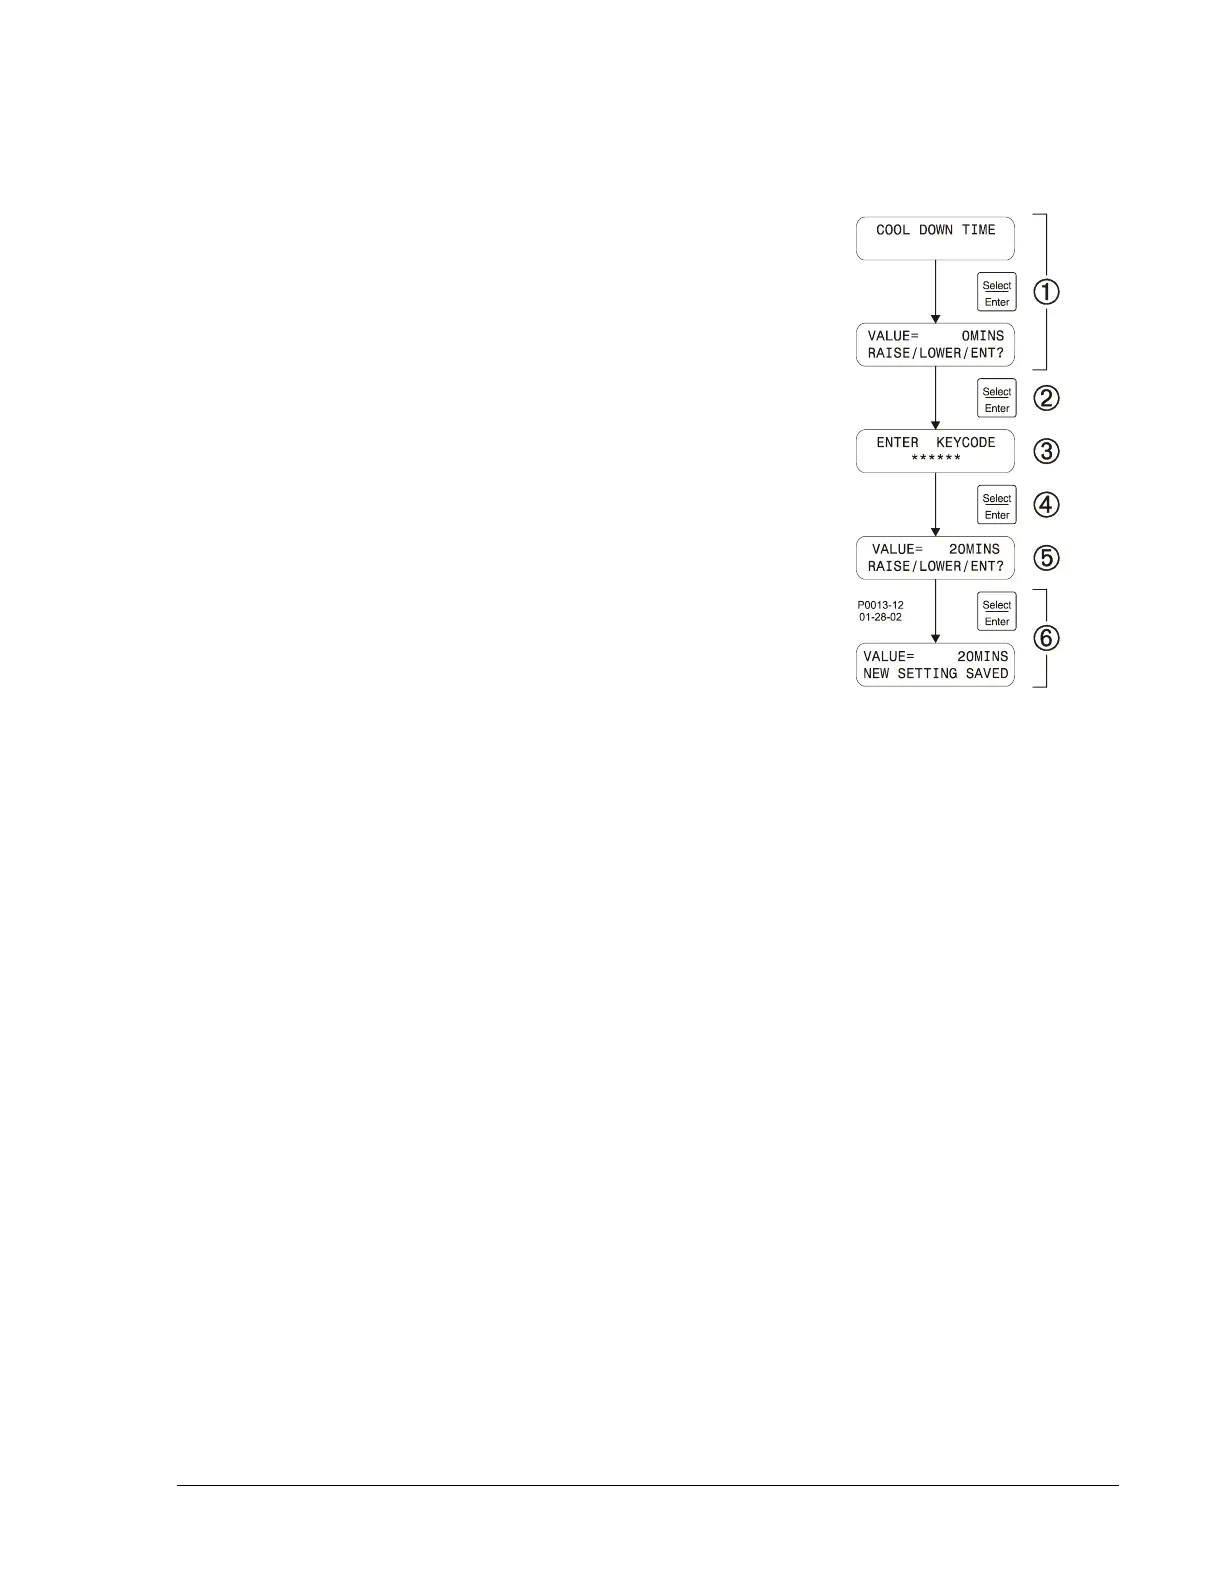
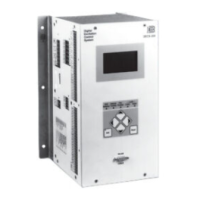
Changing Settings
A setting change generally consists of the following steps. The number of each step corresponds to the
numbered call-outs in the setting change example of Figure 3-14.
1. Use the HMI pushbuttons to navigate to the screen of the
setting to be changed.
2. Press the Select/Enter key to access the ENTER
KEYCODE screen.
3. Enter the key code by pressing the appropriate HMI
pushbuttons in the proper sequence. Key code entries
appear as asterisks on the ENTER KEYCODE screen. Refer
to the Key Code paragraph for details about using key
codes.
4. Press the Select/Enter pushbutton to access the setting to
be changed.
5. Use the Raise/Scroll and Lower/Scroll pushbuttons to
increment and decrement the setting as needed.
6. Press the Select/Enter pushbutton to save and view the
setting change.
The procedure for setting the real-time clock at the front panel
differs from the above procedure. The following paragraphs
describe how the front-panel HMI is used to set the clock.
Figure 3-14. Setting
Change Example
Setting the Real-Time Clock at the Front Panel
The clock is set at the front panel by entering the menu display mode, scrolling to menu 5 (CLOCK VIEW
AND SET), and entering the SET TIME & DATE menu. The SET TIME & DATE menu contains a screen
displaying an editable snapshot of the time and date. The hours field will be blinking. The blinking
indicates which field will be modified when the Raise/Scroll or Lower/Scroll pushbutton is pressed to
change the value.
Pressing Raise/Scroll increments the active value and pressing Lower/Scroll decrements the active value.
If the Raise/Scroll or Lower/Scroll pushbutton continues to be pressed, the value of the active field
automatically rolls over to the minimum or maximum value. A different field is selected for editing by
pressing the Display Toggle button to move right or the Previous button to move left.
The time and date setting screen is exited by pressing Select/Enter. The user can then press Select/Enter
to save the settings or Previous to discard the changes.
Key Code
The DGC-500 is delivered with a key code consisting of the following pushbutton sequence.
1. Raise/Scroll
2. Lower/Scroll
3. Select/Enter
4. Previous
5. Display Toggle
6. Select/Enter
7. Select/Enter
The key code can be changed by accessing the CHANGE KEYCODE screen of Menu 2. Observe the
following guidelines when changing the key code.
• Allowable key code pushbuttons are Raise/Scroll, Lower/Scroll, Select/Enter, Previous, Display
Toggle, Phase Toggle, Alarm Silence, and Lamp Test.
• A key code entry must be followed by two presses of the Select/Enter pushbutton.
• A key code can consist of one to eight presses of the allowable key code pushbuttons.
• A key code cannot contain consecutive presses of the Previous pushbutton.
9355400990 Rev H DGC-500 Functional Description 3-25