102 of 109
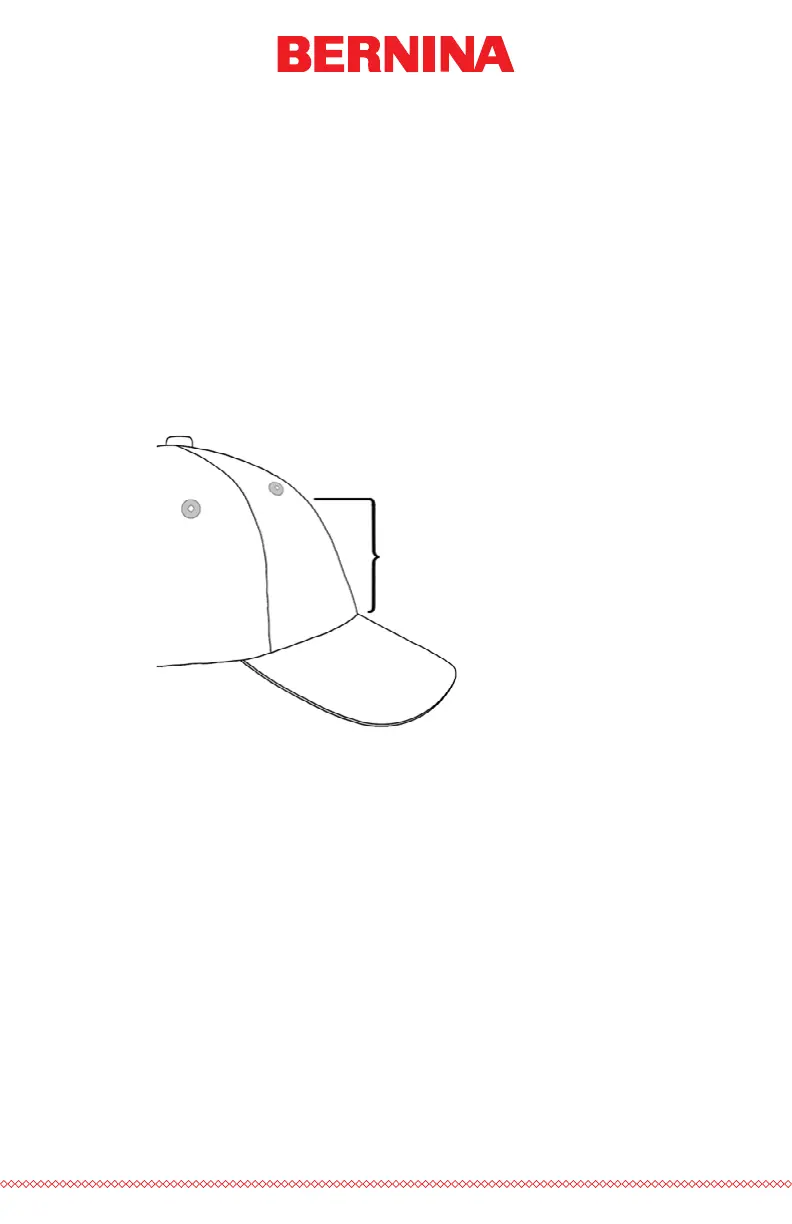
1. Measure from the bill to where the cap really starts to curve over
the head of the potential wearer. This will require a little bit of
judgment.
2. Subtract one inch from that measurement to nd a fairly safe de-
sign height. Stay within this size if the design contains right angles,
borders, or ne details.
3. If the design is more organic and contains few borders or de-
tails, the size can slightly (≈½”) exceed the safe area calculated
in the step above. However, some trapezoidal distortion may be
noticeable.
4. The width of the design depends on the cap frame.
subtract
1” from
this hieght
Sew Order for Cap Designs
Now that you have the size of the design gured out, the design needs to
be digitized for a cap.
One of the challenges with embroidering caps is that the fabric moves and
ags. The trick to sewing caps successfully is to use the design sew order to
move the material where it can to little harm.
For cap designs, follow these three guidelines.
• Sew from the bottom (bill) toward the top (crown).
• Sew from the center (seam) toward the sides.
• Finish elements as you go. While less efcient, completing designs
in smaller portions will help keep a tighter registration and help
outlines and borders line up.