Biotage
®
Selekt User Manual | © Biotage 2020
System Settings
»
Detector Flush: If enabled, the system flushes the internal
detector and any external detector connected to the system
at the end of the run using the run’s strongest solvent.
Select whether to Collect the flush (using the same collection
criteria as during the gradient run) or send it To Waste.
Note: We recommend that the detector flush is enabled.
A contaminated detector flow cell has decreased
transmissivity, which causes increased noise levels,
decreased response, and difficulties performing UV Zero.
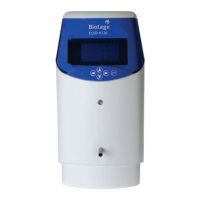
Optional Detectors
»
External: Enable this option when an external
detector is connected to the system. The following
parameters are available for the external detector:
»
Tube Volume: Enter the volume of the additional
tubing and/or flow cell of the external detector in
the Tube Volume text box. This amount of solvent
will be added to the automatic flushes.
»
Max Flow Rate: Enter the maximum flow rate that can
be used with the external detector. This will depend
on the back pressure generated in the detector and its
tubing, and the technical specification of the detector.
»
Biotage
®
Solvent Detector: Enable this option
when the optional solvent detector from
Biotage is connected to the system.
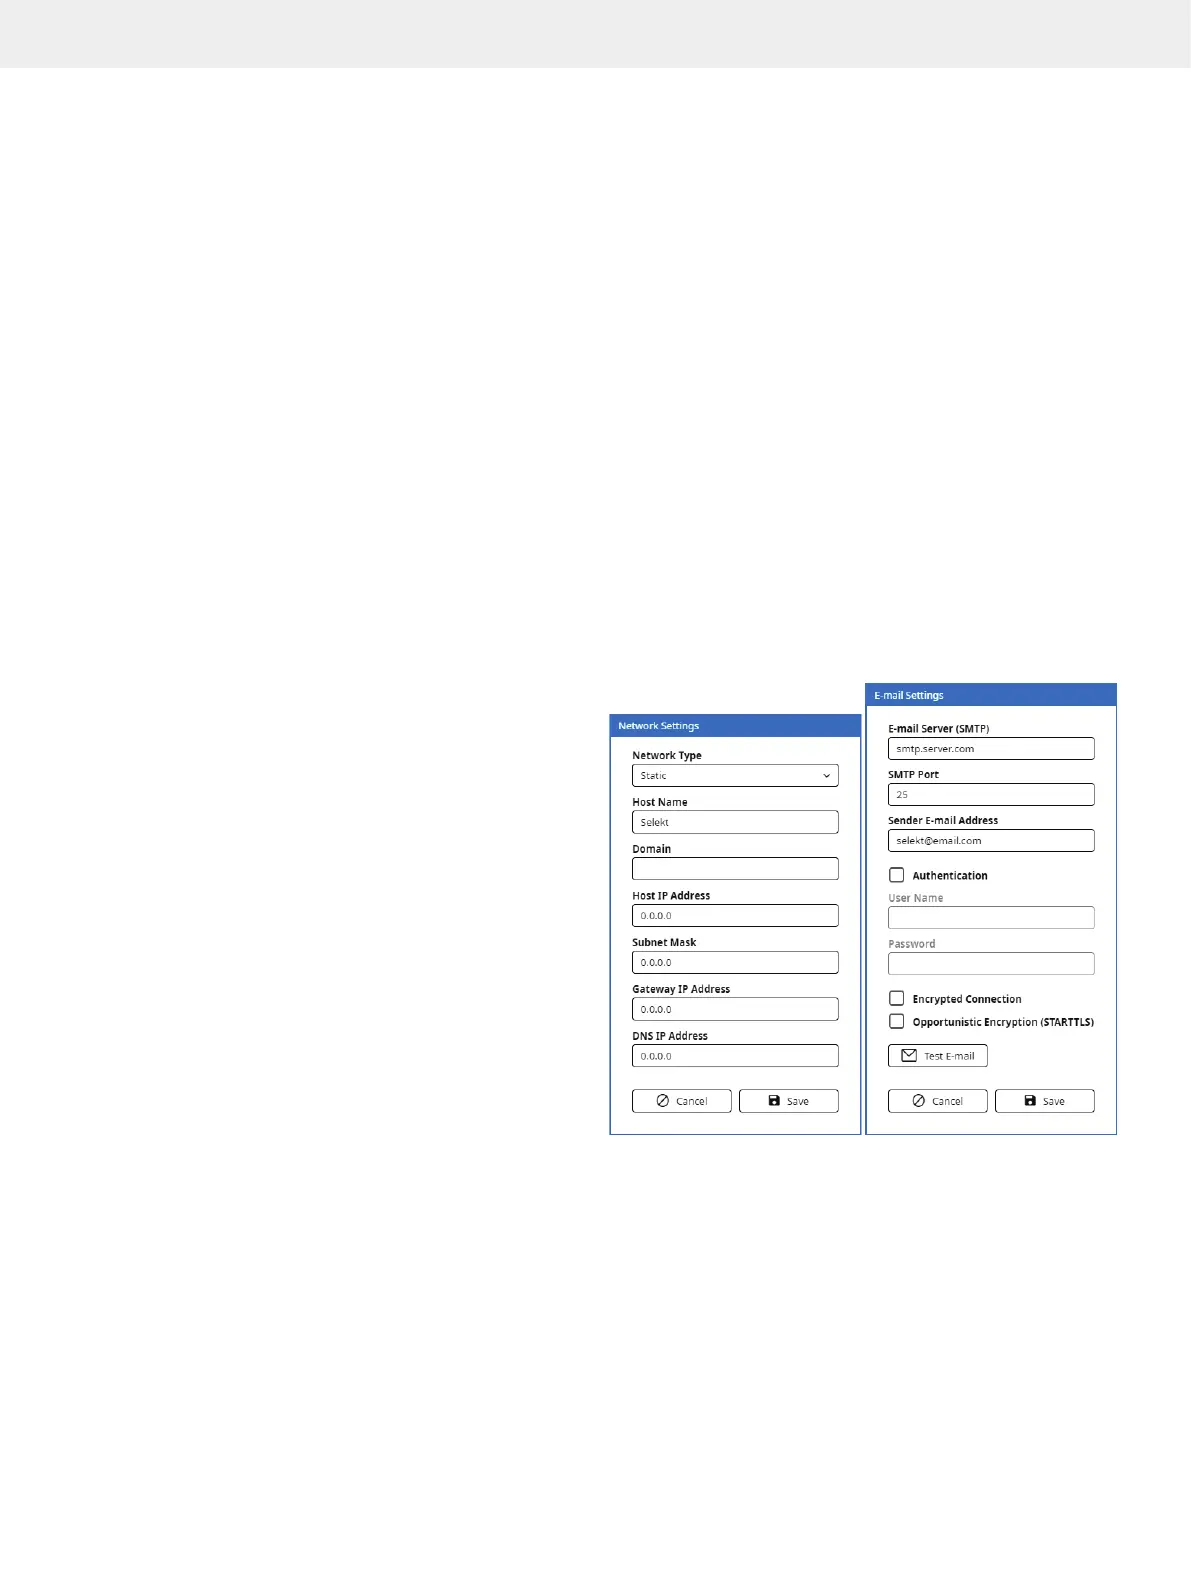
Network
Configure a Network Connection
1. Connect a shielded category 5 TP cable between the ETH
port at the rear of the system and your network.
Note: Do not connect the network cable to the AUX port.
2. Enable the Network option in the Network field.
3. Press the corresponding Settings button and enter
the required network settings. Please contact your IT
department for help with entering the correct settings for
your network.
Note: The Host Name will be used to identify the system on
your network.
4. When done, press Save.
5. In the Restart Required dialog, press Shut Down.
Note: The system has to be restarted for the new network
settings to take effect.
6. When the message saying that it is safe to turn off the
system appears on the screen, turn off the system. The
power switch is located on the left side of the system.
7. Turn on the system.
Configure E-mail Server Connection
1. Configure a network connection; see above.
2. Log into the system settings view by pressing Menu and
then System Settings.
3. Enable the E-mail option in the Network field.
4. Press the corresponding Settings button and enter the
required e-mail settings. Please contact your IT department
for help with entering the correct settings for your e-mail
server.
Note: The Sender E-mail Address is the address that
is shown as the sender when receiving e-mails from
the system.
5. Test the connection to the e-mail server:
a. Press Test E-mail.
b. In the Test E-mail dialog, select your user account from
the User drop-down list.
c. If you do not receive a test e-mail, check the network and
e-mail settings and the address in the user account.
6. When you have received a test e-mail, press Save.
Note: If you disable the Network and E-mail options, the latest
settings are saved until enabled again.
Figure 51. The Network Settings and E-mail Settings dialogs.