VG4 Modular Camera Series Installing Roof Parapet and Pipe Mounts | en 55
Bosch Security Systems, Inc. Installation Manual F.01U.162.025 | 6.0 | 2010.03
11. Run a bead of RTV Silicon sealant around the down pipe/Dome Cap interface to seal any
gaps between the down pipe and the Dome Cap.
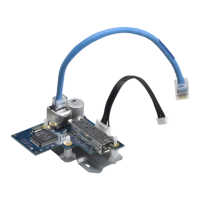
12. Proceed to Section 3.7 Wire the Pipe Interface Board, page 57.
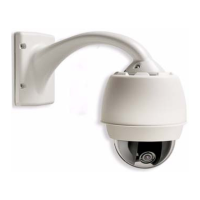
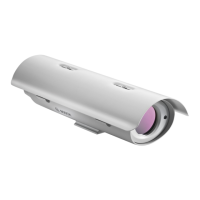
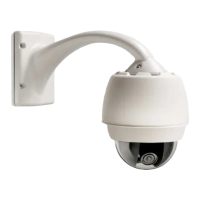
3.6 Installing the VG4-A-9543 Pipe Mount
This section details the installation steps for the VG4-A-9543 Pipe Mount. If you are installing
the Roof Parapet mount, see Figure 3.7, Page 54, for instructions.
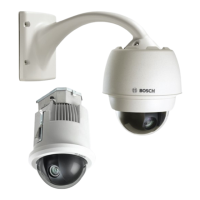
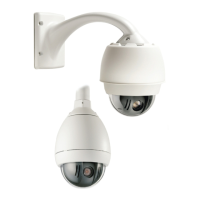
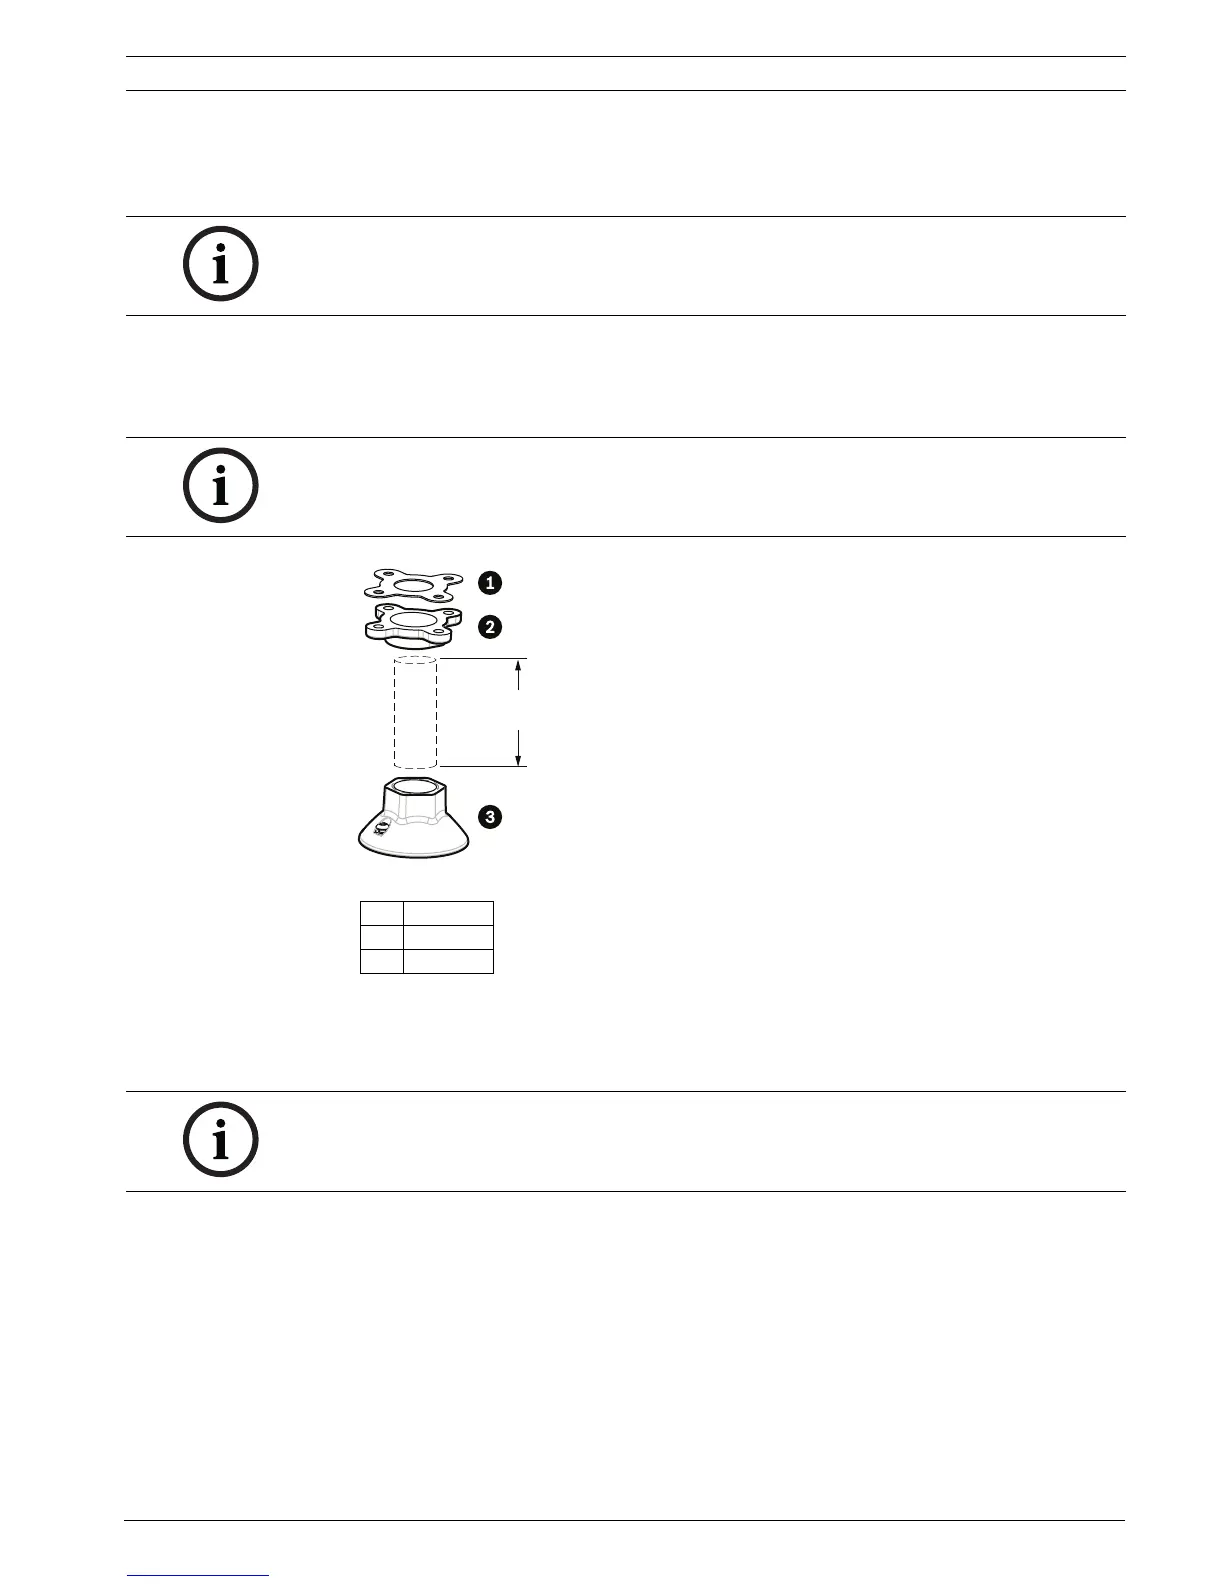
Figure 3.9 Pipe Mount
1. Before installing the Top-Mounting Flange, ensure there is an adequate opening in the
ceiling or mounting structure for the wires to pass through.
2. Secure the pipe Flange with supplied gasket to the ceiling or other supporting structure
using four (4) 10-mm (3/8-inch) diameter fasteners.
NOTICE! Use a guy-wire to aid in stabilizing the Parapet Arm. Replace the 1/4 inch cap screw
with a threaded 1/4-inch stainless steel eye bolt (not supplied). Loop the guy-wire through the
eye bolt and attach both ends to anchor spots on the roof. See Figure 3.7, Page 54.
NOTICE! Customer must supply 1-1/2 inch (NPS) pipe threaded on both ends with a minimum
length of 5 inches (12.7 cm).
1Gasket
2 Flange
3Cap
5 in.
12.7 cm
min.
NOTICE! Each fastener must have a minimum pullout strength of 275 kg (600 lbs). The
mounting material must be able to withstand this pull-out force. For example, 19-mm (3/4-
inch) minimum for plywood.
 Loading...