22
Set-up and powering on
7.1.5 Connecting the device to
the mains electricity
DANGER! Risk of death from electric
shock.
Q
Only connect the device to a mains
power supply with a protective earth-
ing conductor.
Q
Connect the power cable with mains
connection to the device.
Q
Position the power cable so that it
does not present a trip hazard.
Q
Plug the mains plug into the socket.
7.1.6
Operating the device with
a battery
Q
Ensure that the battery in the device is
suciently charged.
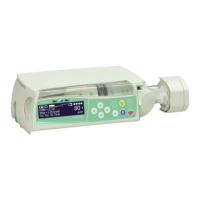
7.2 Powering on the device on
for the rst time
Q
Device switched on
Q
Select and insert the syringe,
see section 8.2.
Q
Congure additional device settings,
see section 7.3.
7.3 Congure device options
Q
Device switched on
Q
No patient connected
Q
No ongoing infusion
Q
Press the Menu key.
The main menu is displayed.
Q
Select Settings... and press OK
to conrm.
The “Settings” screen is displayed.
7 Set-up and powering on
7.1 Setting up and
connecting the device
7.1.1 Attach/remove the compact
plus
stand clamp
Note: The compact
plus
stand clamp is xed
to the device.
Q
The compact
plus
stand clamp should
only be removed and re-attached by a
service technician.
7.1. 2
Operating the device on a stand
Q
Press the lever on the compact
plus
stand clamp.
Turn the compact
plus
stand clamp to
the desired position.
Q
Turn the compact
plus
static clamp until
the lever clicks into place.
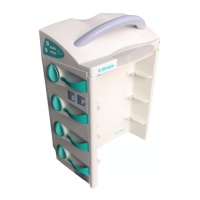
7.1. 3
Operating the device in the
compact
plus
station
Q
Follow the compact
plus
station instruc-
tions for use.
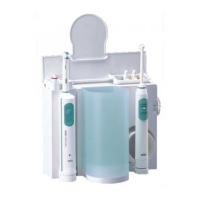
7.1.4
Operating the device on
a wall rail
Q
Press the lever on the compact
plus
stand clamp.
Turn the compact
plus
stand clamp to
the desired position.
Q
Turn the compact
plus
static clamp until
the lever clicks into place.
Q
Make sure that the compact
plus
stand
clamp is not xed at the point where
the wall rail is attached to the wall.