4 - 12
Adjustment (Main Unit)
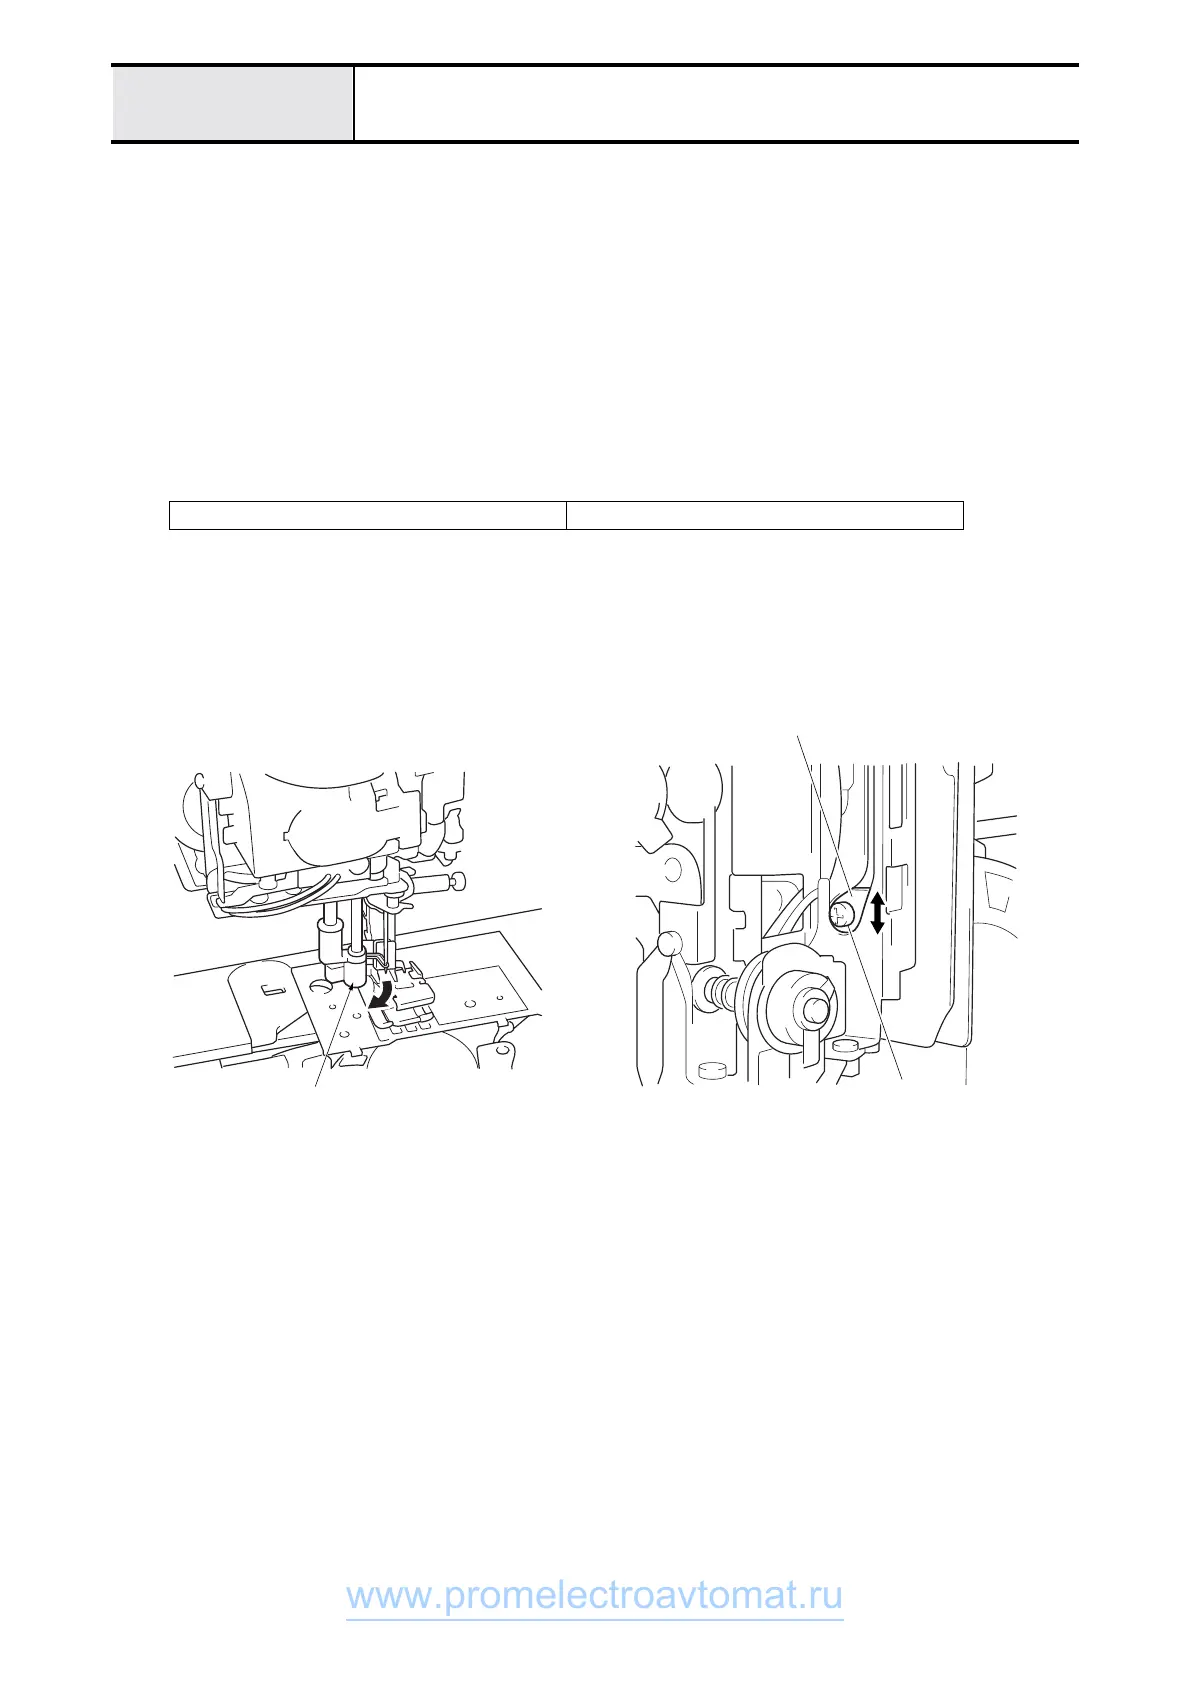
Shuttle return timing adjustment
1. Perform 4 - 23 "Adjust the needle thread block."
2. Attach the operation PCB assy. flat cable and power PCB assy. lead wire connector to the main PCB assy., and
attach the front cover to the arm bed. (without screwing it on).
3. Turn the power on.
4. Turn the pulley counterclockwise by hand, and stop just before the LED lamp changes from green to red
(green light/needle up stop position).
5. Turn off the power.
6. Loosen bolt, socket M3X6, and adjust the release plate vertically.
*Key point
• Insert the cassette, and with the hook moved to fully extend from the needle hole, adjust it so the shuttle is
released.
Bolt, socket M3X6, torque
0.78 – 1.18 N-m
Hook too far
out of needle hole
Release plate
Screw
www.promelectroavtomat.ru
 Loading...


