2 - 15
Rotary hook drive mechanism
Main unit
Disassembly
1
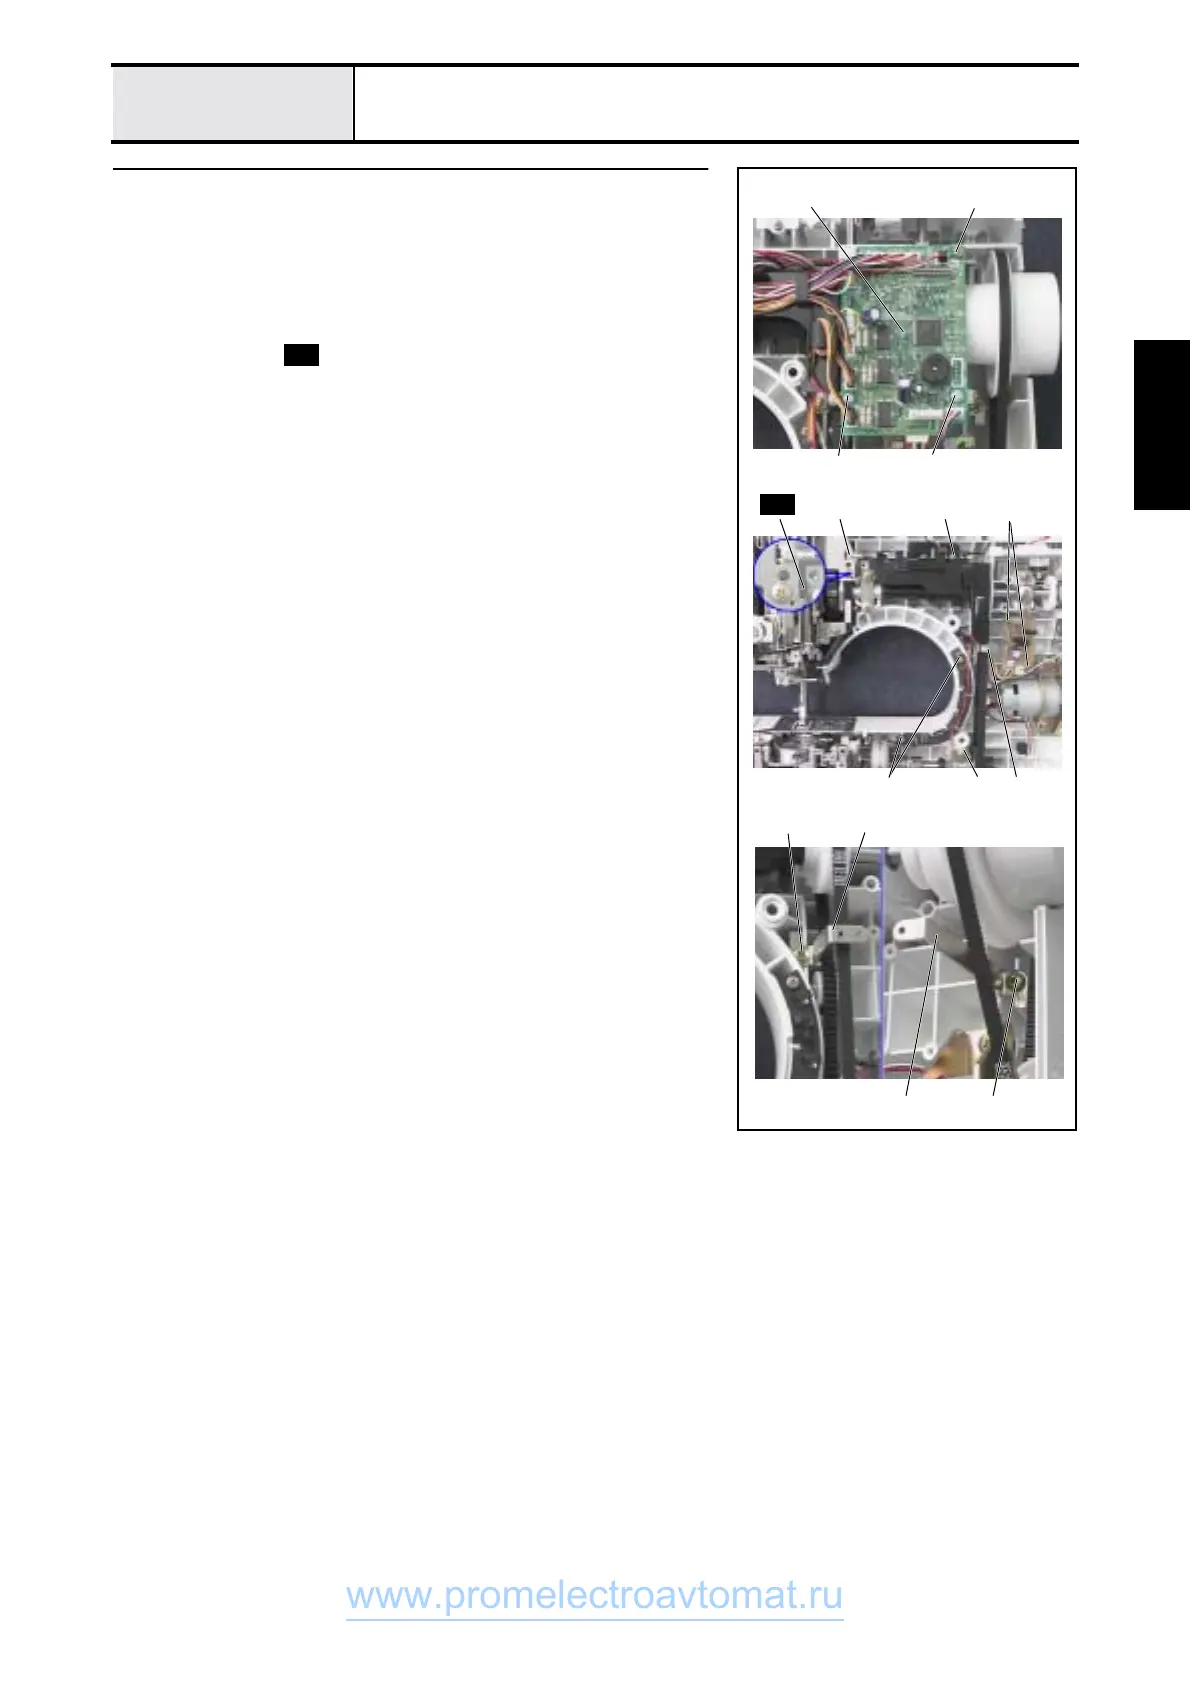
Main PCB assy./motor PCB assy. removal
1. Disconnect all of the connectors on the main PCB assy. and motor PCB assy.
2. Remove screw 1, screw 2, screw 3 and the plain M3 washer, and
remove the main PCB assy. 1.
3. Remove the screws 4 (two), and remove the lead wire guide.
4. Remove screw 5 and screw 6, and remove the shutter cover.
5. Remove screws 7 (two), and disconnect the ground lead wire assy. 2.
6. Remove spring .
7. Remove screws 8 (two), and remove the motor PCB assy.
8. Remove screws 9 (two), and remove Set plate L 3 and Set plate R 4.
1
8
9
3
9
3
S38
1
2
57
4 7 6
4
S38
www.promelectroavtomat.ru
 Loading...


