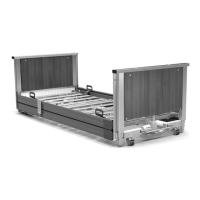
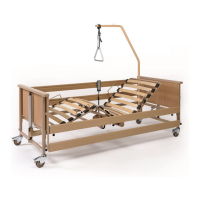
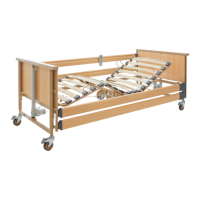
Instruction Manual for Lenus Care Bed
Page 47
4.5.3 Rechargeable battery*
Depending upon the model or features incorporated, a rechargeable battery can be
used to operate the electrical drive system independently of the mains supply. This
guarantees that all electric adjustments can be carried out even during a power cut.
Emergency operation
- When the bed is occupied by a resident of normal weight (around 80 kg),
adjustments can be made for approximately 6 to 10 minutes if the battery is new and
fully charged.
- Under emergency conditions, if the battery capacity is almost depleted, a signal tone
will sound as a reminder during adjustments.
If the battery capacity is fully depleted, all adjustment functions are locked in
order to prevent total discharge of the battery, as this could shorten the
battery’s life.
In this case, take the following action to optimise the battery life:
- Connect the bed to the mains power supply as soon as possible to
recharge the battery.
- Avoid attempting repeated electric adjustments that would discharge the
battery even more.
Charging the batteries (charging time)
- The batteries are fully charged automatically when the bed has been connected to
the mains supply for at least 8-10 hours.
- It is impossible to overcharge the battery.
- During the charging process, the bed can be adjusted using the handset/control
panel.
- The batteries have a limited service life. In normal use, their service life is up to five
years. Batteries need to be replaced when operation cycles become very short. For
safety reasons, at least one more height adjustment (UP + DOWN) should always be
possible. Otherwise, the batteries must be replaced.
- In this case, contact Burmeier’s customer service. We will replace the rechargeable
batteries and dispose of the old batteries properly (see chapter 6.4 for the address).
For information on installation, please refer to the accessory instructions provided.