Adjusting Cropping Frames in the Image Stitch Window
"Cropping" is the act of selecting the area you want to keep in an image and discarding the rest when
scanning it.
In the Image Stitch window, you can specify a cropping frame on the image displayed in the Preview area.
Note
• Refer to "Adjusting Cropping Frames (ScanGear)" for your model from Home of the Online Manual for
how to adjust cropping frames with ScanGear (scanner driver).
Initial Cropping Frame
No cropping frame is specified. When you select the Adjust cropping frames checkbox, an active
cropping frame is automatically specified around the image in the Preview area. You can drag the
cropping frame to specify the area.
When you perform a scan, the image in the area specified with the cropping frame will be scanned.
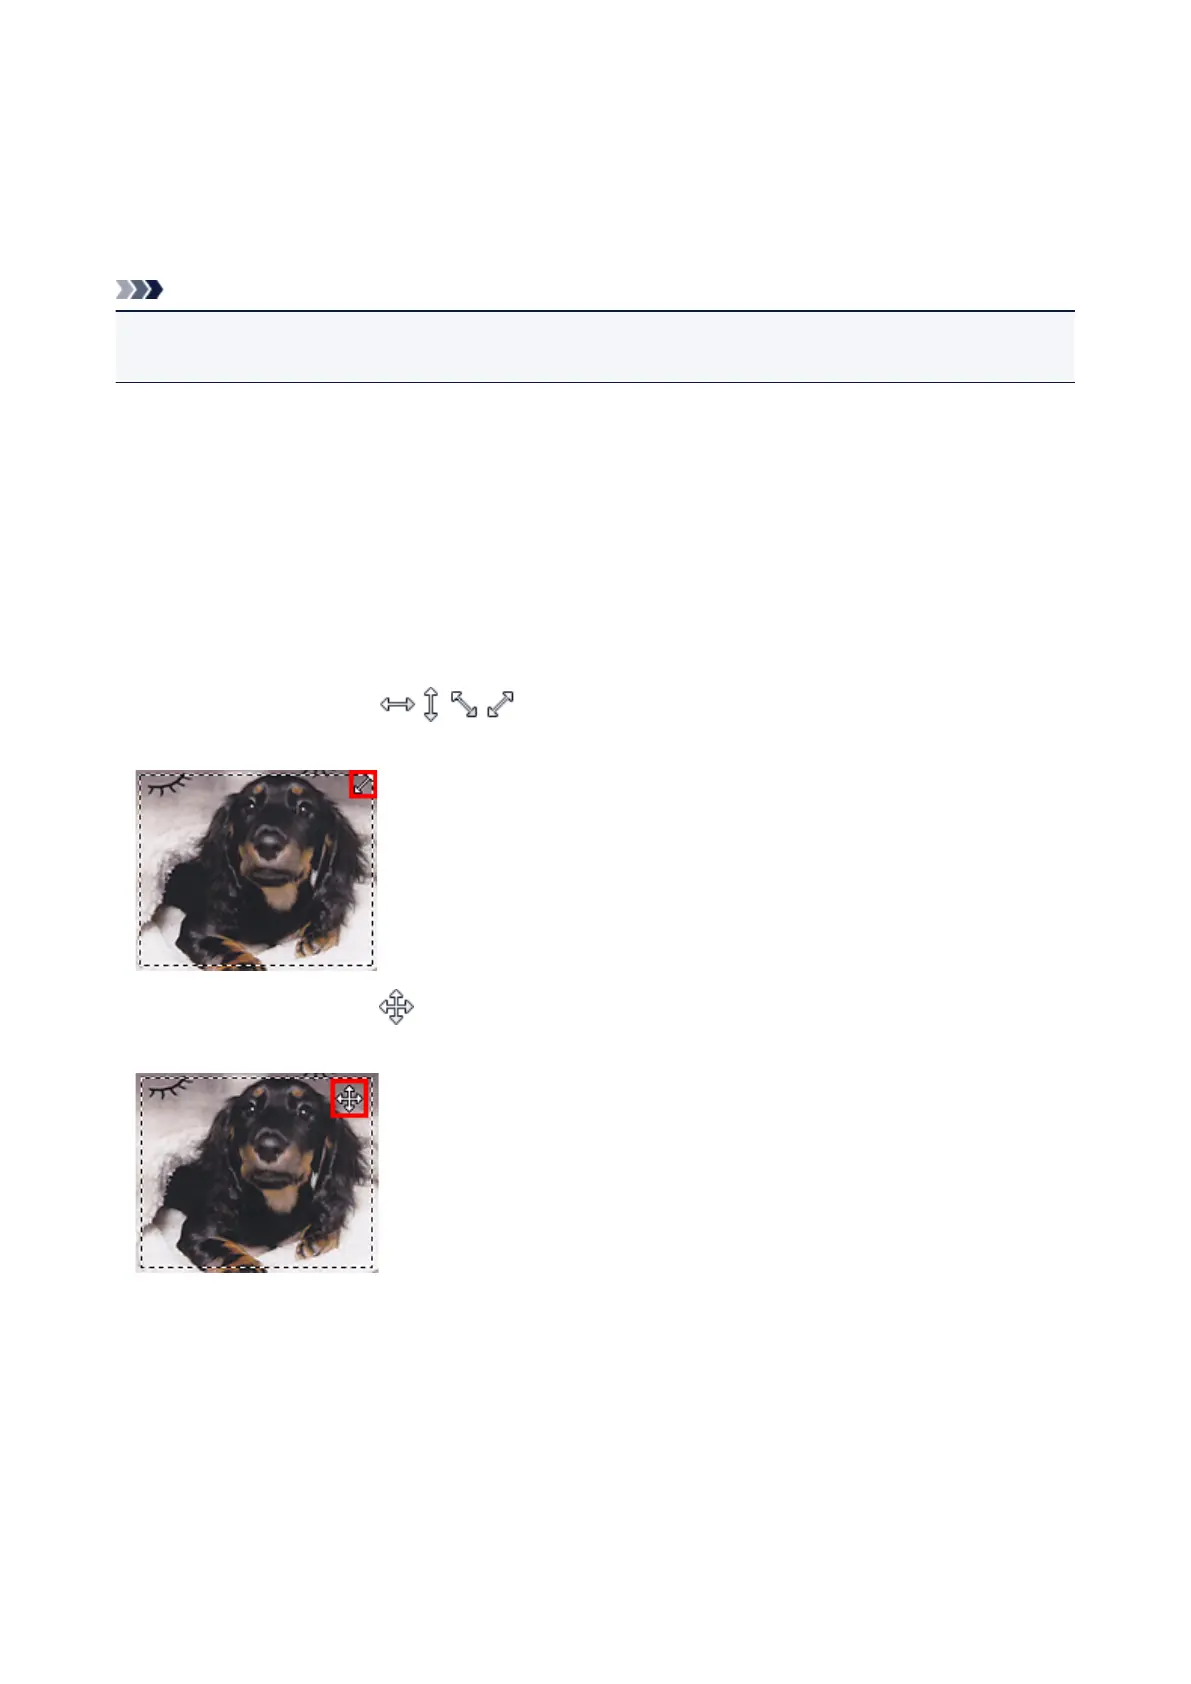
Adjusting a Cropping Frame
The cursor will change into (Arrow) when it is positioned over a cropping frame. Click and
drag the mouse to expand or contract the cropping frame.
The cursor will change into (Crosshair Arrow) when it is positioned within a cropping frame. Click and
drag the mouse to move the entire cropping frame.
Deleting Cropping Frames
To delete the cropping frame, deselect the Adjust cropping frames checkbox.
577