42 Chapter 6 Acquiring a 3D Model for Restoration
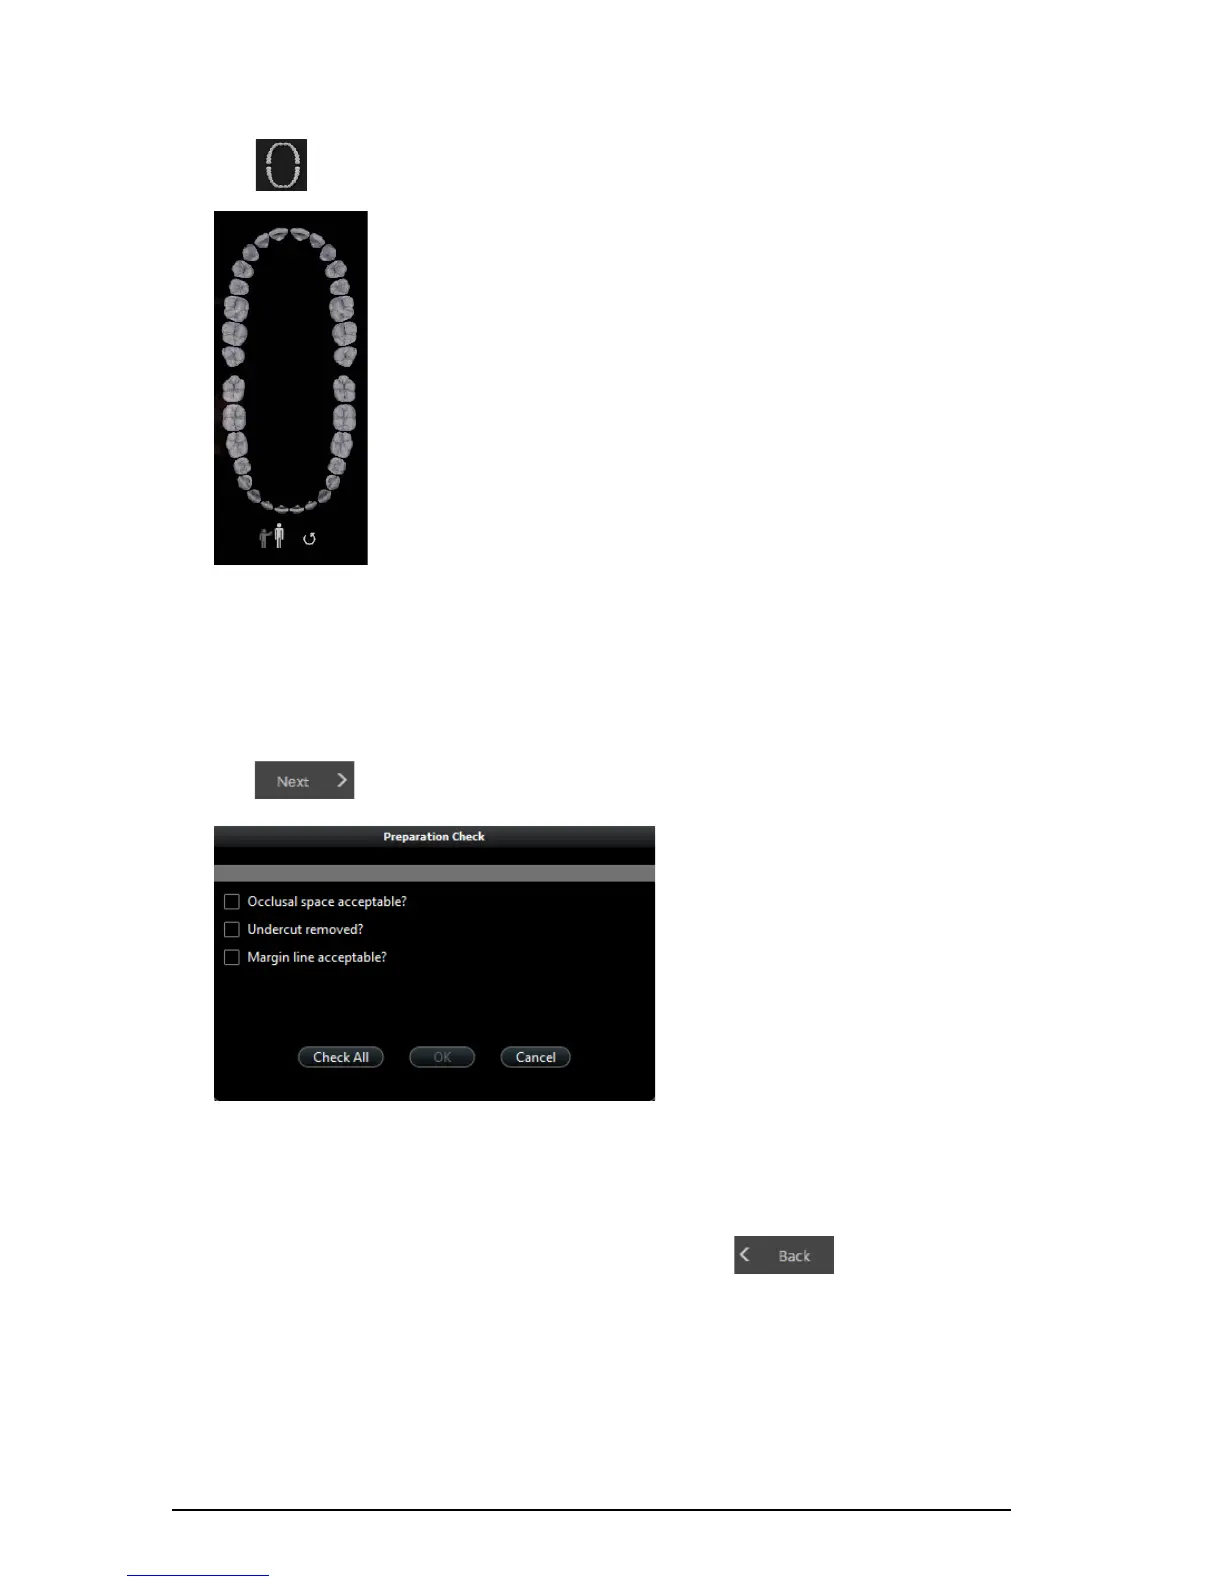
5 Click . The arch diagram is displayed.
6 Click the Adult or Child icon to display the appropriate arch.
7 Select the teeth on the arch that were acquired for the 3D model, including those on the upper
and lower jaw.
8 If you are exporting the 3D model to a dental lab, you can draw a margin line reference on the 3D
model. See
“Drawing Margin Lines.”
9 Click . The Preparation Check window is displayed.
10 Examine the occlusal space on the 3D model and do one of the following:
• If the occlusal space is acceptable, click the corresponding option in the Preparation Check
window.
• If the occlusal space is not acceptable, click Cancel. Click and re-scan the
affected teeth.