60 Chapter 8 Acquiring a 3D Model for Implants
Scanning Teeth on the Upper and Lower Jaw
To acquire images using auto acquisition, follow these steps:
1 Dry the teeth thoroughly before starting an acquisition.
2 Access the CS 3500 Acquisition interface by clicking in the imaging software.
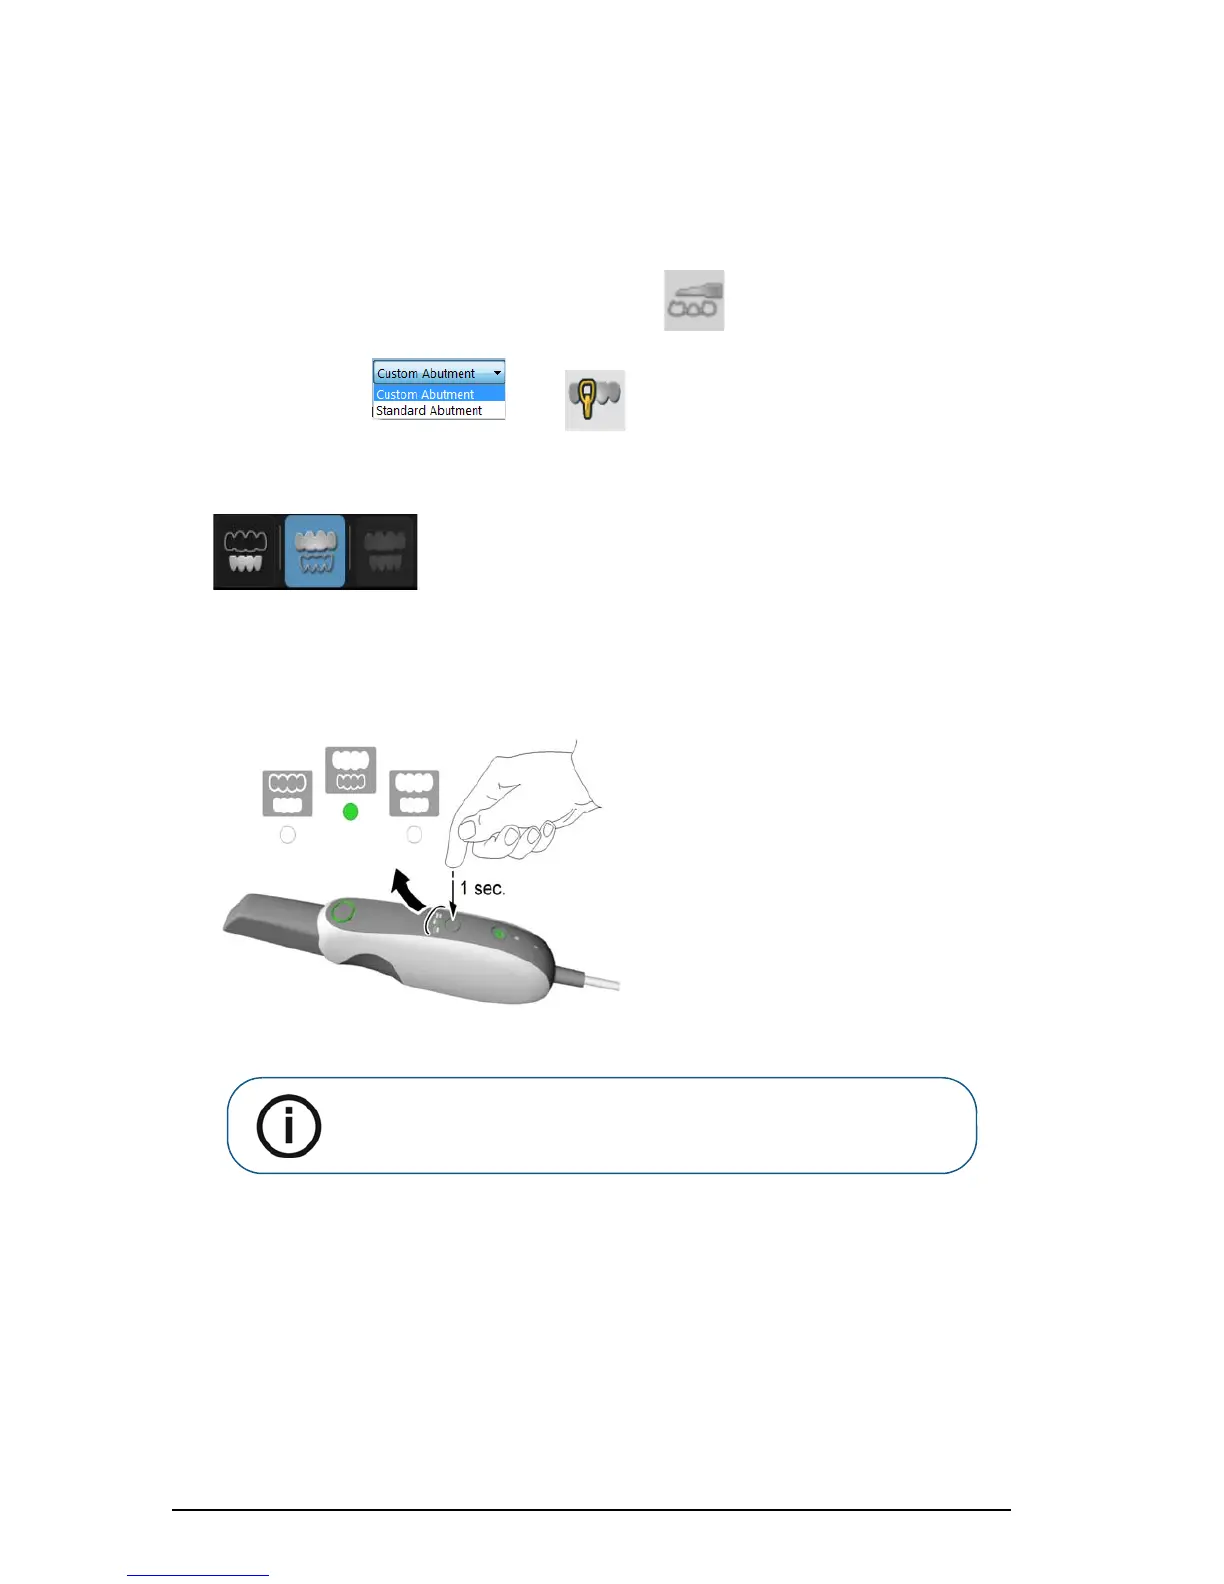
3 Select a scan type , click in the Select Acquisition Type window, and
click OK. This example uses the Custom Abutment option.
4 On the Acquisition interface, select the Upper Jaw acquisition mode.
OR
On the CS 3500, press the mode button for one second to select the acquisition mode. The mode
indicator LED turns green.
5 Hold the CS 3500 at a 90-degree angle to the occlusal surface of the implant area. Rest the tip on
the tooth surface to steady the CS 3500. Live video is displayed on the video preview screen.
When the CS 3500 is stable and the image is clear, the acquisition begins. Images are
automatically acquired and transferred to the 3D model display screen.
Note: Upper jaw is the default setting until you change it. For information
on how to change the default setting, see “Scanner Preferences” on
page 15.