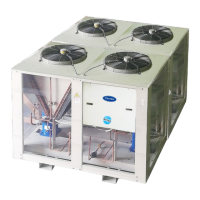
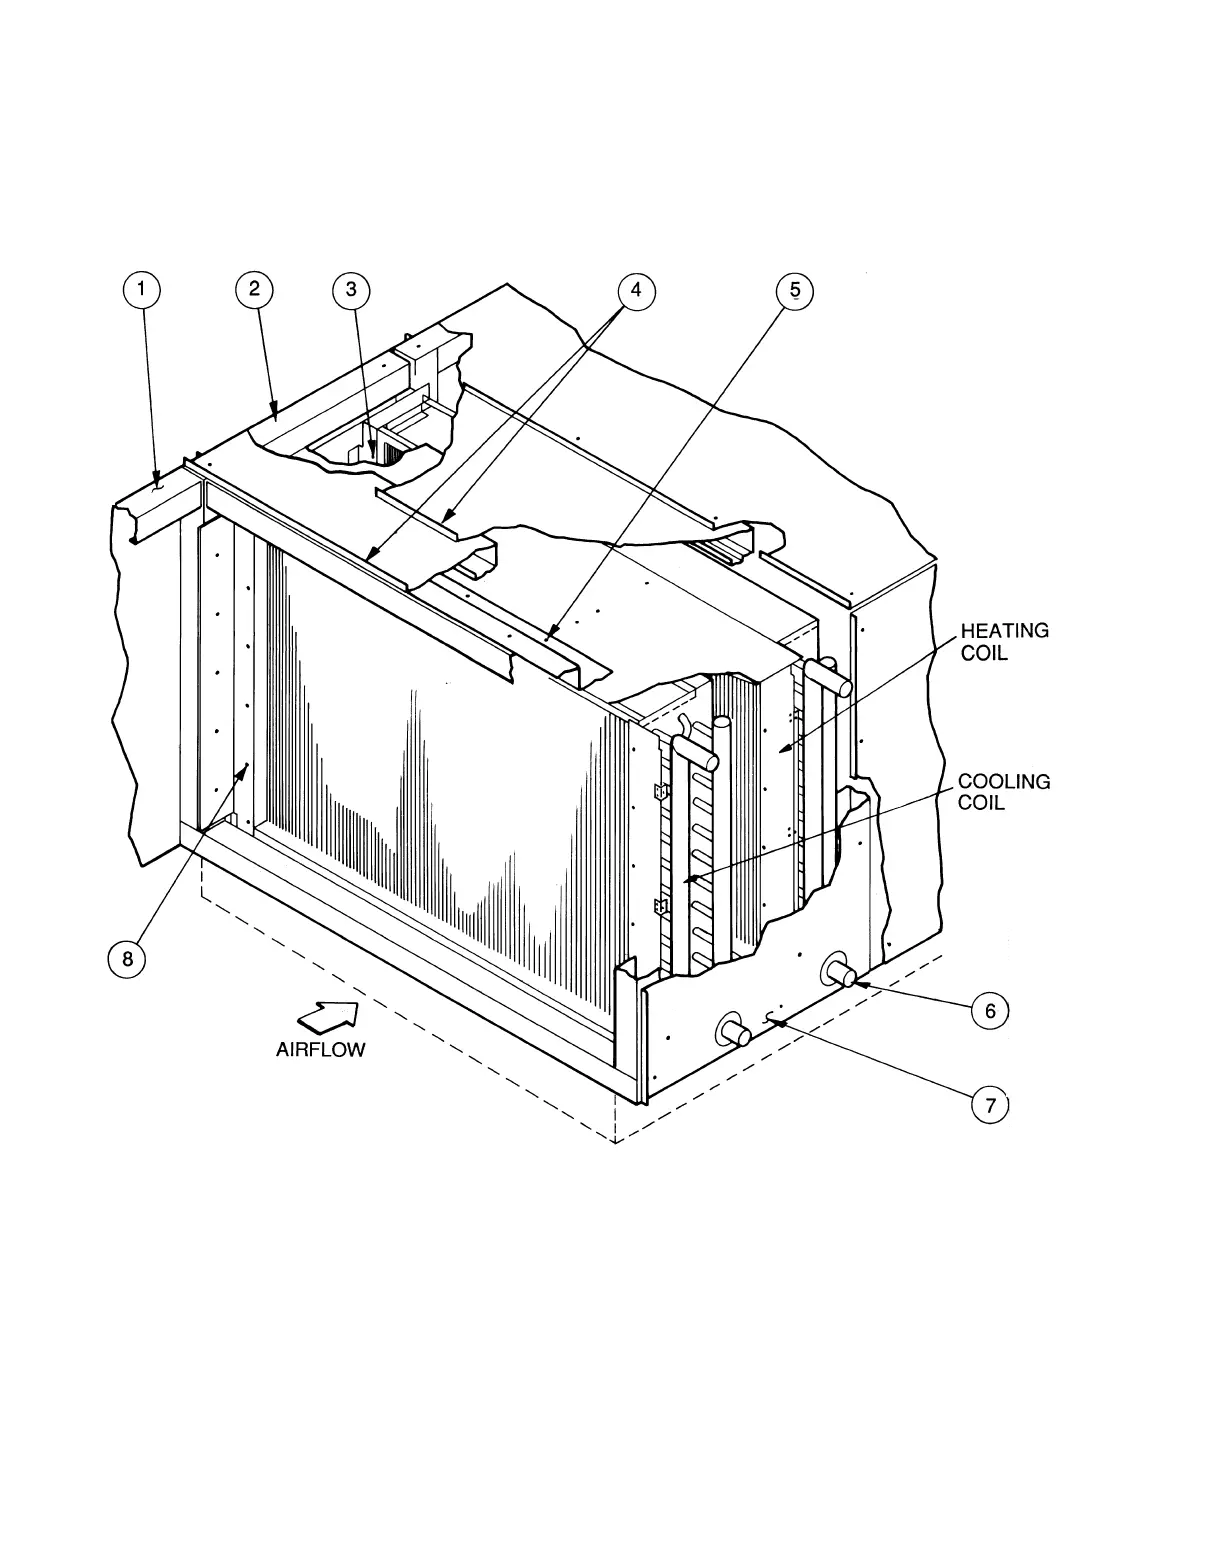
Coil Removal
COOLING AND HEATING COILS — See Fig. 62 for unit
with single coil or Fig. 63 for unit with double coil. Refer to
Fig. 10-13 for service area requirements, and remove the coils
as follows:
1. Disconnect piping.
2. Remove all screws holding the coil cover panel to the
unit. See Fig. 64 for additional details.
3. Slide the coil cover panel off the coil nozzles.
4. Remove coil panels, as required, on both sides.
5. Remove header and return baffle screws, leaving baffle
attached to coil assembly (see Fig. 65).
6. Slide coil out of unit.
7. Replace coils by reversing the preceding steps.
LEGEND
1—Accessory Side Panel 5—Baffle Angle Screw
2—Left Side Panel 6—Piping
3—Inside Baffles 7—Right Side Panel
4—Top Panels 8—Baffle Screw
Fig. 62 — Horizontal or Vertical Unit — Single Coil Removal (Vertical Unit Shown)
76