CHAPTER 5 - LUBRICATION, FILTERS, AND FLUIDS
5-46
Issued 8-04 Bur 6-34551NA
SWING REDUCTION GEAR - CX135SR
SERVICE SPECIFICATIONS
Oil level check....................................................................................................................................Every 250 hours
Draining ............................................................Every 1000 hours (after the first 250 hours during the run-in period)
Grease.............................................................................................................................................Every 5000 hours
Oil capacity........................................................................................................................................2.2 liters (.5 gal)
Oil type ............................................................................................................................... See Fluids and lubricants
1. Park the machine on flat, horizontal ground. Stop
the engine and remove the starter switch key.
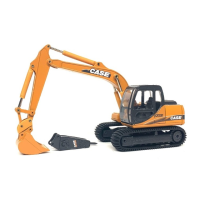
2. Remove the two thumb screws then lower
completely the hood located in front of the
machine.
CT02D030
Figure 133
LEVEL
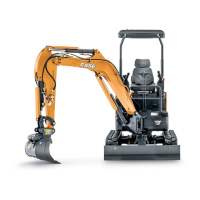
1. Remove the dipstick. The level should come up
to the hatched area. If necessary, top up through
the filler port.
2. Install the dipstick after topping up the level, if
required.
CT02D008
Figure 134
DRAINING AND REFILLING
1. Park the machine on flat, horizontal ground. Stop
the engine and remove the starter switch key.
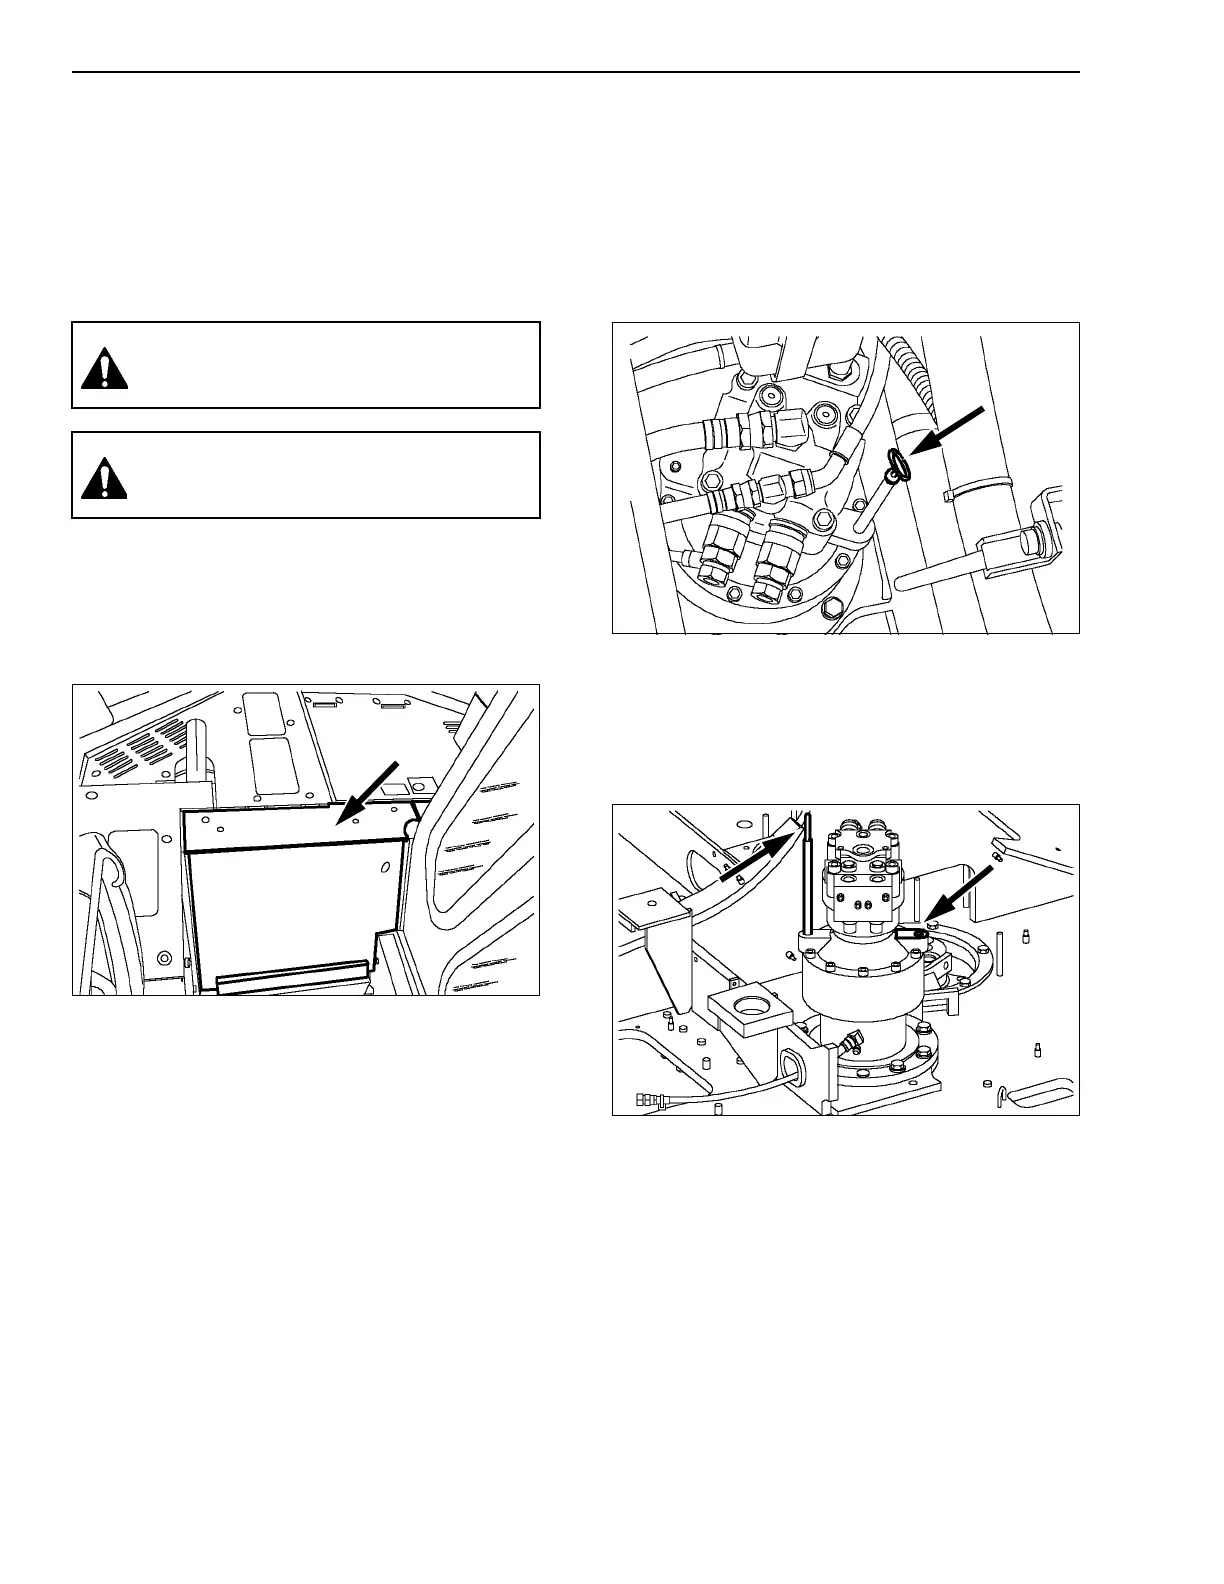
2. Remove the dipstick and the filling plug.
CT02D124
Figure 135
3. Place a receptacle of a suitable capacity under
the upperstructure and remove the drain plug.
4. Allow the oil to drain.
NOTE: The oil takes a relatively long time to
drain.
IMPORTANT: Check the condition of the drained
oil. If it contains metal filings or foreign matter,
see your Dealer.
5. Install the drain plug.
WARNING: Wait till all components have
cooled down before carrying out any
operation.
WARNING: Loosen the dipstick slowly to
release pressure, otherwise there is a risk of
oil spurting out.