18
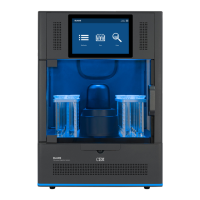
System Installation
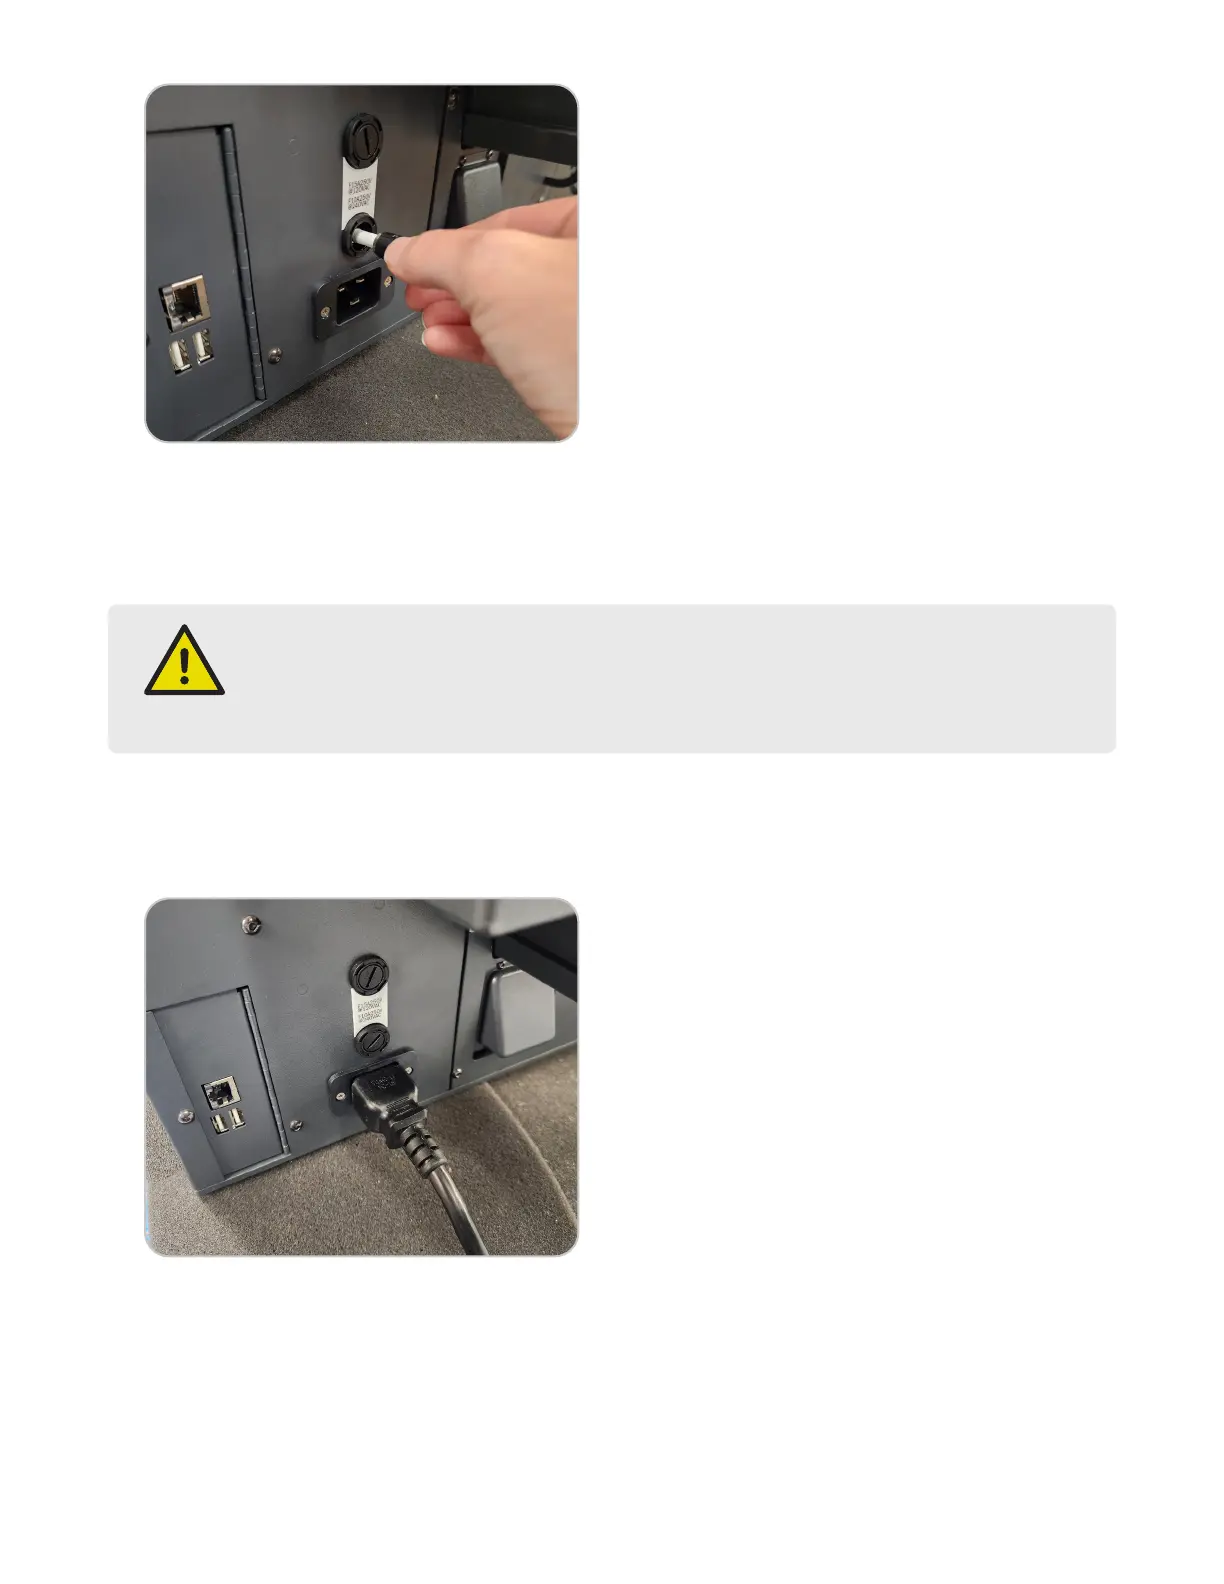
2.1. Remove the two (2) fuse holders from the back of the instrument by twisting counter clockwise.
2.2. Locate the correct fuses inside the accessory kit.
• 120 VAC: 15 A fuse (F15AH250V)
• 200 & 240 VAC: 10 A fuse (F10AH250V)
WARNING
Incorrect fuse size may result in re or inadequate equipment protection.
15 A fuse (F15AH250V): 120 VAC
10 A fuse (F10AH250V): 200 & 240 VAC
2.3. Install the supplied fuses into the fuse holders.
2.4. Install the fuse and holders into the instrument and twist clockwise until tight.
3. Plug the power cord into the back of the instrument and into a dedicated, grounded outlet. The instrument is
supplied with a power cord, but an adequately rated power cord may be used.
4. Connect the barcode scanner by installing the USB connector into one of the USB ports.