Evolution® IP-20LH Installation Guide
Ceragon Proprietary and Confidential Page 72 of 101
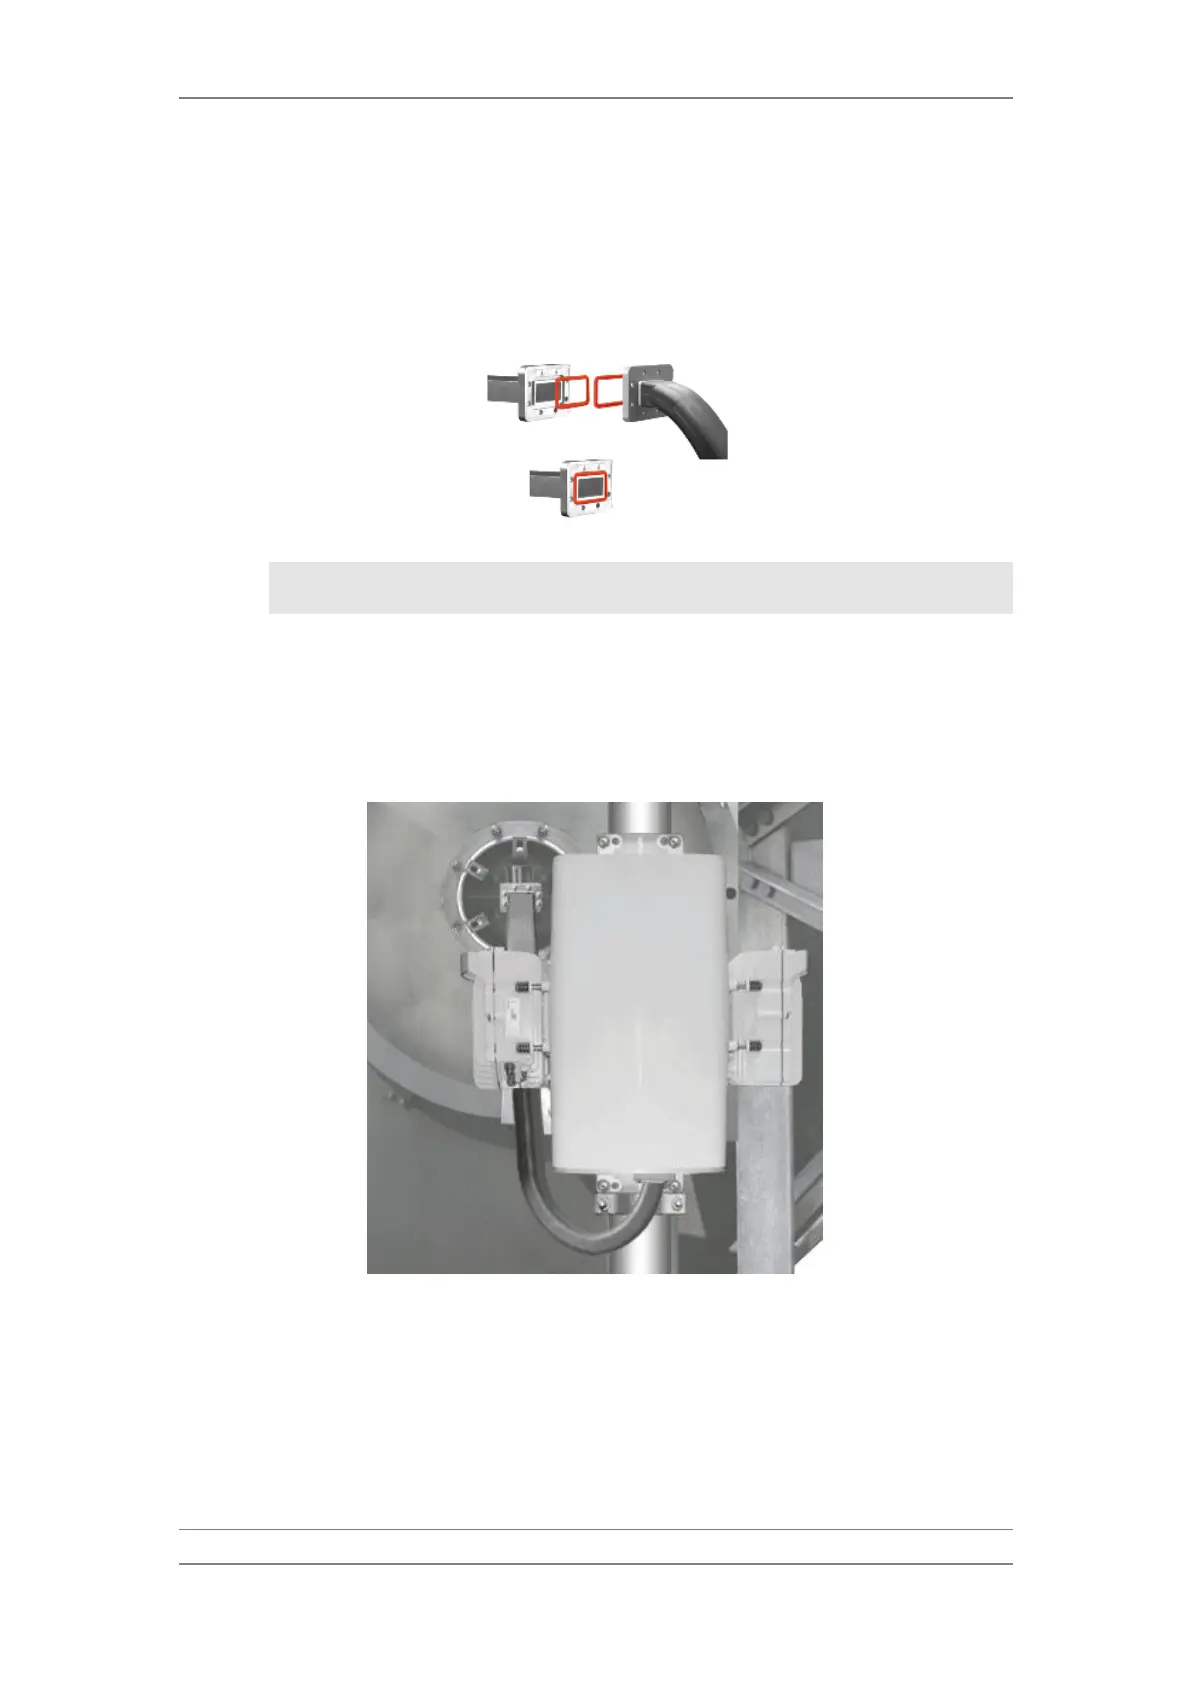
iv Place gaskets in the gasket grooves on the antenna waveguide flange,
the branching box waveguide flange, and both flanges of the flexible
waveguide. Make sure that the gaskets are completely seated in the
gasket grooves.
Placing Gaskets in Groove
Note: Make sure that the rounded edges of the gaskets are facing
outwards (facing each other).
v Mount the flexible waveguide on the antenna waveguide flange using
8 screws, washers and nuts,
vi Mount the flexible waveguide on the branching box waveguide flange
using 8 screws washers and nuts.
Waveguide Installed
vii Use cable ties to secure the flexible waveguide, as required, but do not
tighten them so much that the waveguide is deformed or scratched.
7 Repeat the waveguide installation procedure for any other antenna
connections (Dual Pol. / Space Div. / Multiple Dir.).
8 Install earthing cables, as follows:
i Connect an earthing cable, part number UWML6505, to the earthing
terminal on the bottom of each XCVR.