Evolution® IP-20LH Installation Guide
Ceragon Proprietary and Confidential Page 78 of 101
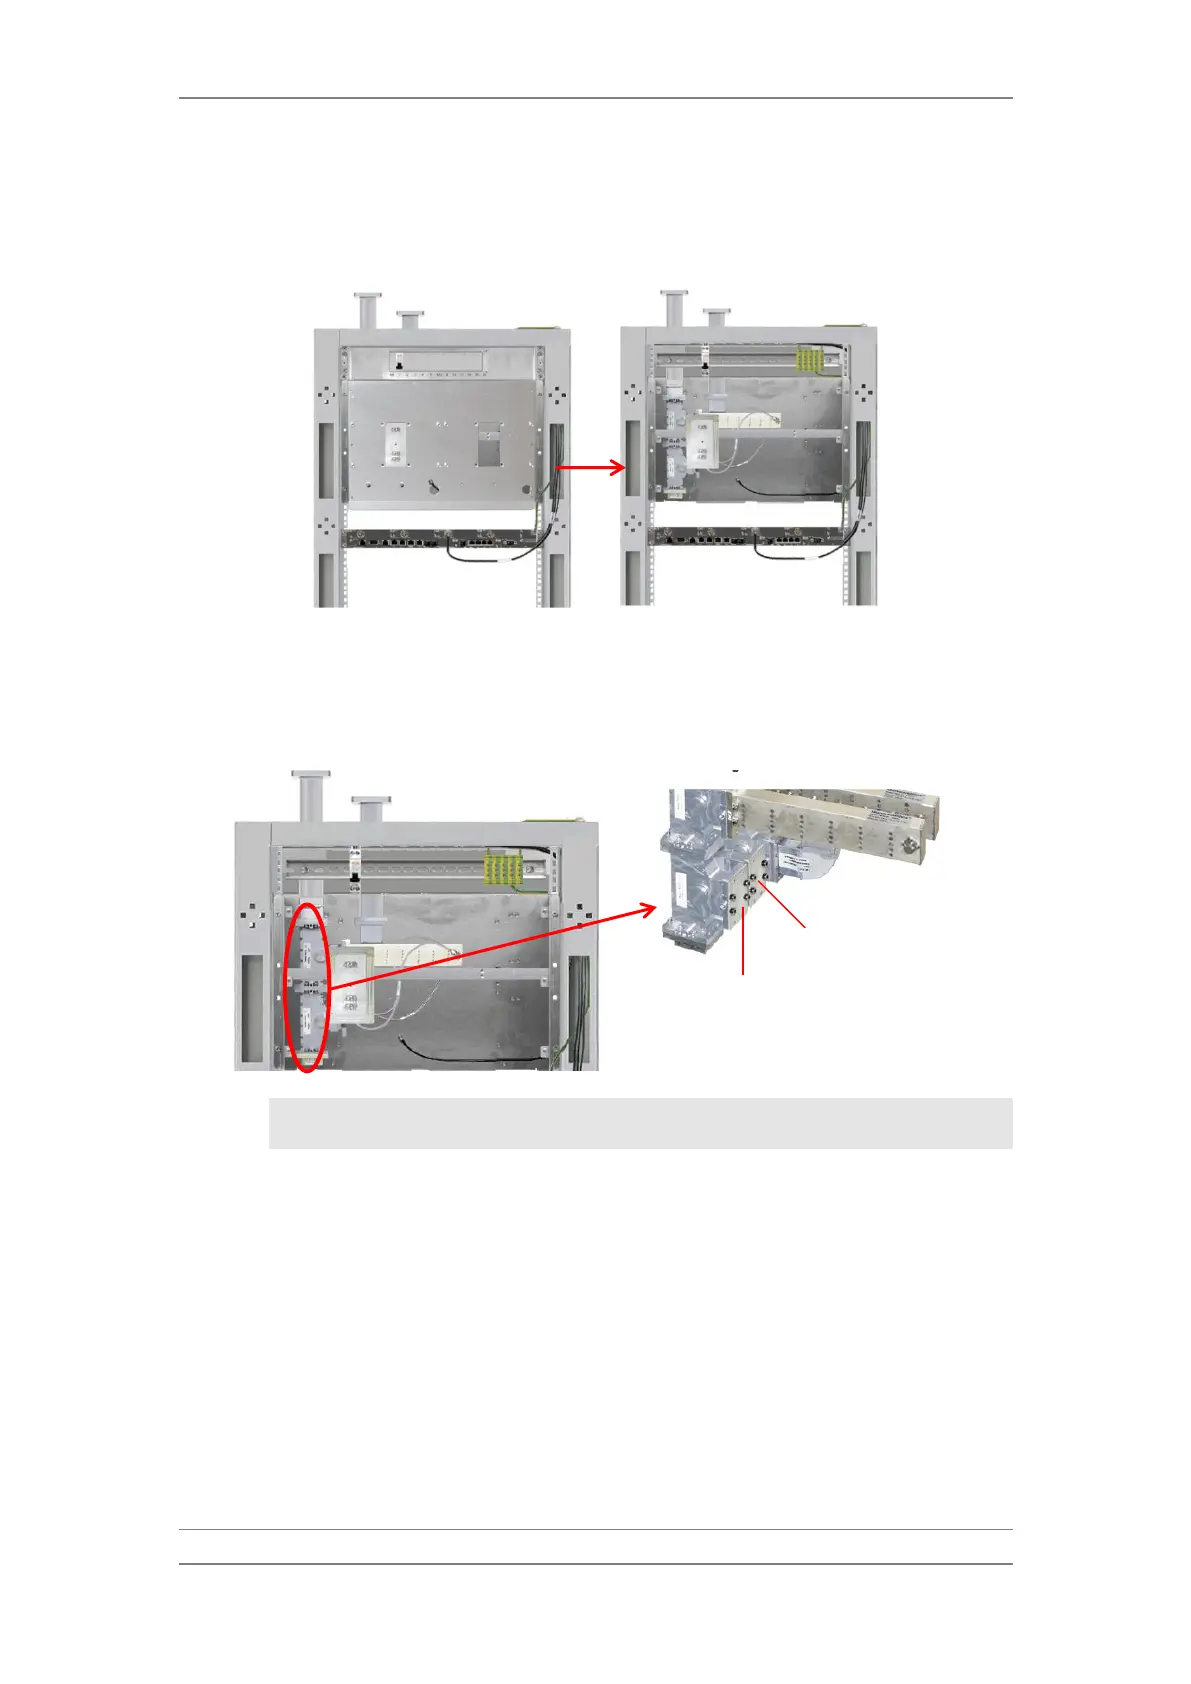
3 Release the screws and remove the front plates of the branching box and
power distribution panel.
Removing Front Plates
4 Remove the circulator flange cover plates by unscrewing the four screws
on each cover plate (RCVR flange, XMTR flange and space diversity flange
on space diversity systems).
Removing Circulator Flange Cover Plates
Note: Do not drop screws or washers into the open waveguide
flanges.
5 Mount the new filters. Each filter is marked with a channel frequency.
Make sure that the filters are mounted according to the frequency plan.